PnP Pre-requisite
Many Vodia PBX settings are downloaded to the phone during Plug and Play, so it's best to configure these settings before actually doing Plug and Play. That way, when the phones are provisioned, they will have those settings. Some of these settings are listed below.
Configuring the Domain Settings for Provisioning Settings
Many domain settings are also uploaded to the extension (the phone) during plug and play, such as language settings and country codes etc.
- Go to your selected domain in the Vodia PBX web interface.
- Go to General Settings
- Choose default IVR and web languages, a time zone, and country and area codes etc.
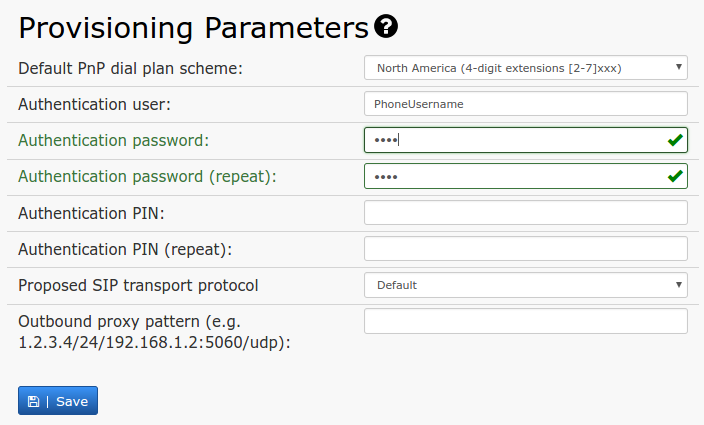
- Scroll to the bottom of the page to Provisioning Parameters , and select a default dial plan scheme and enter the username and password for the phones.
- Dial plan has to be selected here at this point.
- The Authentication user , Authentication password and Authentication PIN settings allow administrators to provision phones and log into a phone’s web interface remotely. The password will bypass users’ passwords (the web interface passwords), so users will not be able to use their passwords; hence, this setting can be used to keep users out of the phone’s web interface and prevent them from inadvertently changing anything. The default username is admin , and the default password is <blank>.
Configuring the Domain Button Profiles
Not all users will need the same button profile, so you may want to set up multiple profiles and assign them to the extensions that will be using them. There are also several default button profiles available for the different Snom phones, which can be changed by the user accordingly, and which are provisioned to the phones according to the phone types when the button profile setting on the extension level is set to “Automatic” instead of being assigned to a specific profile. It is explained in more detail under Buttons
Configuring the Extension(s)
Many extension settings are also uploaded to the extension (the phone) during plug and play. The extension based settings can be set from the domain (while logged in as admin and selecting the extension for which changes are to be made) and also from the user portal (logged in as a user).
- Go to your selected domain in the Vodia PBX web interface.
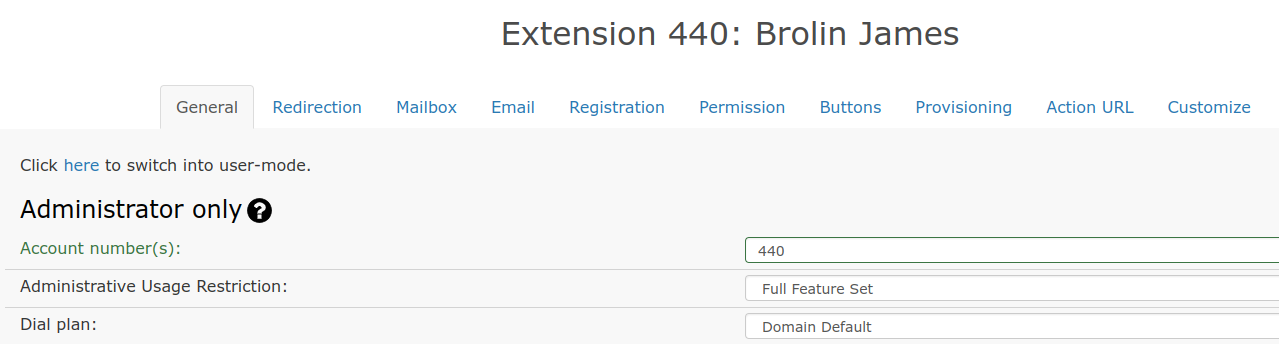
- Click on the extension from the list for which you want to change settings.
- For that extension you will see several tabs, which have related settings that you can change for PnP, e.g. General tab for some general settings, Registration tab for some registration specific settings including binding a phone to a specific MAC and Buttons tab for selecting or customizing a buttons profile or selecting “Automatic” for automatic selection of the default button profile based on the Snom phone type (for more details on buttons, go to Buttons . All these settings will be uploaded to the phone tied to this extension on provisioning.
- You can also login as a user (User Mode) to the user portal and make changes to the settings for PnP, which will be uploaded to the phone during provisioning.
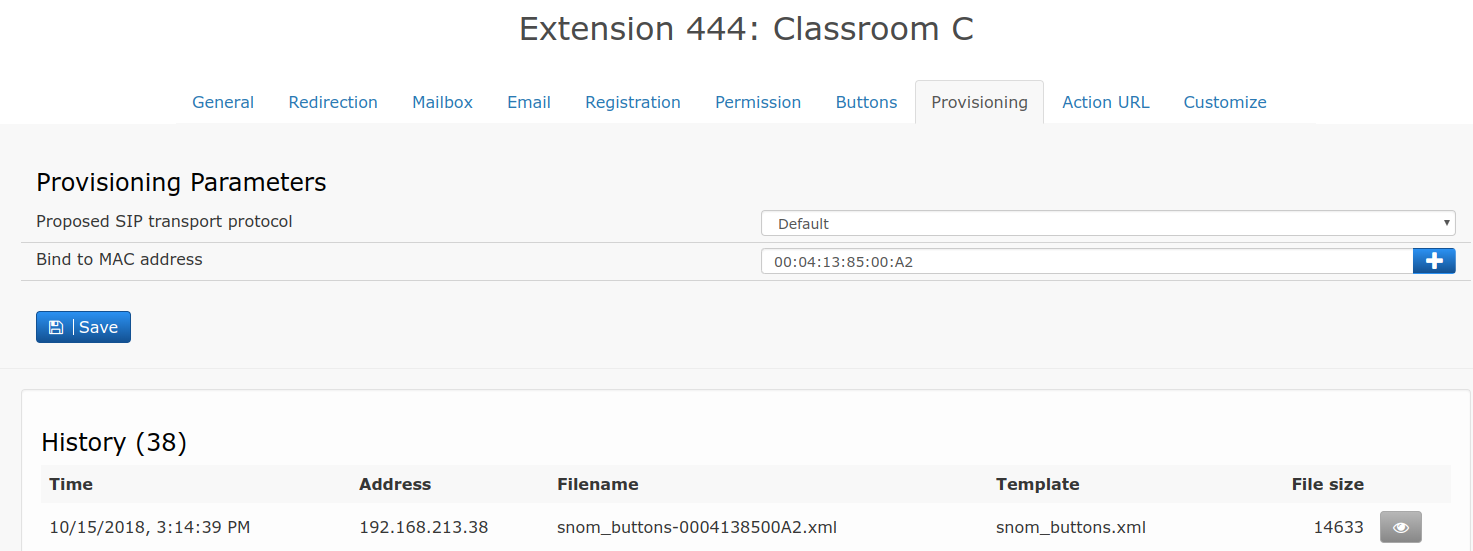
- You can tie a phone to an extension by adding the phone’s MAC address to the extension. Under the tab Registration for the extension, enter the MAC address of the phone you want to tie to that extension in the setting Bind to MAC Address and press Save. This will tie the phone to that extension and when it is provisioned, the phone will get all the settings from this extension, including registration information, buttons, and everything else that is provisioned.
- Three different options are available to associate the phone’s MAC address with an extension: manual, permanent assignment, and temporary assignment. These methods are detailed below.
PnP Method Use Case Scenario How it's Used Manual Setting up a few phones In this mode, you can permanently set the MAC address in the extension account. This will bind the registration to a specific phone. The MAC address can be used in multiple extensions, and multiple MAC addresses can be assigned to the same extension. This allows for users to have multiple phones. (Use a space to separate the MAC addresses.) Temporary Assignment (?)Setting up phones at trade shows, classrooms, etc. This mode simplifies preparation when setting up at trade shows and for classroom training sessions. When this mode is used, the system will not remember which phone had been assigned to which extension. A phone might receive a new extension number every time it boots up. (As long as no other user agent is registered to a particular extension, the extension will be available for plug and play.) This mode requires that a question mark (?) be used in the Bind to MAC Address field.