WhatsApp Business Messaging
How to Use WhatsApp with Vodia PBX
Vodia PBX integrates with the WhatsApp Business Platform to support incoming and outgoing messaging. Text and image messages are supported. This feature requires PBX version 70.1 or higher.
The setup involves four steps: gathering credentials from Meta, configuring the SMS provider in Vodia, assigning a phone number, and verifying the webhook.
Prerequisites
- Vodia PBX Version 70.1+
- A valid SSL/TLS certificate for your Tenant (subject name must match your Tenant FQDN). If you have Let's Encrypt enabled on your PBX, this is handled automatically.
- A Meta Business Account with:
- Business Verification completed
- A verified WhatsApp Business phone number
- WhatsApp Business Calling API access enabled
Part 1 — Meta Configuration
Step 1 — Create a Meta Developer App
- Go to developers.facebook.com
- Click My Apps → Create App
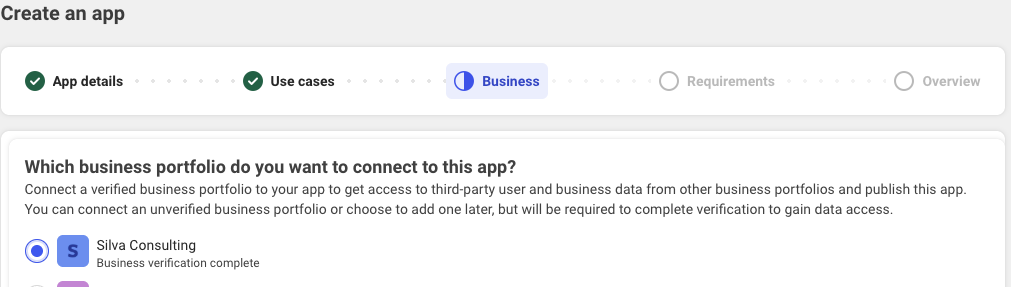
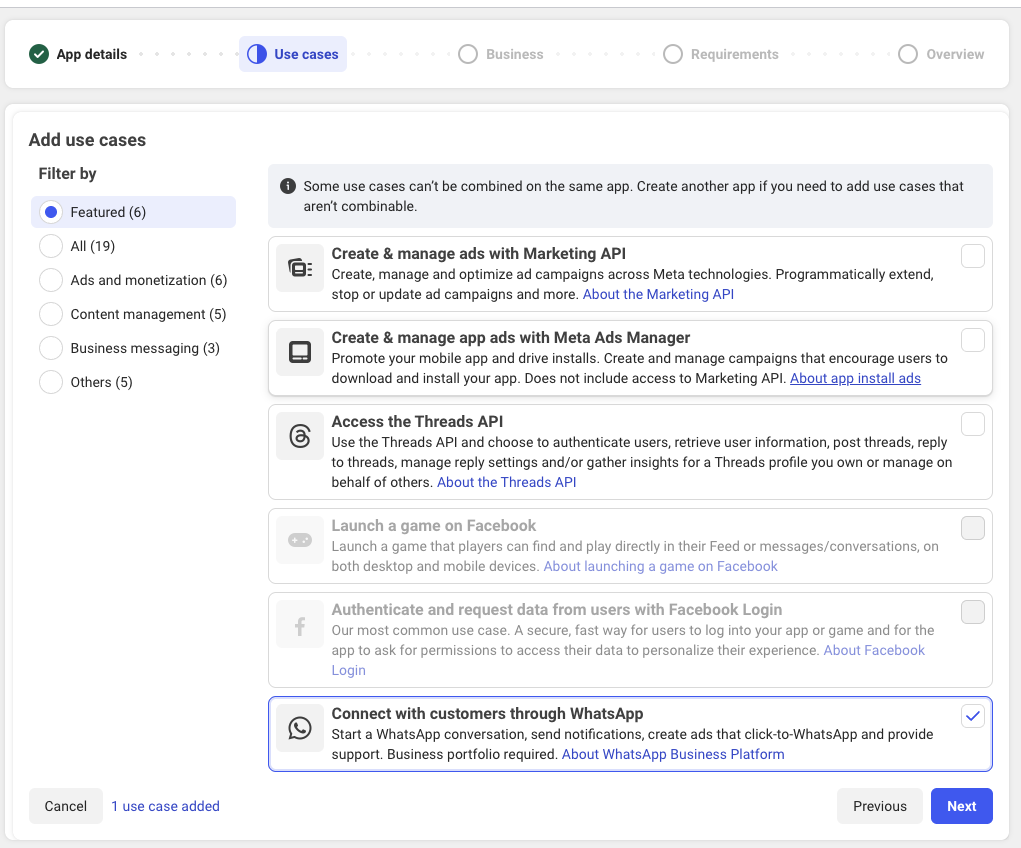
- During the app creation process, make sure you select the use case Connect with customers through WhatsApp
- Select Business as the app type
- Link the app to your Meta Business Account

Step 2 — Business Verification
Business Verification is required before calling can be enabled.
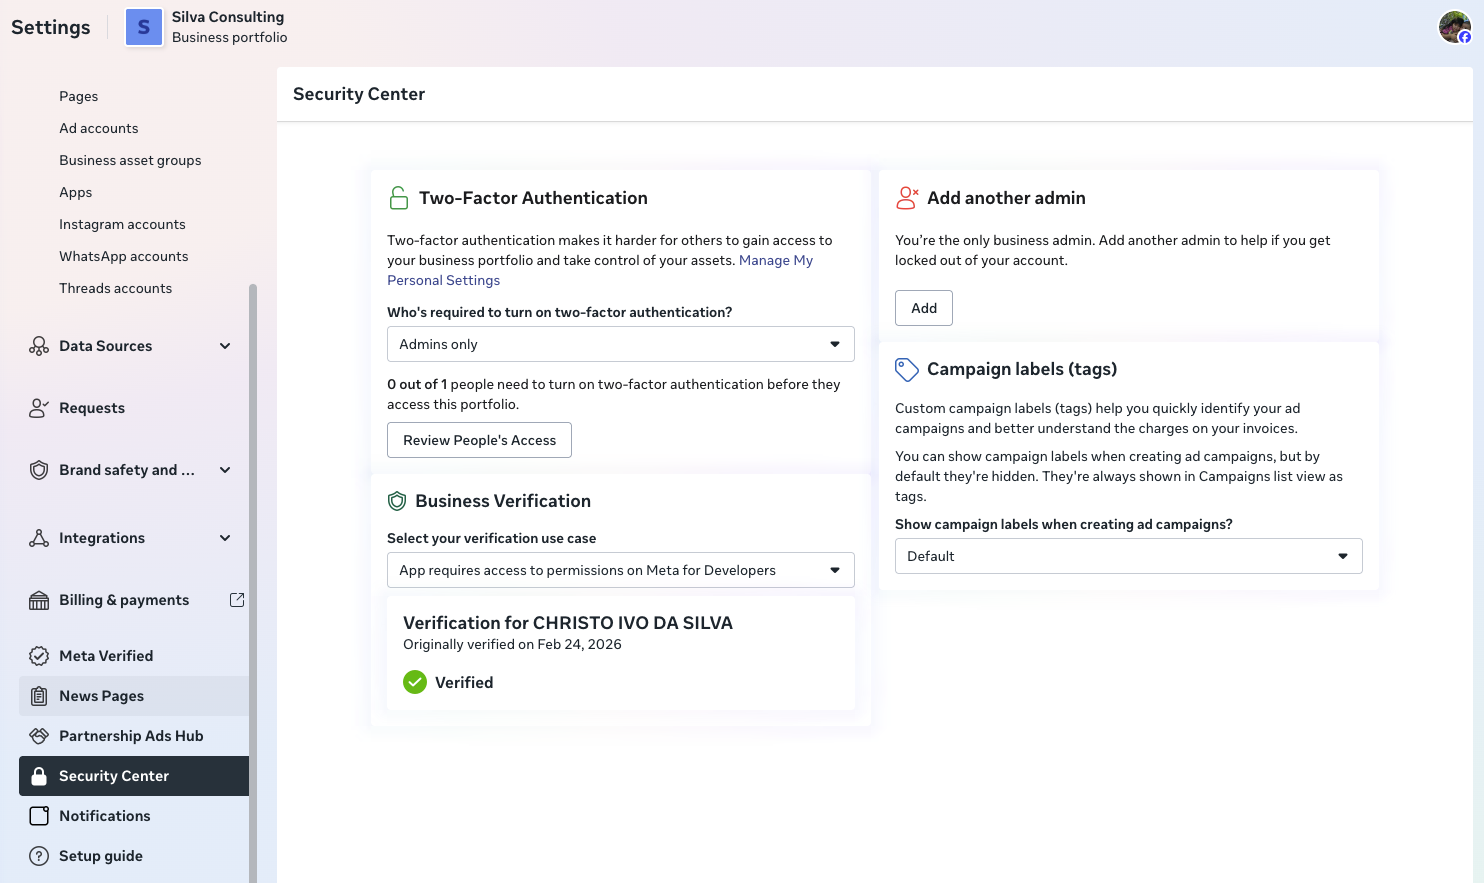
- Go to business.facebook.com → Settings → Security Center → Business Verification
- Under Business Verification, submit your business documents
- Verification typically takes 1–3 business days
- Once verified, your account status will show Verified
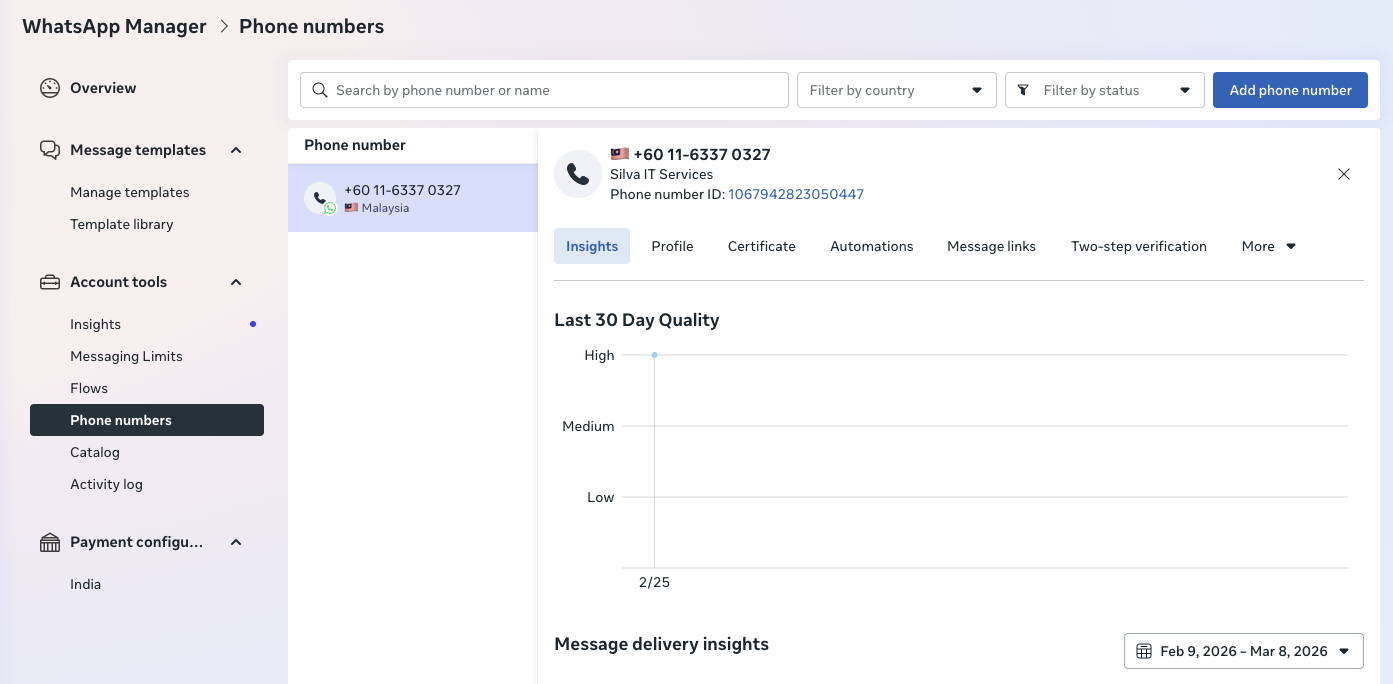
Step 3 — Add and Verify Your Phone Number
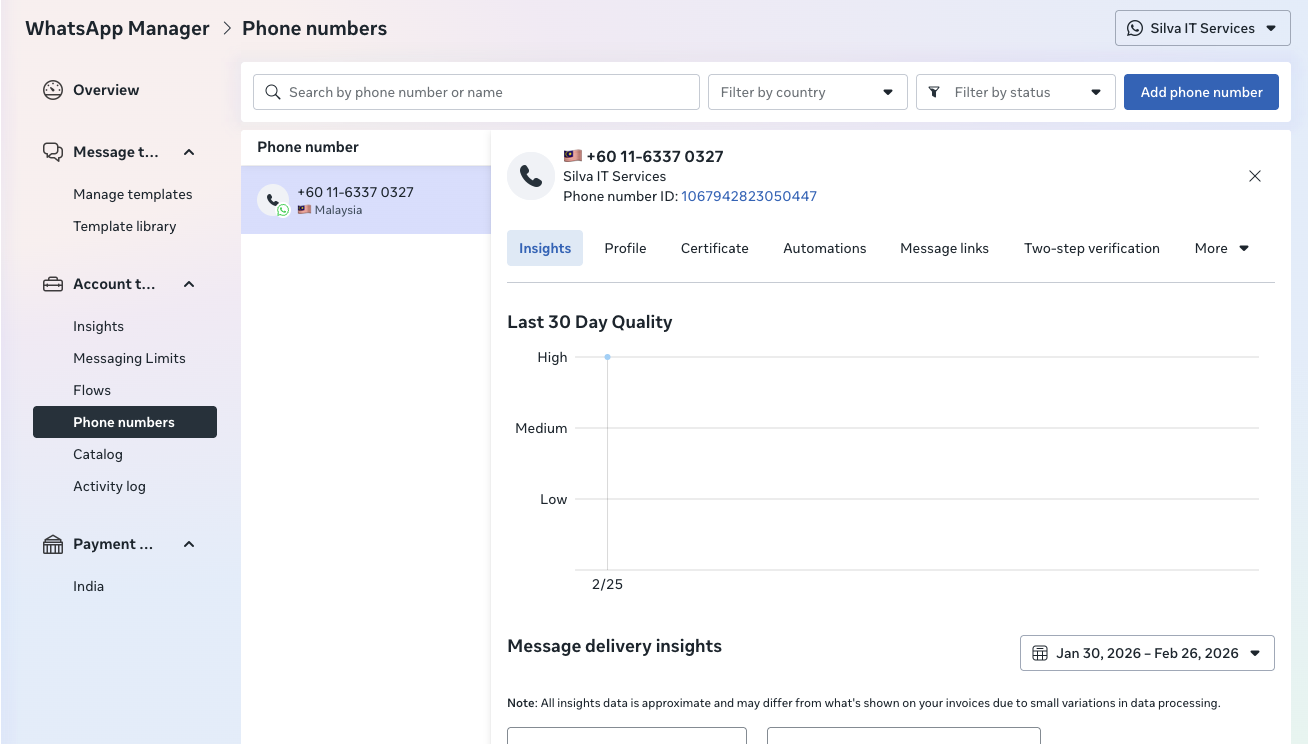
- Go to the WhatsApp Manager and select Phone Numbers under Account Tools
- Click Add phone number
- Enter your business phone number — this must not be an active WhatsApp personal or business app number
- Request a verification code via SMS or voice call
- Enter the code to verify the number
- Note your Phone Number ID — you will need this for all API calls
Part 2 — Gather Messaging Credentials from Meta
You will need four pieces of information from the Meta Business platform before configuring Vodia.
Step 4 — Phone Number ID
Go to WhatsApp Manager → Phone Numbers and locate your Phone Number ID. This is a numeric identifier assigned to your WhatsApp business phone number — it is not the phone number itself.
Step 5 — Verify Token
Choose a random alphanumeric string to use as your Verify Token (e.g., HNeoioRB3xk2mQ). This token is not provided by Meta — you define it yourself. You will enter the same token in both the Vodia PBX configuration and the Meta webhook settings later.
Step 6 — Permanent Access Token
A permanent access token is required for sending and receiving messages. To generate one:
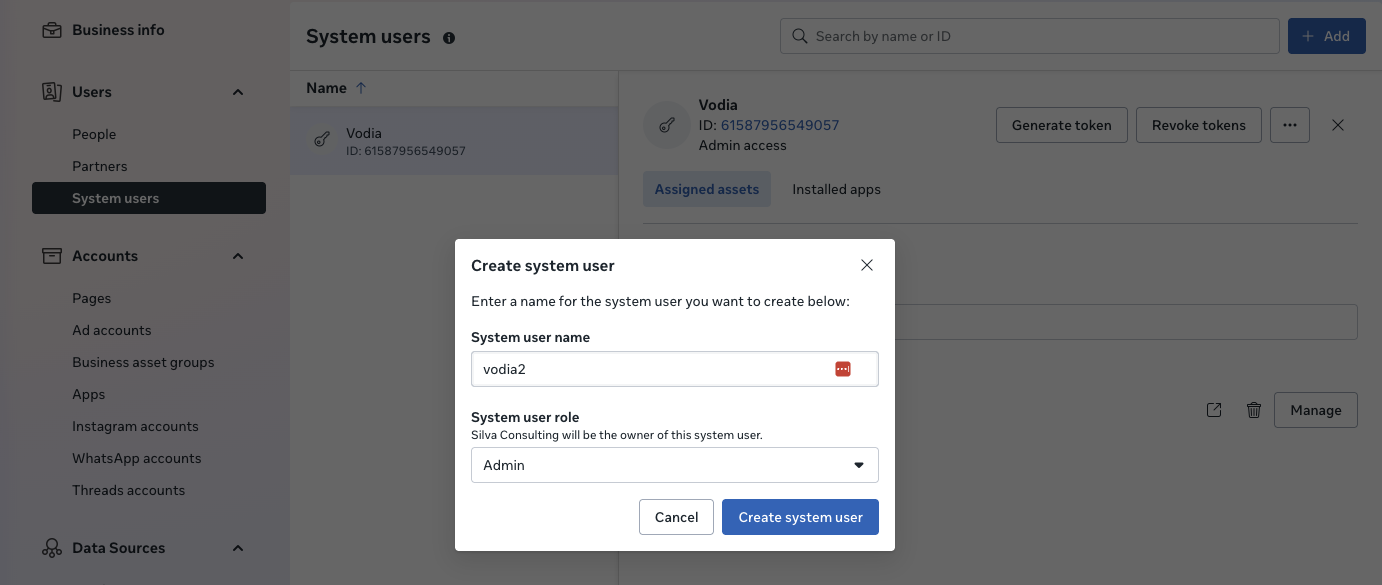
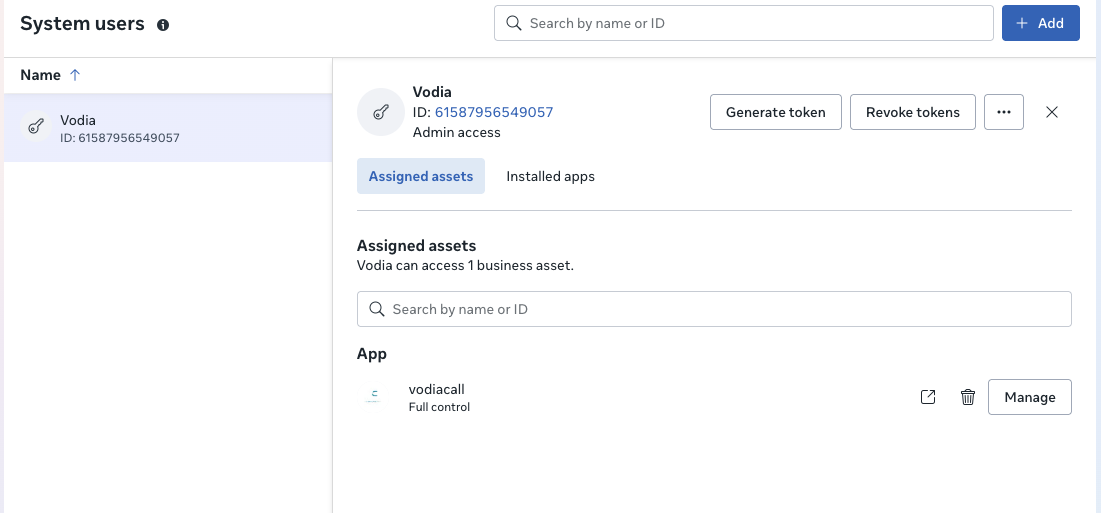
- Go to Meta Business Settings and navigate to Users → System Users.
- Click Add to create a new system user. Set the role to Admin.
- Click on the newly created user, then click Generate New Token.
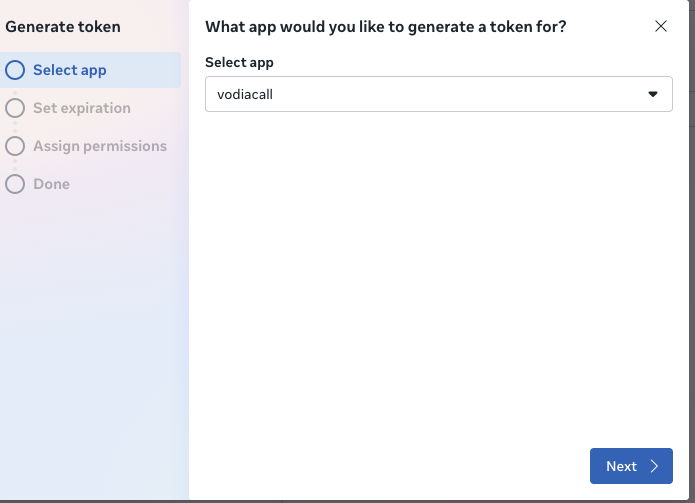
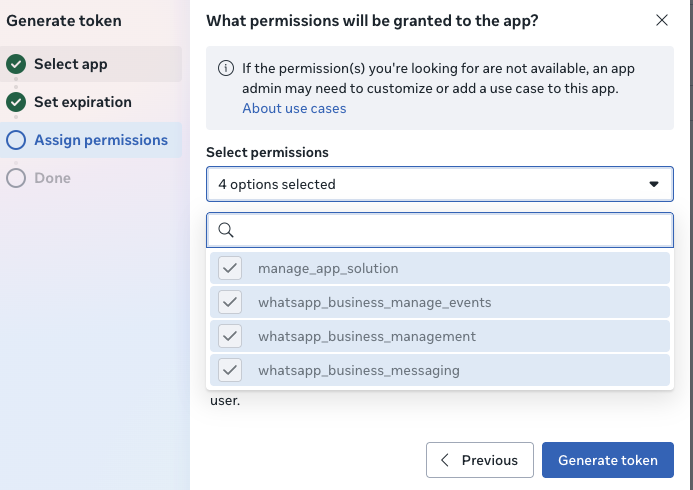
- In the token generation dialog:
- Select your WhatsApp app.
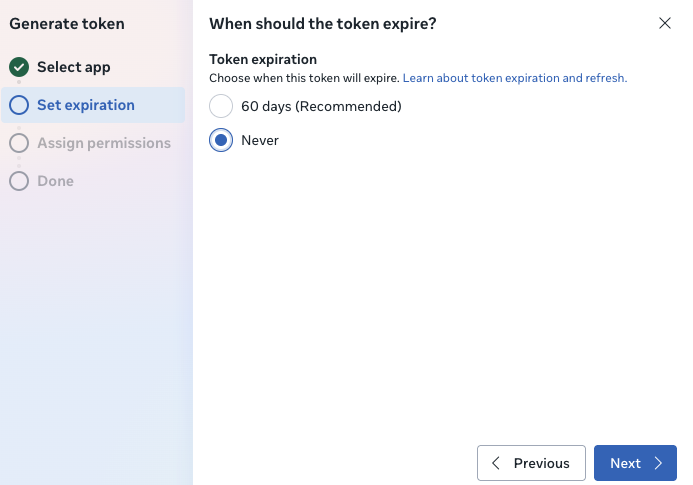
- Set the expiration to Never.
- Enable all required permissions as shown in the images below.
- Click Generate Token. Copy and save the token immediately — it will not be shown again.
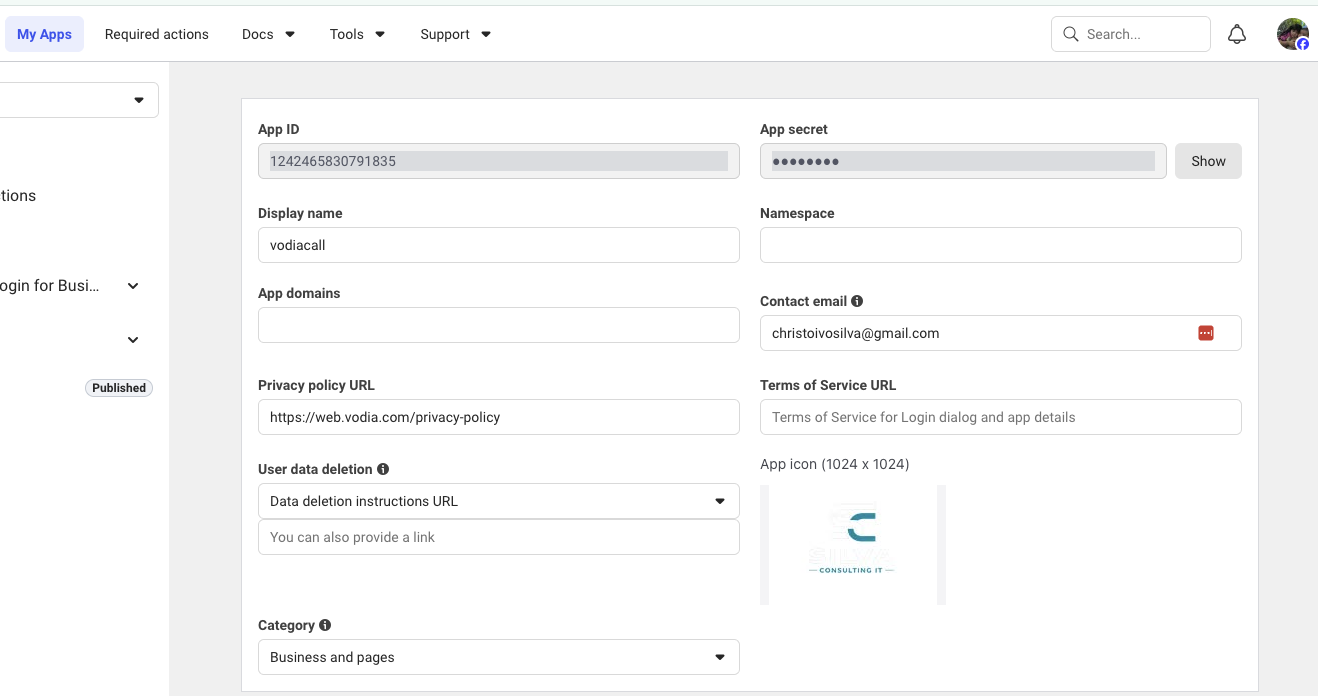
Step 7 — App Secret
Go to Meta App Dashboard, select your app, then navigate to App Settings → Basic. Copy the App Secret value.
Part 3 — Vodia PBX Configuration
Step 8 — Configure the SMS Provider
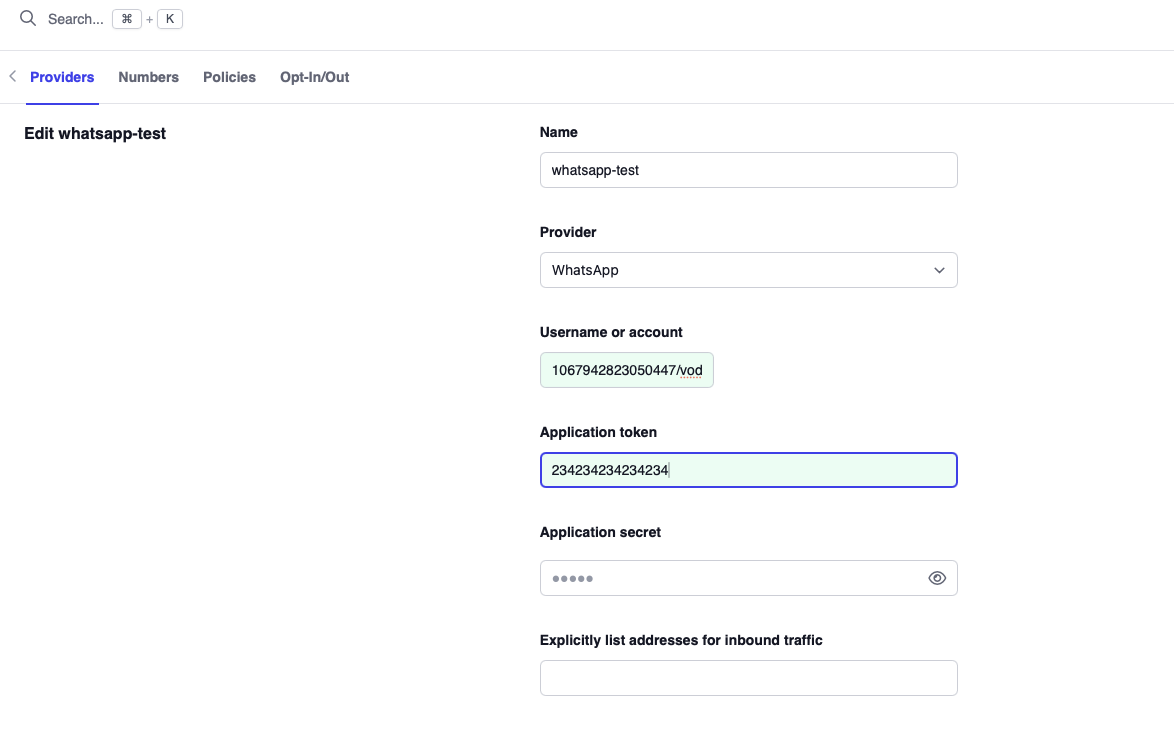
Log in to Vodia PBX as an administrator and navigate to the SMS provider settings. Create a new provider with WhatsApp as the type and fill in the following fields:
| Field | Value |
|---|---|
| Username | Phone_Number_ID/Verify_Token (e.g., 1067942823050447/HNeoioRB3xk2mQ) |
| Application Token | The App Secret from Step 7 |
| Application Secret | The Permanent Access Token from Step 6 |
Note: The naming of these fields can be confusing — the App Secret goes into the "Application Token" field, and the permanent Access Token goes into the "Application Secret" field.
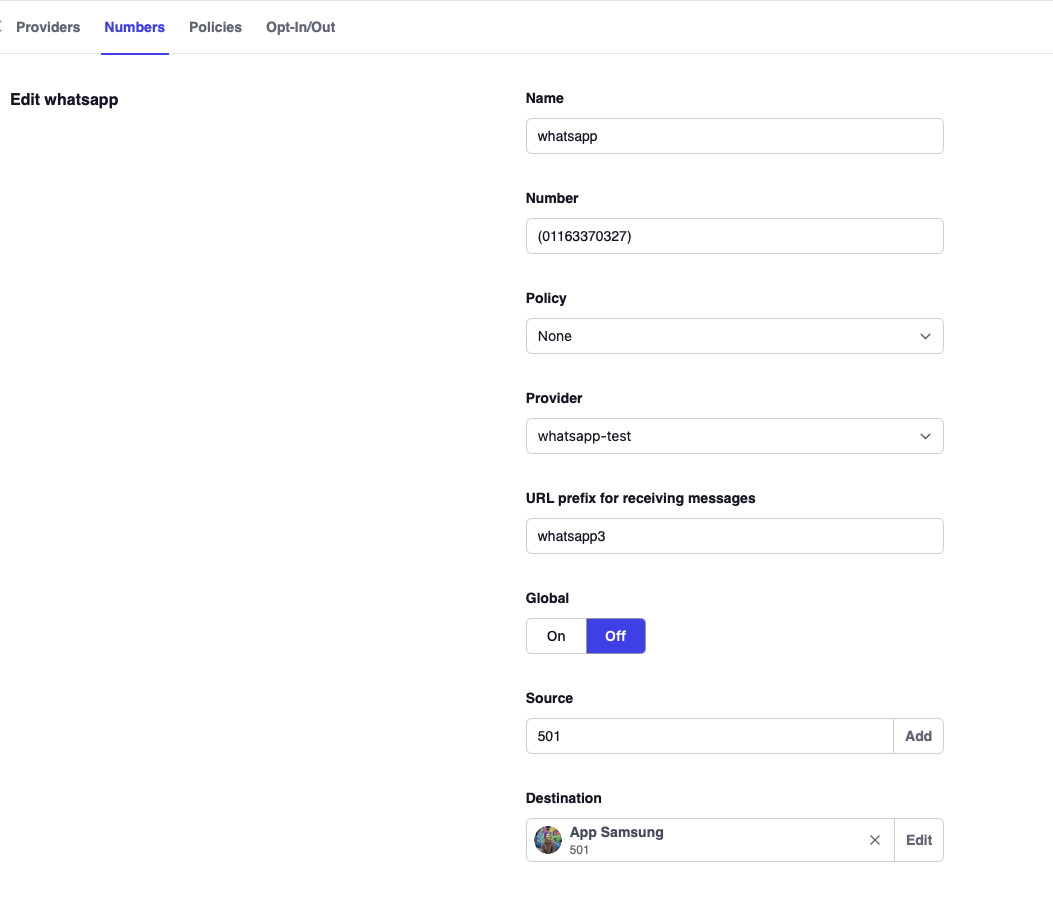
Step 9 — Assign a Phone Number
Create a phone number entry in Vodia and assign it to the WhatsApp provider you configured in the previous step.
- Extension: Select the extension that will handle inbound and outbound WhatsApp messages.
- Prefix: Define a URL prefix for the webhook callback (e.g.,
whatsapp). Meta will deliver incoming messages to this path on your PBX.
Part 4 — Webhook Verification
Step 10 — Verify the Webhook in Meta
The final step is to register your PBX as the webhook endpoint in Meta so that incoming messages are delivered to Vodia.
- In the Meta App Dashboard, go to WhatsApp → Configuration.
- Under Webhook, click Edit and enter the following:
- Callback URL: Your PBX URL followed by the prefix from Step 9. For example, if your PBX is at
https://phones.pbx70.vodia-teams.comand the prefix iswhatsapp, enterhttps://phones.pbx70.vodia-teams.com/whatsapp. - Verify Token: The same token you chose in Step 5 and entered in the Username field in Step 8.
- Callback URL: Your PBX URL followed by the prefix from Step 9. For example, if your PBX is at
- Click Verify and Save. Meta will send a verification request to your PBX — if the token matches, the webhook will be confirmed.
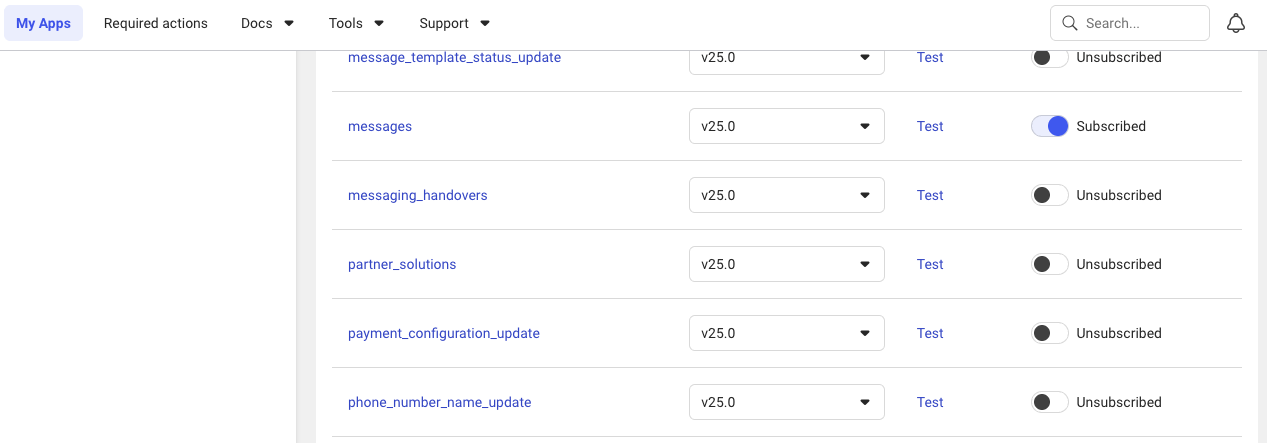
- After verification, click Manage and subscribe to the messages field. This tells Meta to send incoming message events to your webhook.

Once all steps are complete, you can send and receive WhatsApp messages through the Vodia PBX.