Number Management
Calls
- Version 69
- Version 70
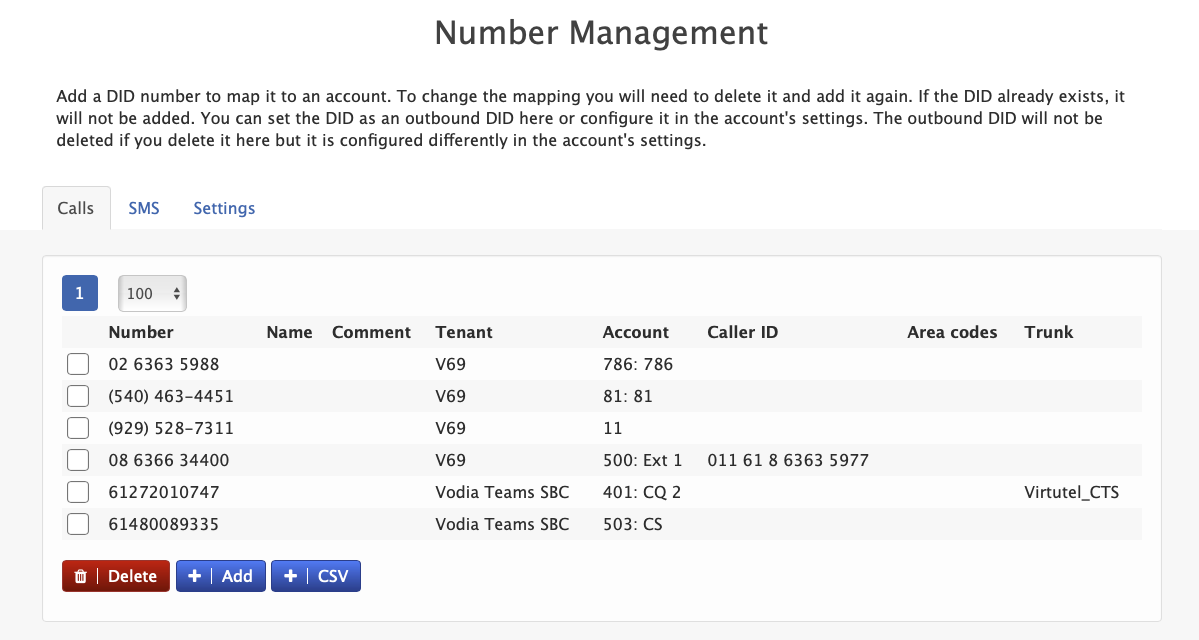
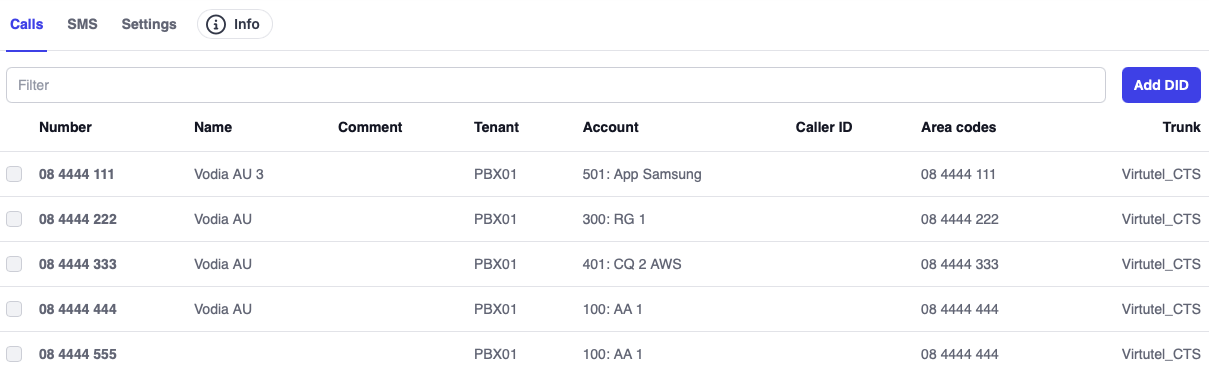
The Number Management feature helps administrators add and delete DID (Direct Inward Dialing) numbers from the system. You can also assign a number as an outbound ANI (Automatic Number Identification) to display the designated number on outbound calls.
Adding and Assigning a Number
Assigning a number to an extension, auto attendant, call queue, or any other account on the PBX is straightforward. Navigate to Tenants → Number Management and click ADD.
- Version 69
- Version 70


Bulk import You can also bulk import numbers into the PBX using the following format: Trunk,Domain,Number,Account,Text,Comment,Outbound
Configuration Fields
Number: Enter the user's phone number (e.g., 9787865765)
Name: Provide a descriptive name for the number
Comment: Add any additional information or notes
Trunk: Select a trunk from the dropdown list of all available trunks on the PBX across all tenants
Mapped to Tenant: Select the tenant where this number should be assigned
Account: Map the number to an extension or to accounts such as:
- Extensions
- Auto Attendants
- Ring Groups
- Call Queues
Use it as Outbound-DID: When set to "On", the Vodia PBX will use the DID as the CID (Caller ID) for the extension on outbound calls
Area Codes: Set area codes for the number if needed
SMS
This tab provides an overview of all SMS numbers configured in the PBX. SMS numbers are set up at the tenant level.
Settings
- Version 69
- Version 70
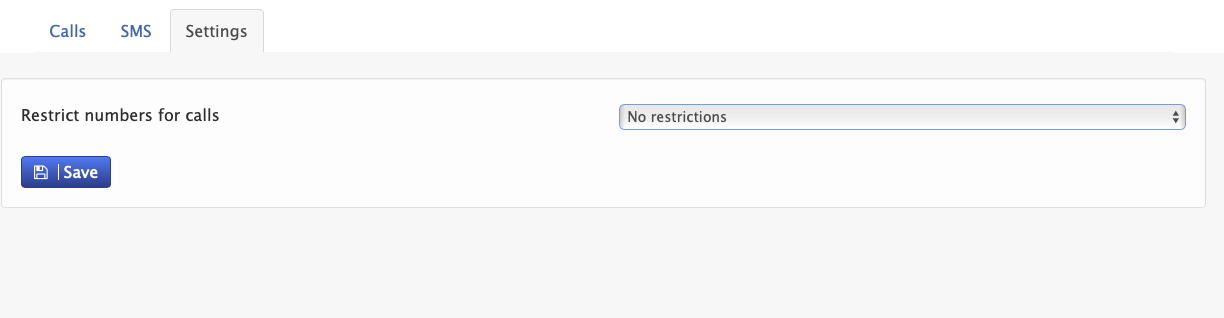

You have the option to restrict numbers for outbound calls on the PBX i.e Caller ID for an extension. The available options are:
- No Restrictions: Allow all numbers to be used
- Restrict to Tenant Numbers: Only numbers assigned to the tenant can be used
- Restrict to Trunk Numbers: Only numbers associated with the trunk can be used
- Restrict to System Numbers: Only system-level numbers can be used