Directly routing inbound WhatsApp calls to some accouts like Voice agents can cause instant drops because Meta requires a 183 Session Progress packet before the call is answered.
The Fix:
Buffer the call using a dummy Auto Attendant (AA) to force the 183 signaling.
- Route the inbound trunk to a dummy Auto Attendant.
- In the AA's IVR settings, set Wait before answering to
5seconds. - Set the AA's Timeout to
0seconds and set the destination to your Voice Agent.
WhatsApp Business Calling Integration
Vodia PBX supports direct SIP integration with the WhatsApp Business Calling API, allowing WhatsApp users to call your business number and have those calls routed directly into the PBX — to extensions, queues, or IVRs — without any middleware or gateway.
Prerequisites
- Vodia PBX Version 70.1+
- A valid SSL/TLS certificate for your Tenant (subject name must match your Tenant FQDN). If you have Let's Encrypt enabled on your PBX, this is handled automatically.
- A Meta Business Account with:
- Business Verification completed
- A verified WhatsApp Business phone number
- WhatsApp Business Calling API access enabled
Part 1 — Meta Configuration
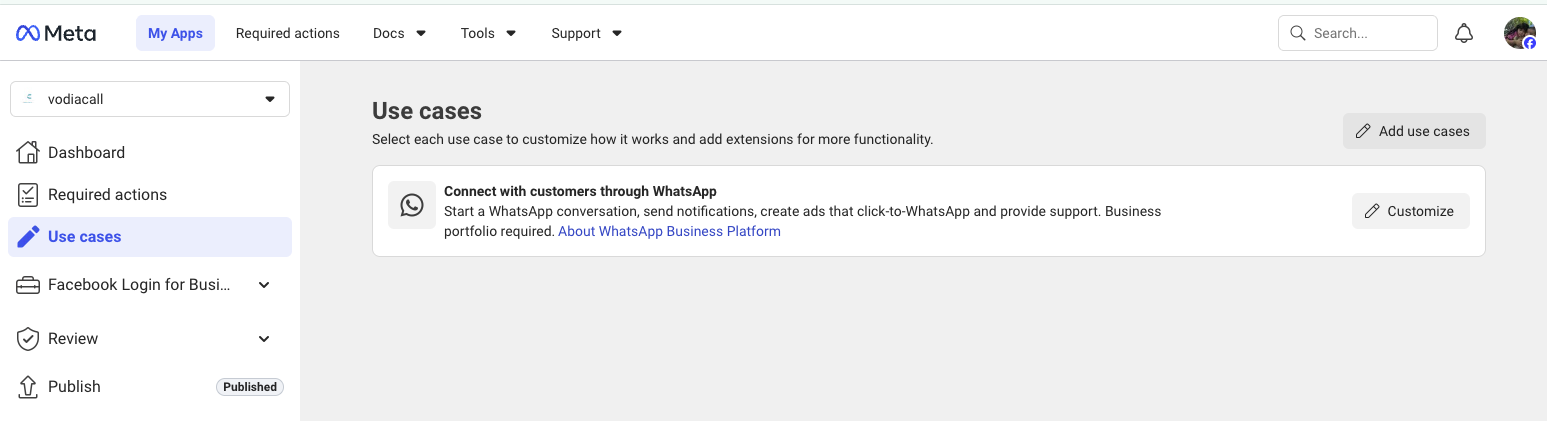
Step 1 — Create a Meta Developer App
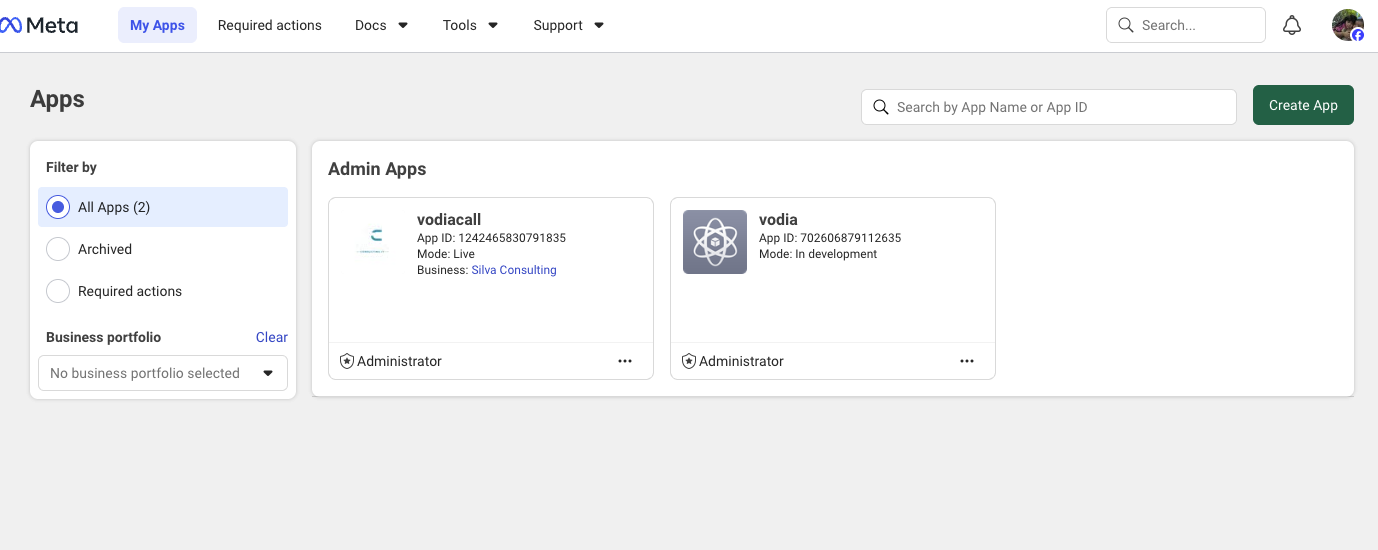
- Go to developers.facebook.com
- Click My Apps → Create App
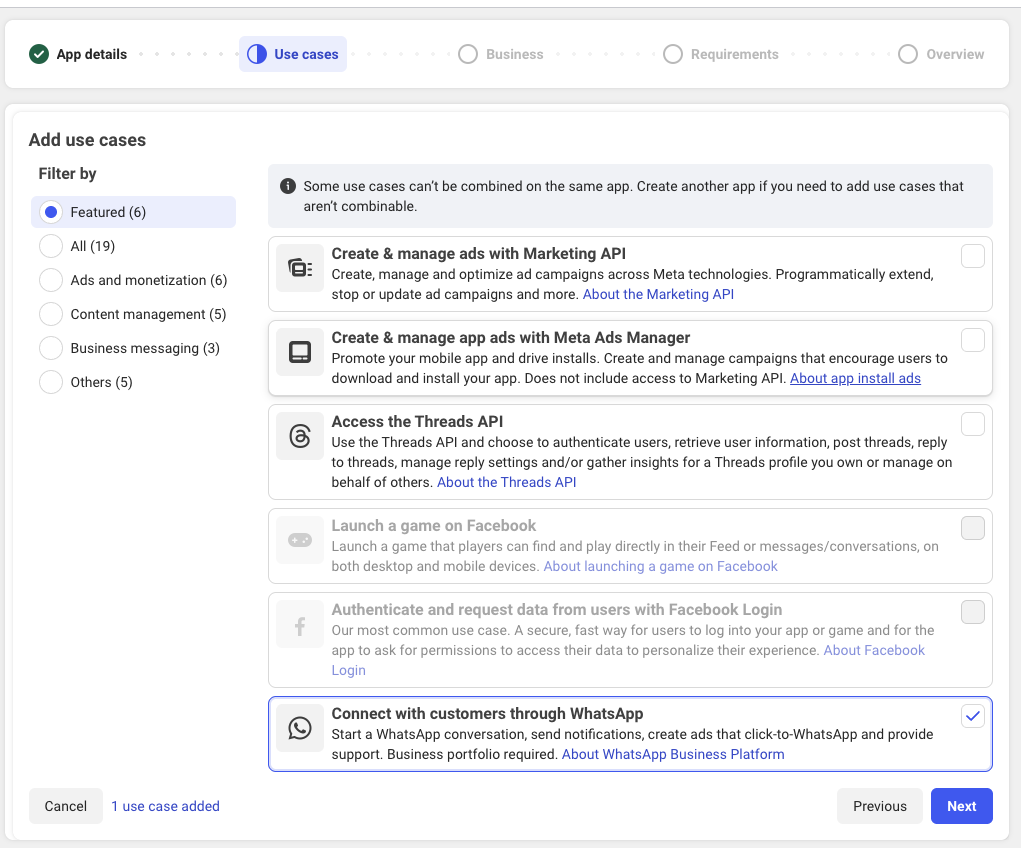
- During the App creation process, make sure you select the USe case Connect with customers through WhatsApp
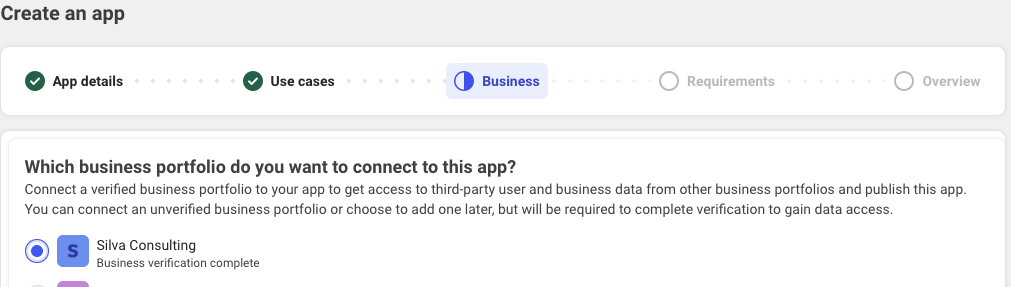
- Select Business as the app type
- Link the app to your Meta Business Account
Step 2 — Business Verification
Business Verification is required before calling can be enabled.
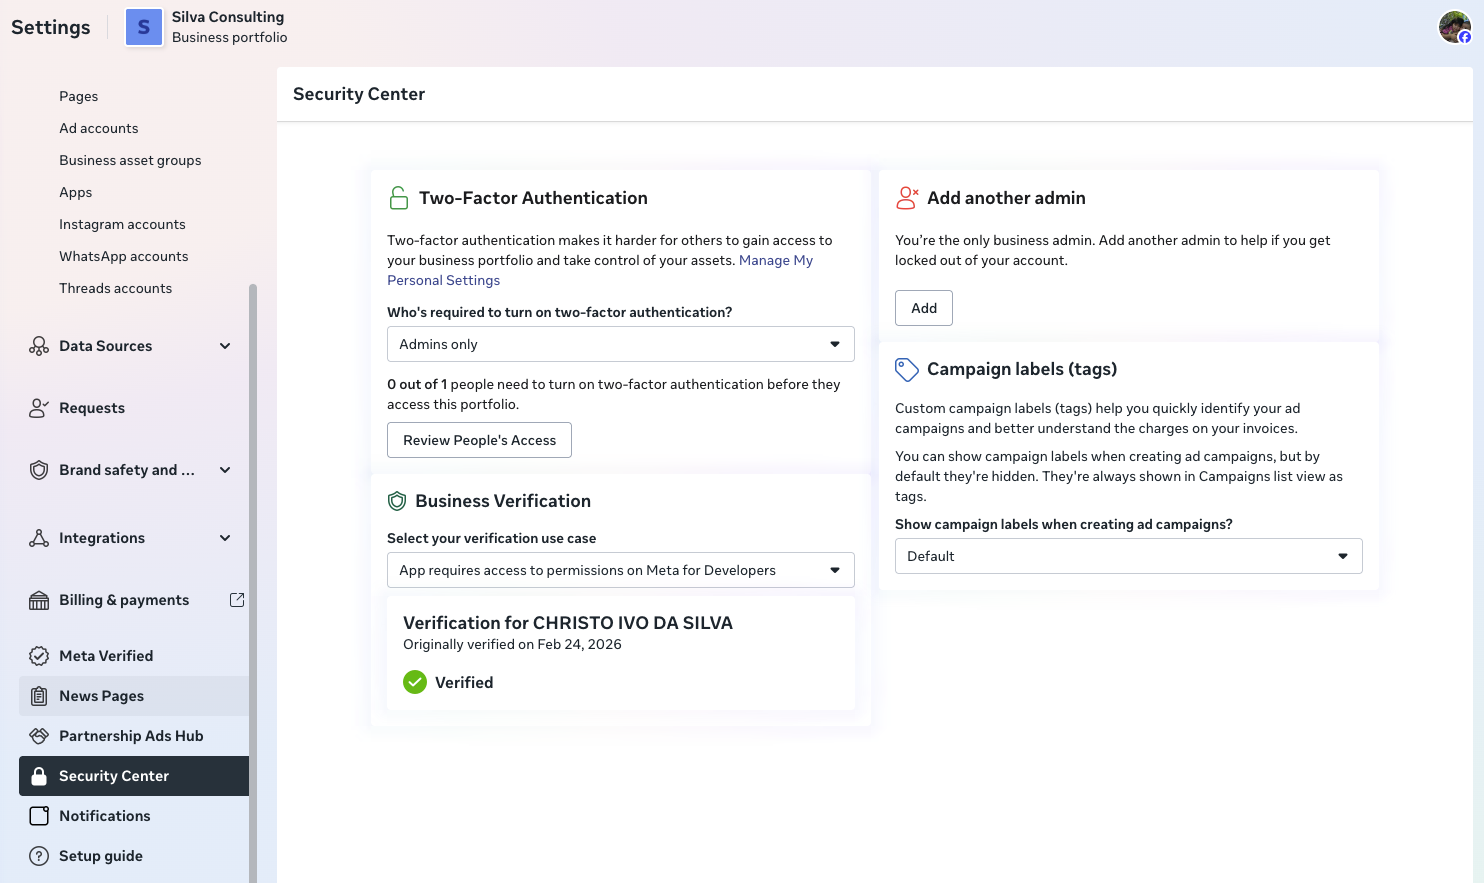
- Go to business.facebook.com → Settings → Security Center -> Business Verification
- Under Business Verification, submit your business documents
- Verification typically takes 1–3 business days
- Once verified, your account status will show Verified
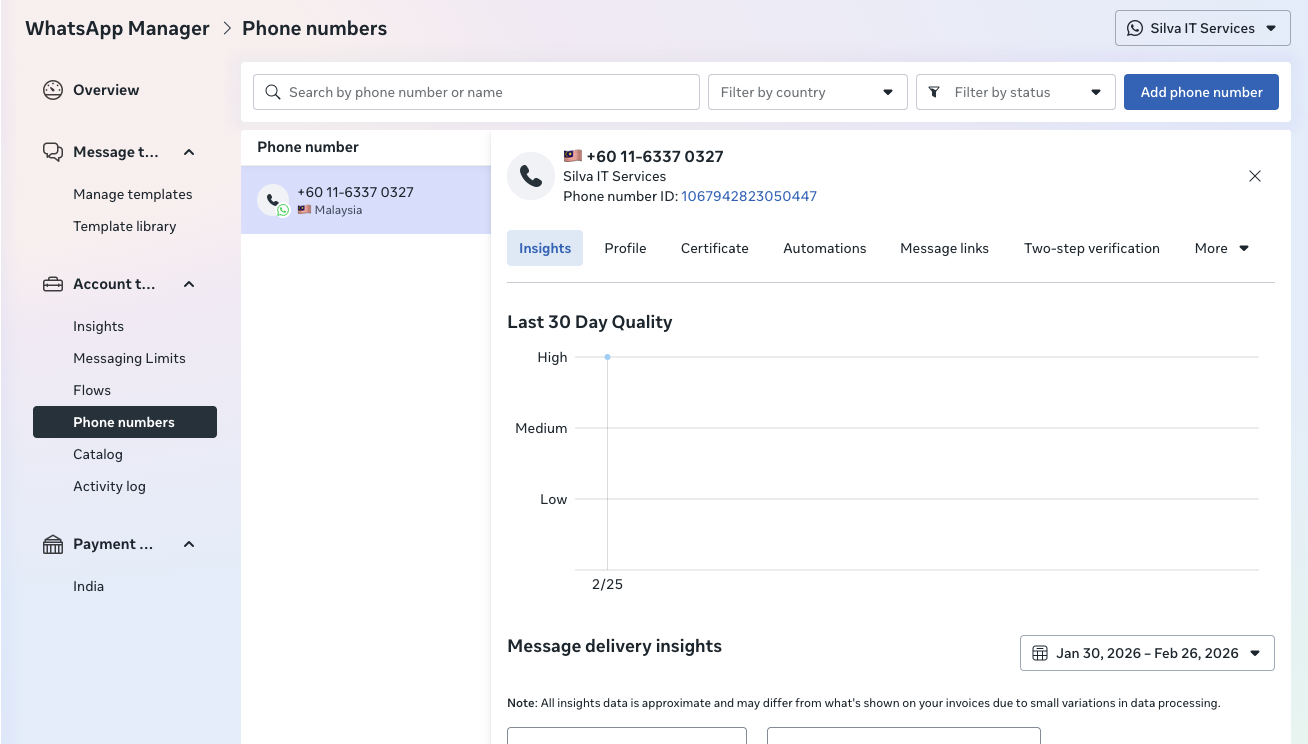
Step 3 — Add and Verify Your Phone Number
- Go to the WhatsApp Manager and select Phone Numbers under Account Tools
- Click Add phone number
- Enter your business phone number — this must not be an active WhatsApp personal or business app number
- Request a verification code via SMS or voice call
- Enter the code to verify the number
- Note your Phone Number ID — you will need this for all API calls
Step 4 — Get a Temporary API Token
For initial setup and testing, a temporary token can be obtained from the dashboard:
- Go to Meta App Dashboard → Connect with customers through WhatsApp → Customize → API Setup
- Under Temporary access token, click Copy
Step 5 — Enable Calling and SIP via API
Run the following commands, replacing PHONE_NUMBER_ID and TOKEN with your values.
Configure SIP and enable calling:
curl -X POST \
  "https://graph.facebook.com/v25.0/PHONE_NUMBER_ID/settings" \
  -H "Authorization: Bearer TOKEN" \
  -H "Content-Type: application/json" \
  -d '{
    "calling": {
      "status": "ENABLED",
      "callback_permission_status": "ENABLED",
      "sip": {
        "status": "ENABLED",
        "servers": [
          {
            "hostname": "your.vodia.hostname",
            "port": 5061
          }
        ]
      },
      "srtp_key_exchange_protocol": "SDES"
    }
  }'
Retrieve your SIP credentials:
curl -X GET \
  "https://graph.facebook.com/v25.0/PHONE_NUMBER_ID/settings?include_sip_credentials=true" \
  -H "Authorization: Bearer TOKEN"
The response will contain your SIP user password:
{
  "calling": {
    "sip": {
      "status": "ENABLED",
      "servers": [
        {
          "hostname": "your.vodia.hostname",
          "sip_user_password": "YOUR_SIP_PASSWORD"
        }
      ]
    }
  }
}
Note this password — you will enter it into the Vodia trunk configuration in Part 2.
Step 6 — Outbound Call Permissions
For outbound calls (business calling a WhatsApp user), Meta requires that the user has previously granted call permission to your business.
Recommended: Enable Callback Permission
When callback_permission_status is set to ENABLED (as configured in Step 5), any user who calls your business inbound automatically grants 7-day temporary permission for your business to call them back. This is the recommended approach for call centre and support use cases as it requires no additional steps.
Alternative: Send a Permission Request Message
If callback permission is not enabled, you must explicitly request permission from each user before placing an outbound call. This can be done by sending an interactive permission request message during an active conversation window:
curl -X POST \
  "https://graph.facebook.com/v25.0/PHONE_NUMBER_ID/messages" \
  -H "Authorization: Bearer TOKEN" \
  -H "Content-Type: application/json" \
  -d '{
    "messaging_product": "whatsapp",
    "recipient_type": "individual",
    "to": "+USER_PHONE_NUMBER",
    "type": "interactive",
    "interactive": {
      "type": "call_permission_request",
      "action": {
        "name": "call_permission_request"
      },
      "body": {
        "text": "We would like to call you on WhatsApp to provide support."
      }
    }
  }'
Permission types:
- Temporary — valid for 7 days, automatically granted when a user calls your business inbound (requires callback permission to be enabled)
- Permanent — granted by the user via the business profile or in response to a permission request message
Part 2 — Vodia PBX Configuration
Step 1 — Create a WhatsApp Trunk
- Log into the Vodia admin portal → Trunks → Add Trunk
- Select the WhatsApp trunk template
- Configure the following fields:
| Field | Value |
|---|---|
| Trunk Name | |
| Username | Your WhatsApp business phone number in normalized format, without the + (e.g. 601163370327) |
| Password | The SIP user password retrieved from the Meta API in Step 5 |
All other settings are pre-configured by the WhatsApp trunk template.
Step 2 — Configure Inbound DID Routing
- Go to the trunk → Number Management
- Add your WhatsApp business phone number
- Map it to the appropriate inbound destination — auto-attendant, ring group, call queue, or extension
Step 3 — Configure Outbound Dial Plan
Outbound calls through the WhatsApp trunk should only be used for calling WhatsApp users — not for regular PSTN/Landline/Mobile/GSM calls.
Call Flows
Inbound (WhatsApp User → PBX)
WhatsApp user dials business number
        ↓
Meta sends SIP INVITE to Vodia over TLS (port 5061)
        ↓
Vodia identifies the WhatsApp trunk
        ↓
Call routed to configured DID destination
        ↓
Agent answers
Outbound (PBX Agent → WhatsApp User)
Agent dials WhatsApp user's number
        ↓
Vodia sends SIP INVITE to wa.meta.vc
        ↓
Meta challenges with 407 Proxy Authentication Required
        ↓
Vodia responds with digest credentials
        ↓
Meta verifies the user has granted call permission
        ↓
WhatsApp user's phone rings