WebRTC Trunks
When using WebRTC with the Vodia PBX, you can put a talk button on your web page that your web site users can use to call your company. Instead of publishing a phone number, you can use your web site address as a single point for communication with your company. With the growing support for WebRTC in the web browsers, you can have customers call you from desktop computers, laptops, tablets and smartphones from their offices or mobile.
The call will end up on the Vodia PBX. However, if you are operating another PBX that supports the SIP protocol, you can forward the call to that PBX. This makes it possible to add the WebRTC functionality to existing installations without having to change the existing setup.
How it works
WebRTC is a way that the browser can communicate using audio and video to other parties on the Internet. The audio and video is sent using the RTP protocol, just like most of the Internet real-time communication is using it. However, instead of using H.323, SIP or other protocols, WebRTC leaves the call setup to the service provider and JavaScript code running on the browser.
While there is a wide agreement that WebRTC is the way to go for communications from the web browser, not every web browser supports it yet. Actually, as of today, only Google Chrome supports it in its released version. Firefox has a beta version with WebRTC support; we expect it will be included in the standard release. More information is available on http://www.webrtc.org/.
The Vodia PBX uses only a subset of the WebRTC feature set. Because the Vodia PBX is a PBX with a built-in session border controller performs media relay, there is no need to perform the full ICE discovery procedure. Also, the Vodia PBX does not use video.
Set up a WebRTC trunk
You can set up a trunk in the domain where the call from the web browser should end up. You may actually set up several trunks in different domains or in in the same domain if you want.
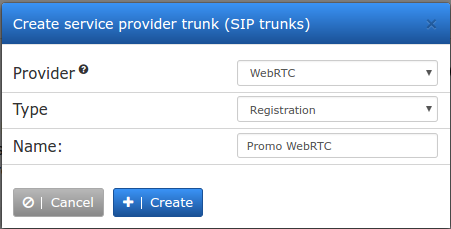
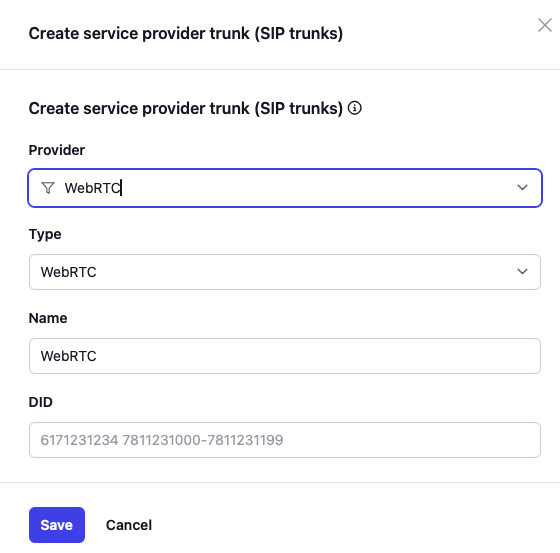
You should use a user name for your trunk so that you later can easily figure out where the call comes from. The destination where the call will be terminated can be set in the "Destination for the incoming call". Then hit the create button.
- Version 69
- Version 70


Adding the Talk! button to a web site
Once the WebRTC trunk has been created, you need to add the talk button to your website. In order to get this done, go to the trunk overview and click on "Web Code". Make sure you are logged in to your PBX via HTTPS URL and not HTTP as the code will be generated accordingly.
- Version 69
- Version 70


After clicking on the generate button, the web interface will show code that can be copied & pasted into the web site where they talk button should appear. Of course, even your web server which will host this code should on the HTTPS URL.
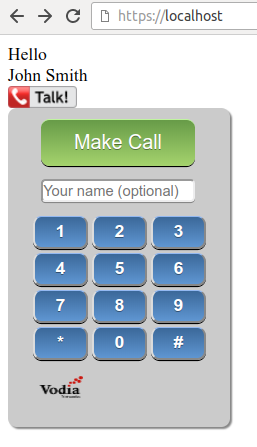
Once the code has been pasted in the webpage of your server, the test "Talk" button (along with the dial pad, which won't be displayed of course) would seem like this:

Linking the Vodia PBX to another PBX
In many environments, there is already an existing PBX deployment in use that should not be affected by adding WebRTC calling capability. In such environments, there are several ways to connect the Vodia PBX to the existing PBX using the SIP protocol.
The easiest approach is to have the existing PBX register an extension on the Vodia PBX. In this case, on the Vodia PBX, you have to set up an extension, assign a password and then have the existing PBX register a trunk to the Vodia PBX extension. In this setup, the PBX does not have to be in the same LAN as the existing PBX. The build-in SBC will take care of NAT issues.
Sending calls from the Vodia PBX to a SIP trunk
You can also send WebRTC calls to a predefined number, for example, your cell phone or an existing PSTN number. This is done using the general SIP trunk capability of the Vodia PBX. In order to do that, you need to enable the "Inter-Office" routing capability on the WebRTC trunk and tell the PBX which dial plan on the PBX to use for routing the call.
The number that will be called appears in the WebRTC Destination settings. Enter the name and the number to call in this setting.