Installation & Login
The Vodia iOS app requires PBX version 68 or higher.
QR Code Prerequisites
- Group permissions — Under Group Permissions, make sure permissions are enabled for both the app and the web frontend for the user's group.
- HTTPS redirect — Under System → Network Settings, confirm Redirect to HTTPS is turned on.
- Pairing codes — Under System → Security Settings, confirm Pairing codes are turned on.
- SSL certificate — Ensure the tenant's domain name has a valid SSL certificate. An expired, self-signed, or mismatched certificate will cause the app to fail to connect.
Installation
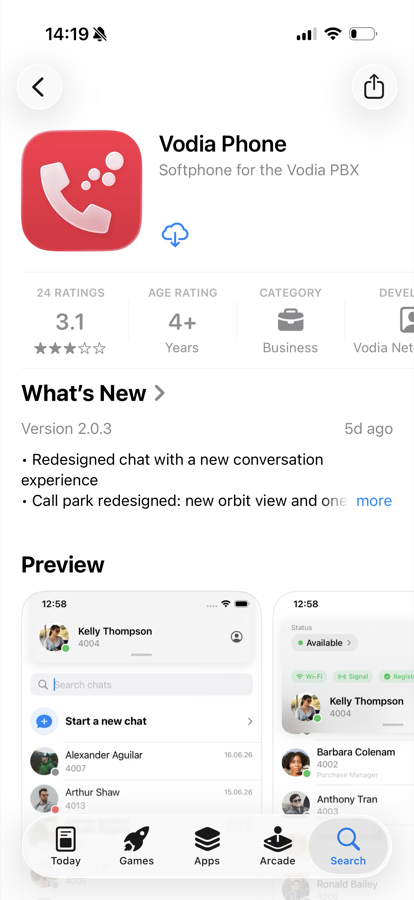
You can install the app from the Apple App Store: Vodia Phone. A download link is also shown on the login page of the PBX web interface. The app requires iOS 26 or later.
Permissions
When you first use the app, iOS will ask for a few permissions. Please allow them — the app cannot work properly without them:
- Notifications — Incoming calls and chat messages are delivered through Apple's push service. Without this permission, the app cannot ring when it is in the background.
- Microphone — Required to make and receive voice calls.
- Camera — Used only to scan the QR code during sign-in.
- Contacts (optional) — Lets the app show your device contacts in the address book, so you can call or message them directly.
Logging In
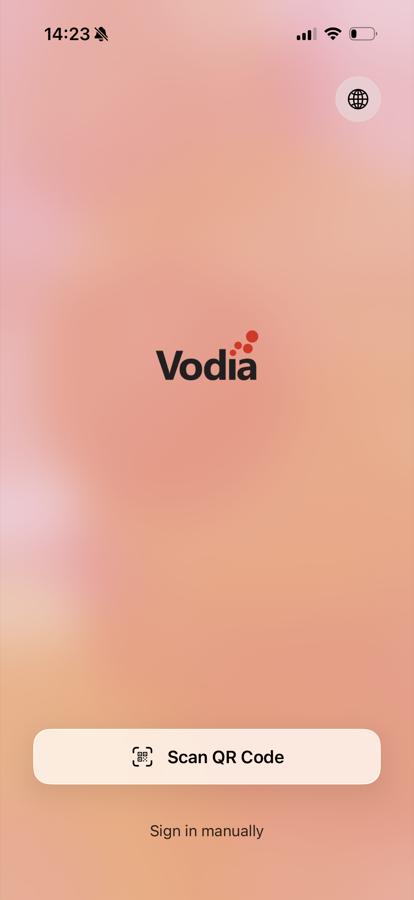
The login screen offers two ways to sign in: scanning a QR code (recommended) or entering your account details manually. You can also change the app language from the globe icon in the top right corner.
QR Code
The QR code contains the username, domain, and address of the PBX, plus a token linked to your account password — one scan and you are signed in. The code can be obtained in several ways:
Admin Portal
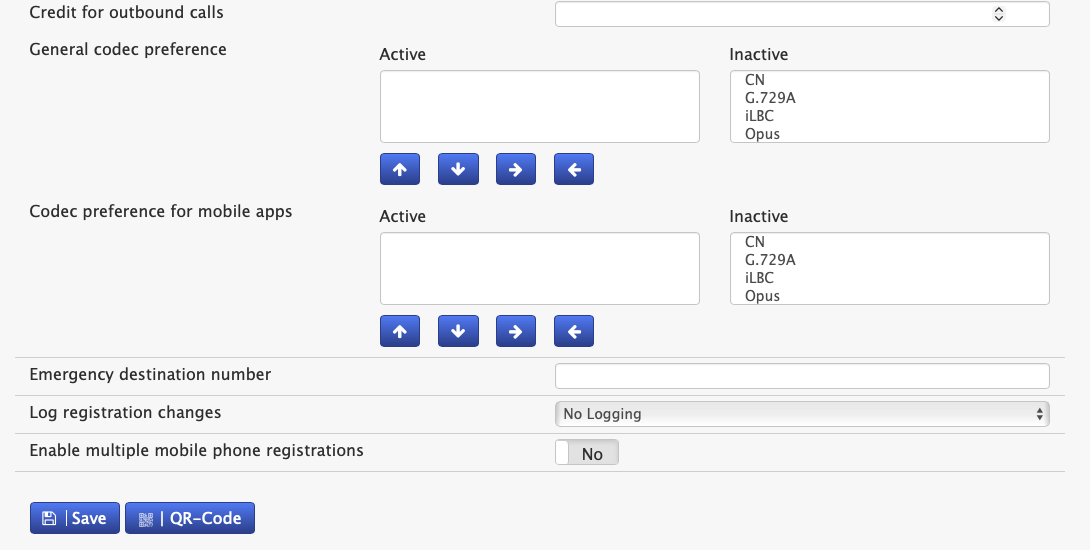
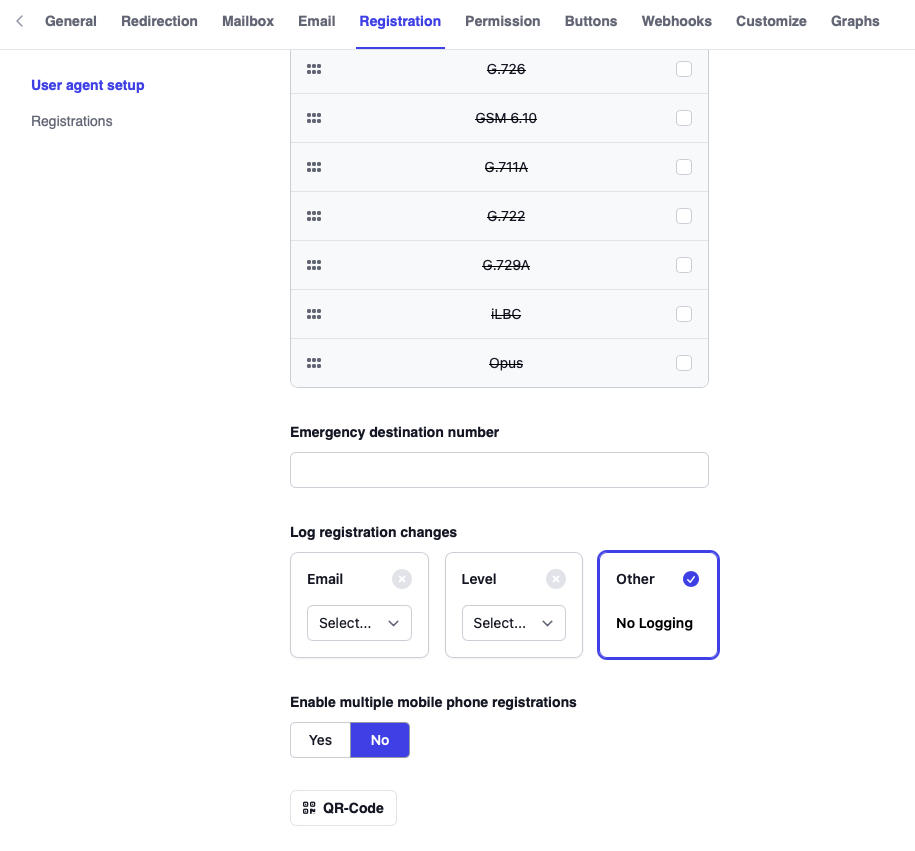
In the domain view of the administrator web interface, under the Provisioning tab, there is a button called "QR-Code" which creates a pop-up with the code. If the user is in front of the screen, the phone camera can scan the code directly from the screen.
- Version 69
- Version 70
End User Portal
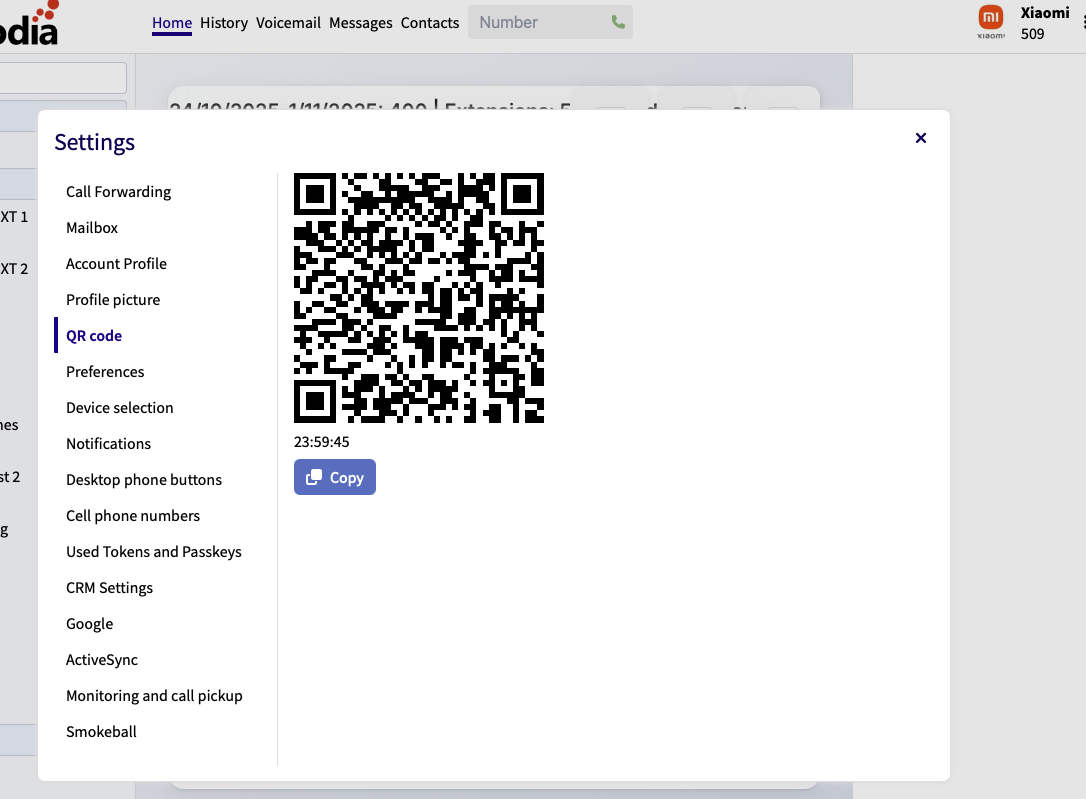
The same is possible from the user portal. The code is available from the user menu, which shows up after clicking on the user icon in the top right corner of the interface.
Bulk QR Code Generation
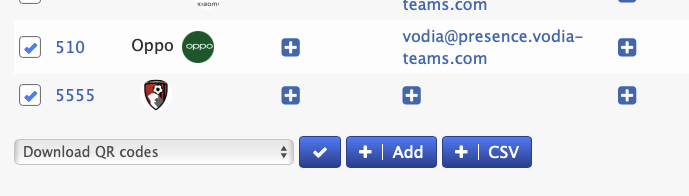
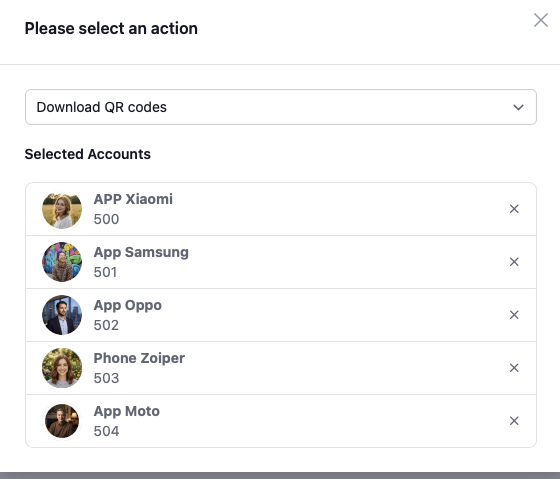
The administrator can generate a page that contains the codes for multiple users. To do this:
- Switch into the domain administrator view
- Select "Download QR codes" in the list of extensions
This page is intended for printing, so that the paper can be handed to the users.
- Version 69
- Version 70
QR Code via Email
The PBX can also send an email with the code to the user. This method must be enabled first in the system security settings:
- Navigate to Settings → Security → General
- Enable the setting "Include extension password and PIN in user welcome email"
You can then trigger welcome emails by going to the domain list of extensions and selecting "Send welcome email to selected accounts".
- Version 69
- Version 70


Manual Login
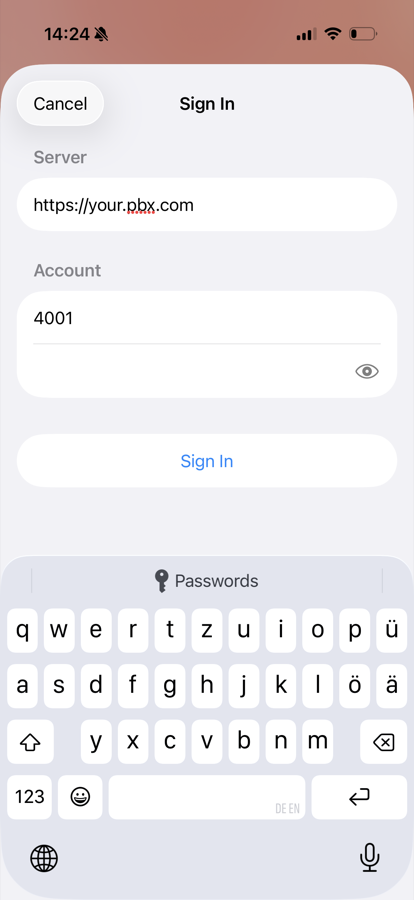
If a QR code is not available, tap Sign in manually and fill in:
- Server — the address of the PBX (e.g.
pbx.company.com). The app always connects over HTTPS. - Account — your extension and domain (e.g.
101@pbx.company.com) - Password — your account password. The eye icon shows or hides what you typed.
Logging Out
To sign out, open the app settings and tap the red Logout button at the bottom. This removes the account from the phone.
To remove the app from the PBX side (for example when an employee leaves the company), the administrator should reset the password for the extension and remove the app registration for the account in the domain list of extensions.