AWS Call S3 Recordings
AWS S3 Call Recordings
AWS Configuration
-
To set up an AWS S3 bucket and access key:
-
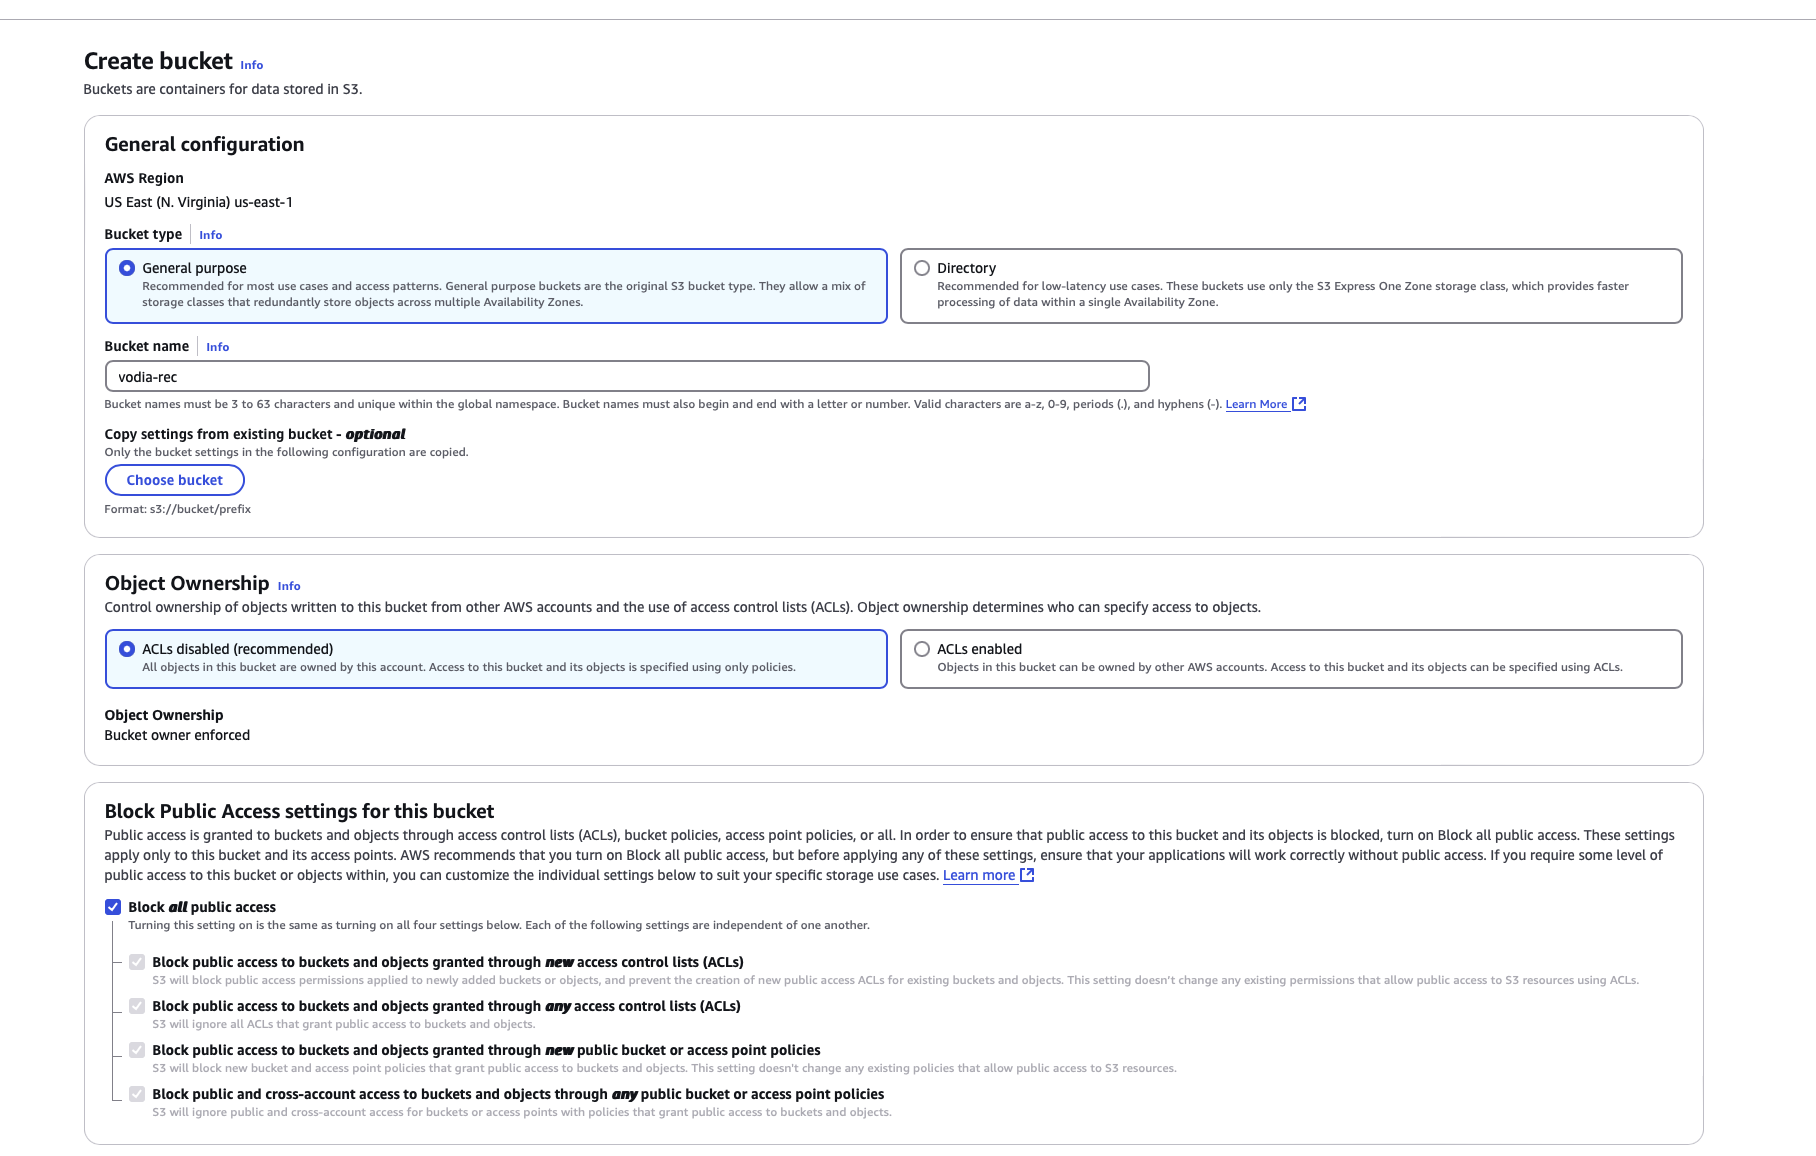
Create an S3 Bucket:
- Choose a descriptive, general-purpose bucket name.
- Disable Access Control Lists (ACLs) as recommended.
- Block all public access.
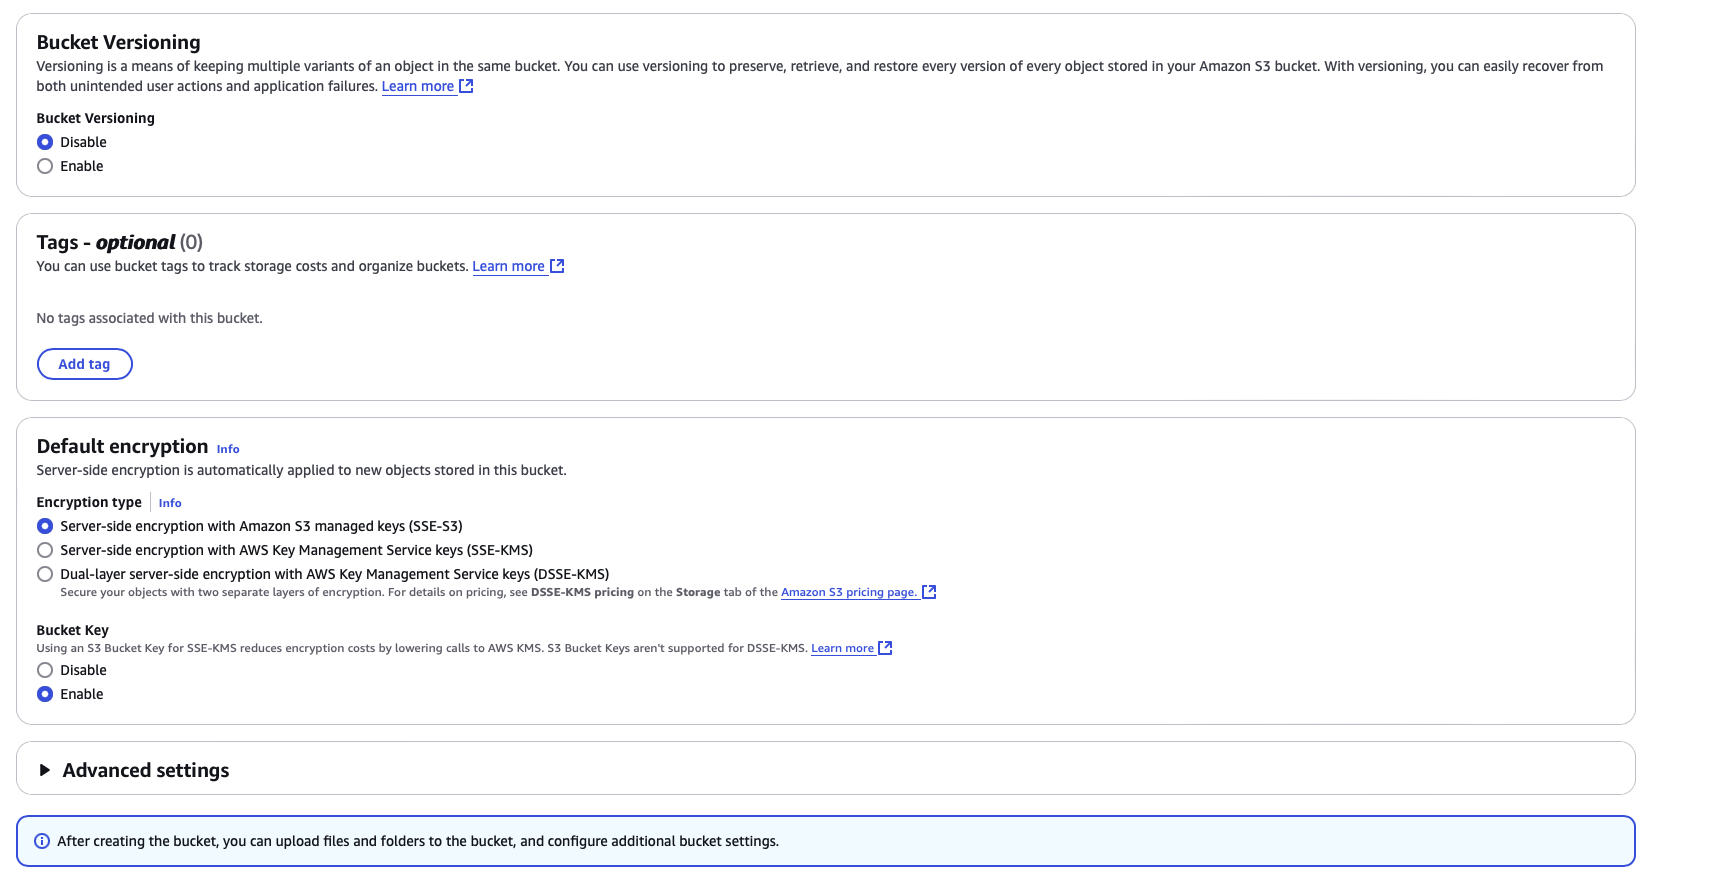
- Leave other settings at their default values.
-
-
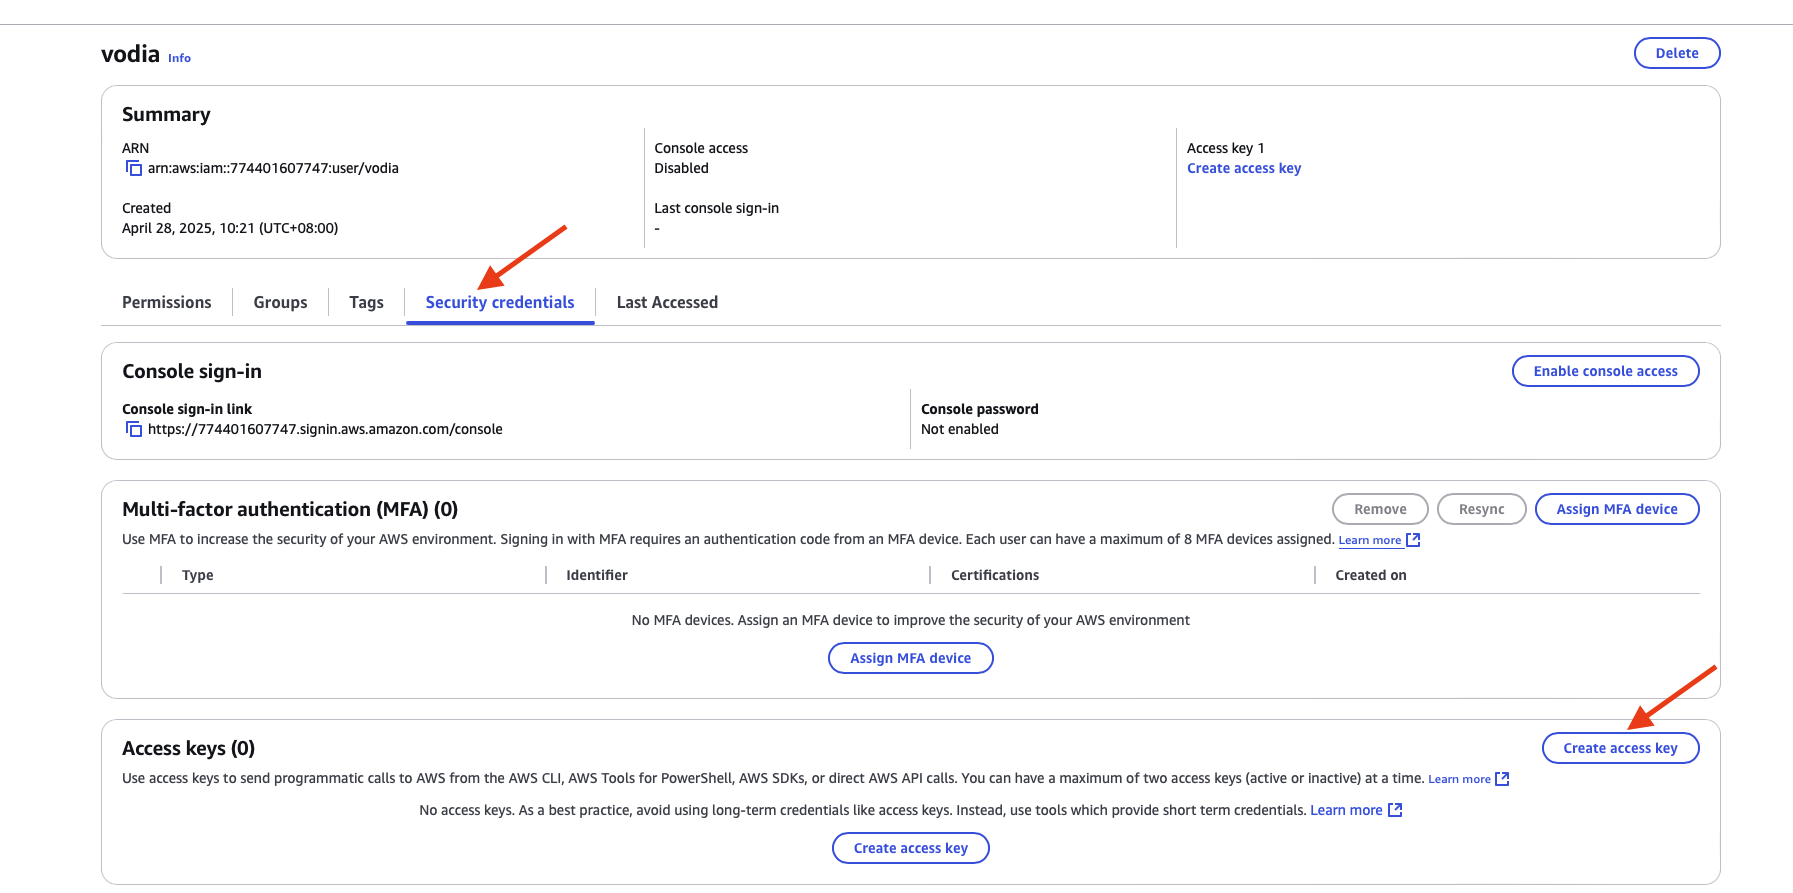
Create an IAM User and Access Key:
-
Create a new IAM user.
-
For permissions, select Attach policies directly
-
Assign the
AmazonS3FullAccesspolicy to this user.

-
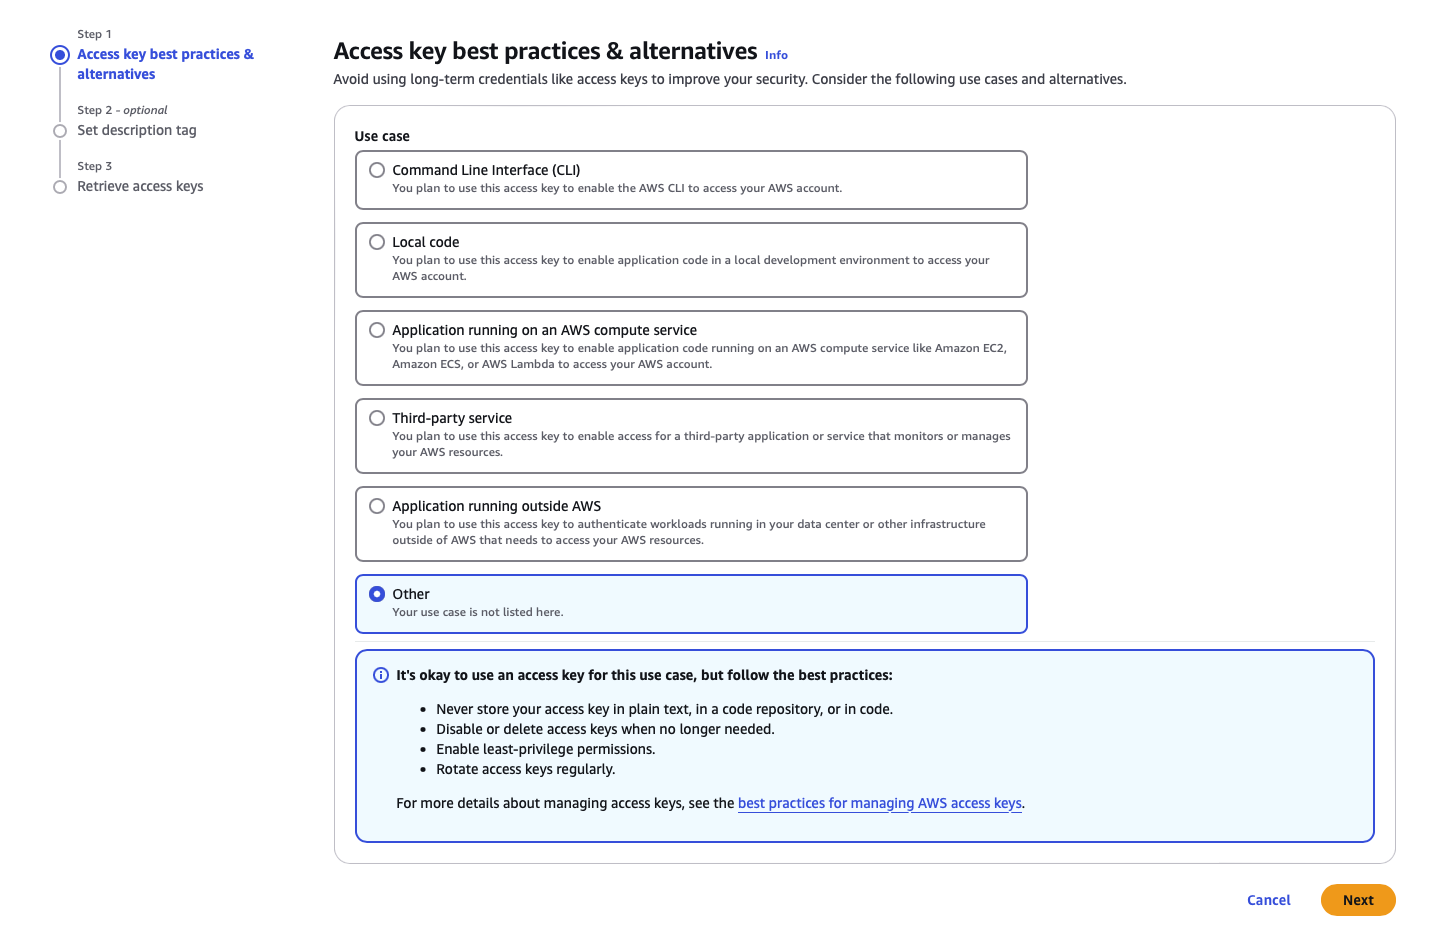
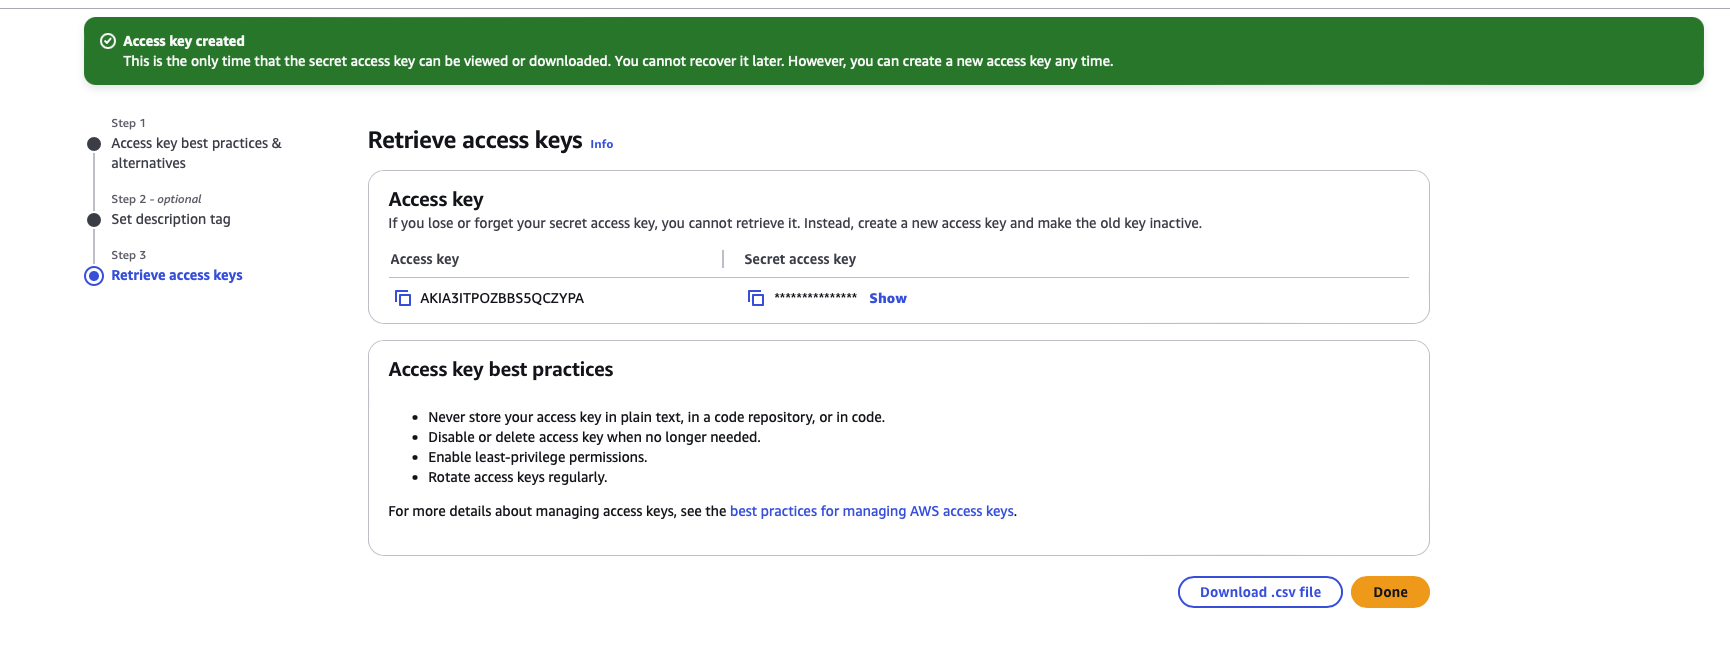
Create a new Access Key for the user.
-
Important: Copy and securely store both the Access Key and the Secret Access Key. You will need these later.
-
Record Key Information:
- Note down the name of your newly created AWS S3 bucket.
- Also, record the AWS region where the bucket was created..
-
PBX configuration
- Tenant General Settings:
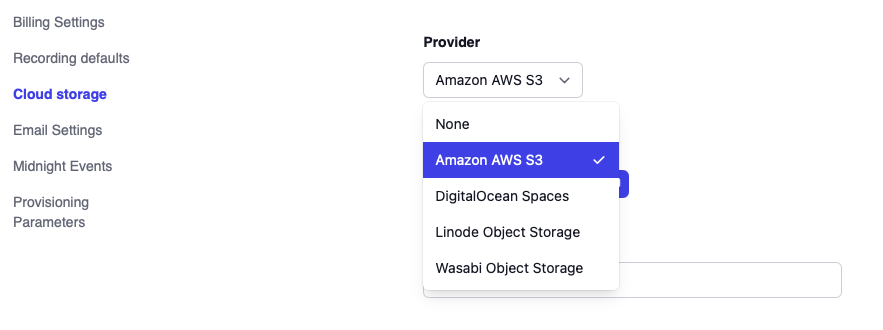
- In your Vodia PBX, go to the tenant's general settings.
- In the cloud storage provider settings, select "Amazon AWS S3" from the available options
- Version 69
- Version 70

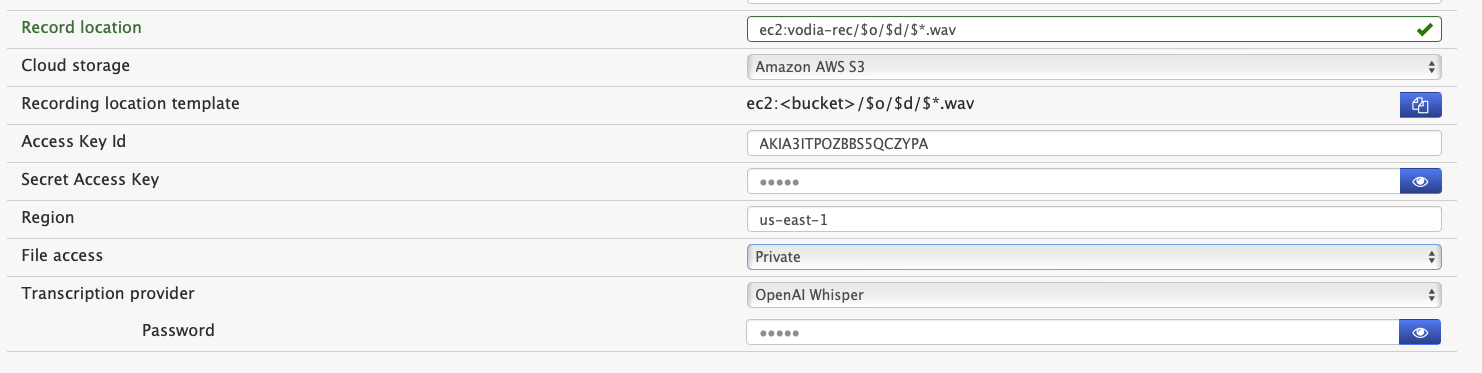
- Configure AWS Credentials and Region:
- Enter the Region, Access Key ID, and Secret Access Key that you previously obtained from your AWS account.
- Ensure the file access type is set to Private.
- Version 69
- Version 70
-
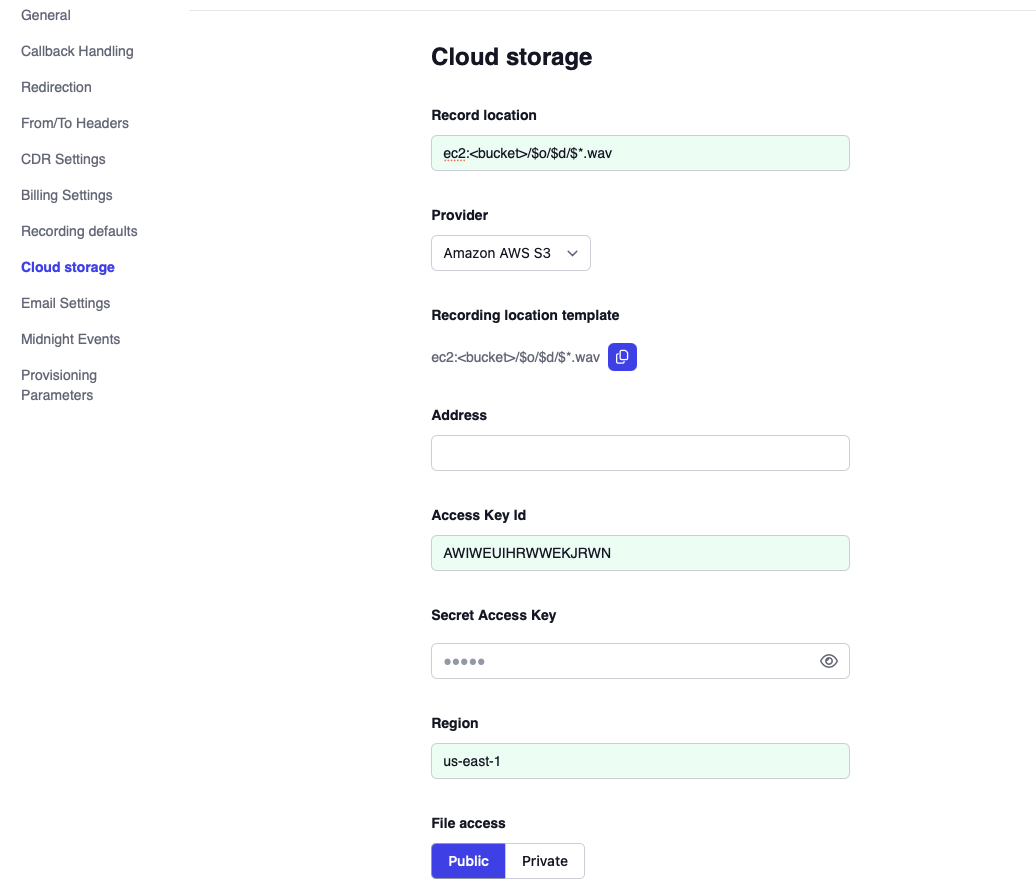
Set Recording Location:
-
Click the "copy" button next to the "Recording location template".
-
Paste the copied template into the "Recording location" field.
-
Important: Replace the placeholder
<bucket>in the "Recording location" field with the actual name of your AWS S3 bucket. This step tells PBX where to save recordings.
-
-
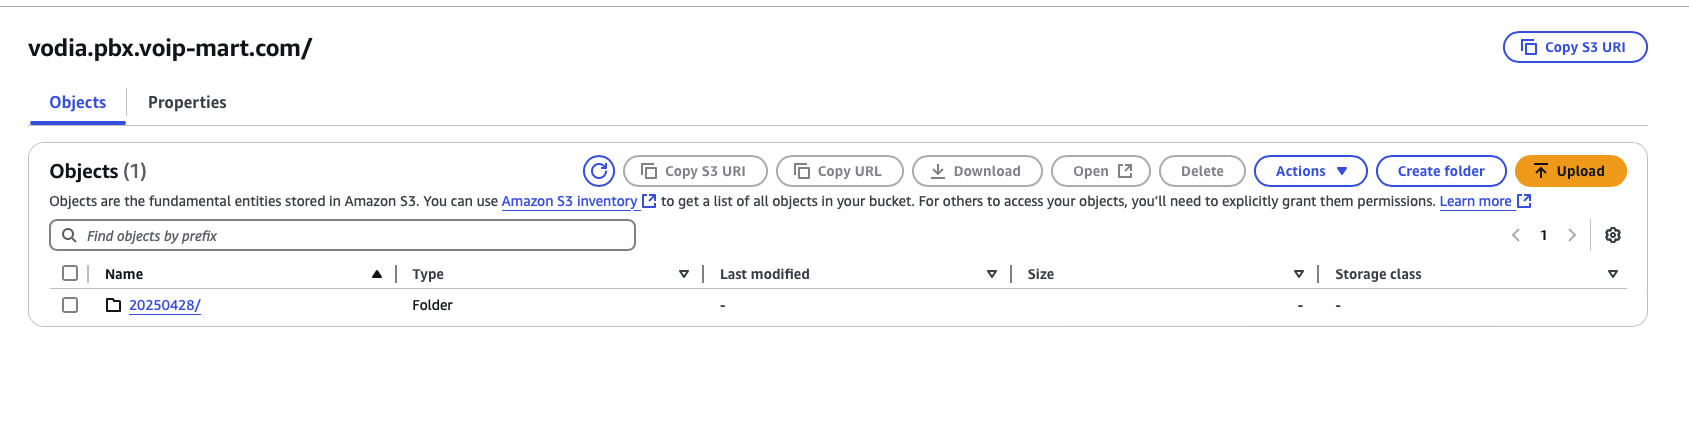
Test the Configuration:
- Make a few test calls.
-
Check your AWS S3 bucket to confirm that the call recordings from your test calls have been successfully saved. You should now see the audio files within your specified S3 bucket
Recording Playback Access
- To enable playing of recordings via the PBX web GUI, you need to grant network access to the relevant AWS S3 bucket. This can be done using an S3 bucket policy:
- You will need to identify the public IP address(es) or IP range(s) that need recording playback access.
- Configure a bucket policy on your AWS S3 bucket that allows access for the identified IP addresses.
- Here's a sample bucket policy. Remember to replace
YOUR-BUCKET-NAMEand the example IP addresses with your actual bucket name and the specific IP addresses or ranges you need to allow.
{
  "Version": "2012-10-17",
  "Statement": [
    {
      "Sid": "AllowMultipleIPs",
      "Effect": "Allow",
      "Principal": "*",
      "Action": "s3:*",
      "Resource": [
        "arn:aws:s3:::YOUR-BUCKET-NAME",
        "arn:aws:s3:::YOUR-BUCKET-NAME/*"
      ],
      "Condition": {
        "IpAddress": {
          "aws:SourceIp": [
            "1.1.1.1/32",
            "2.2.2.2/32",
            "3.3.3.3/32"
          ]
        }
      }
    }
  ]
}