Installation & Login
Vodia Phone 2 requires version 68 or higher.
Installation
You can install the app from the Google Play Store: Vodia Phone 2.
Permissions
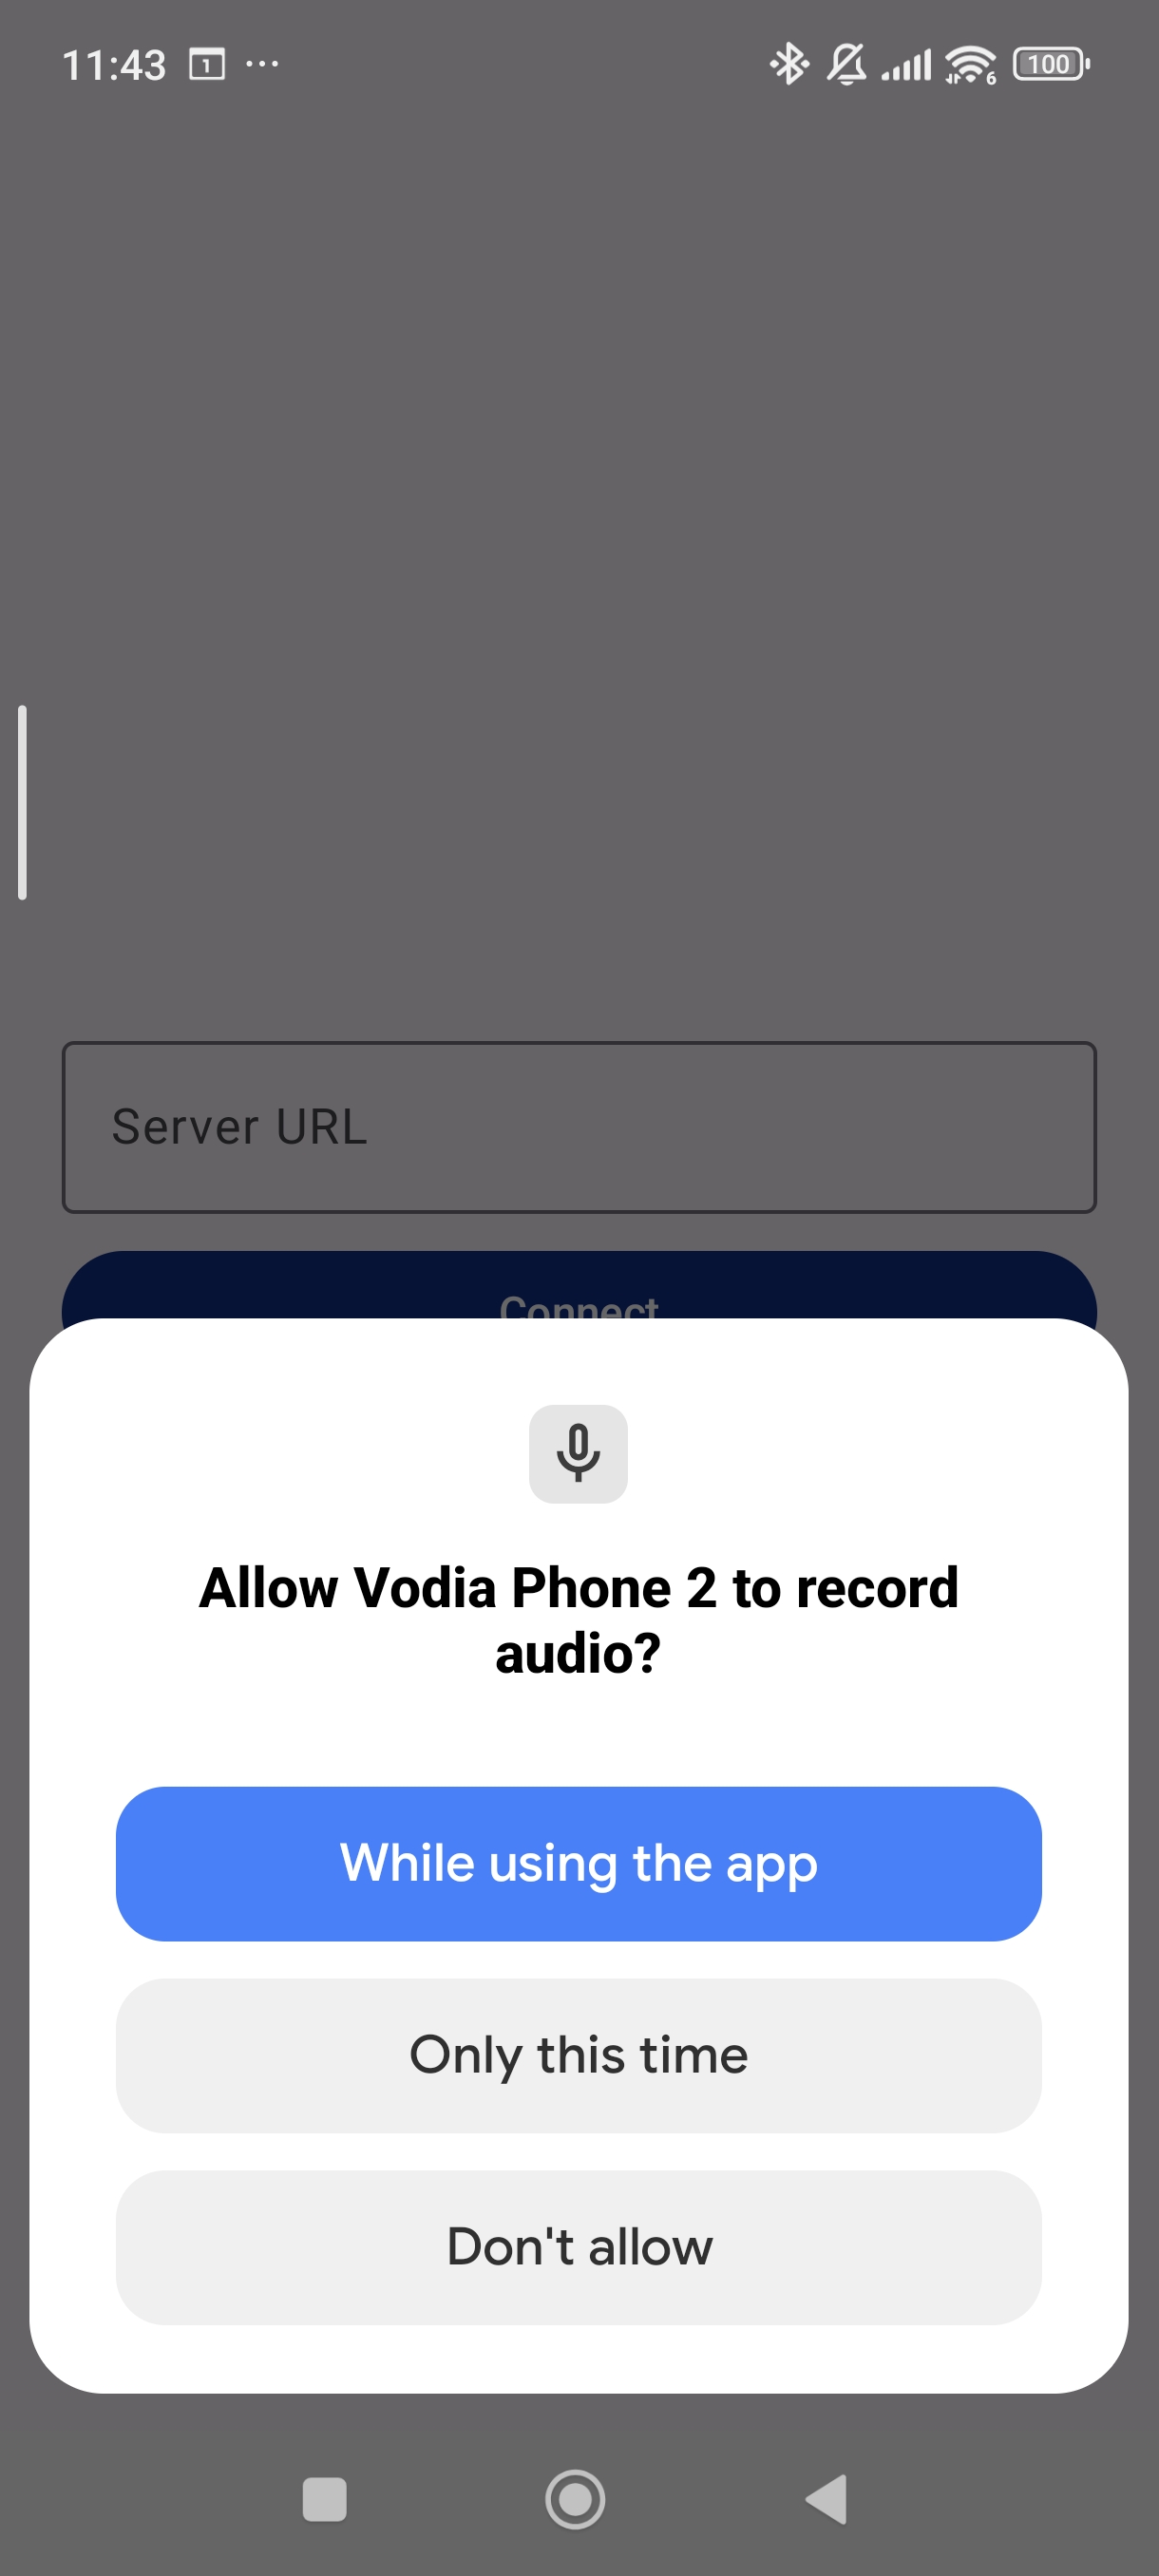
When you first open the app, it will ask you to set up the required permissions. It is very important that you turn on all the necessary permissions for the app to function properly.
Required Permissions
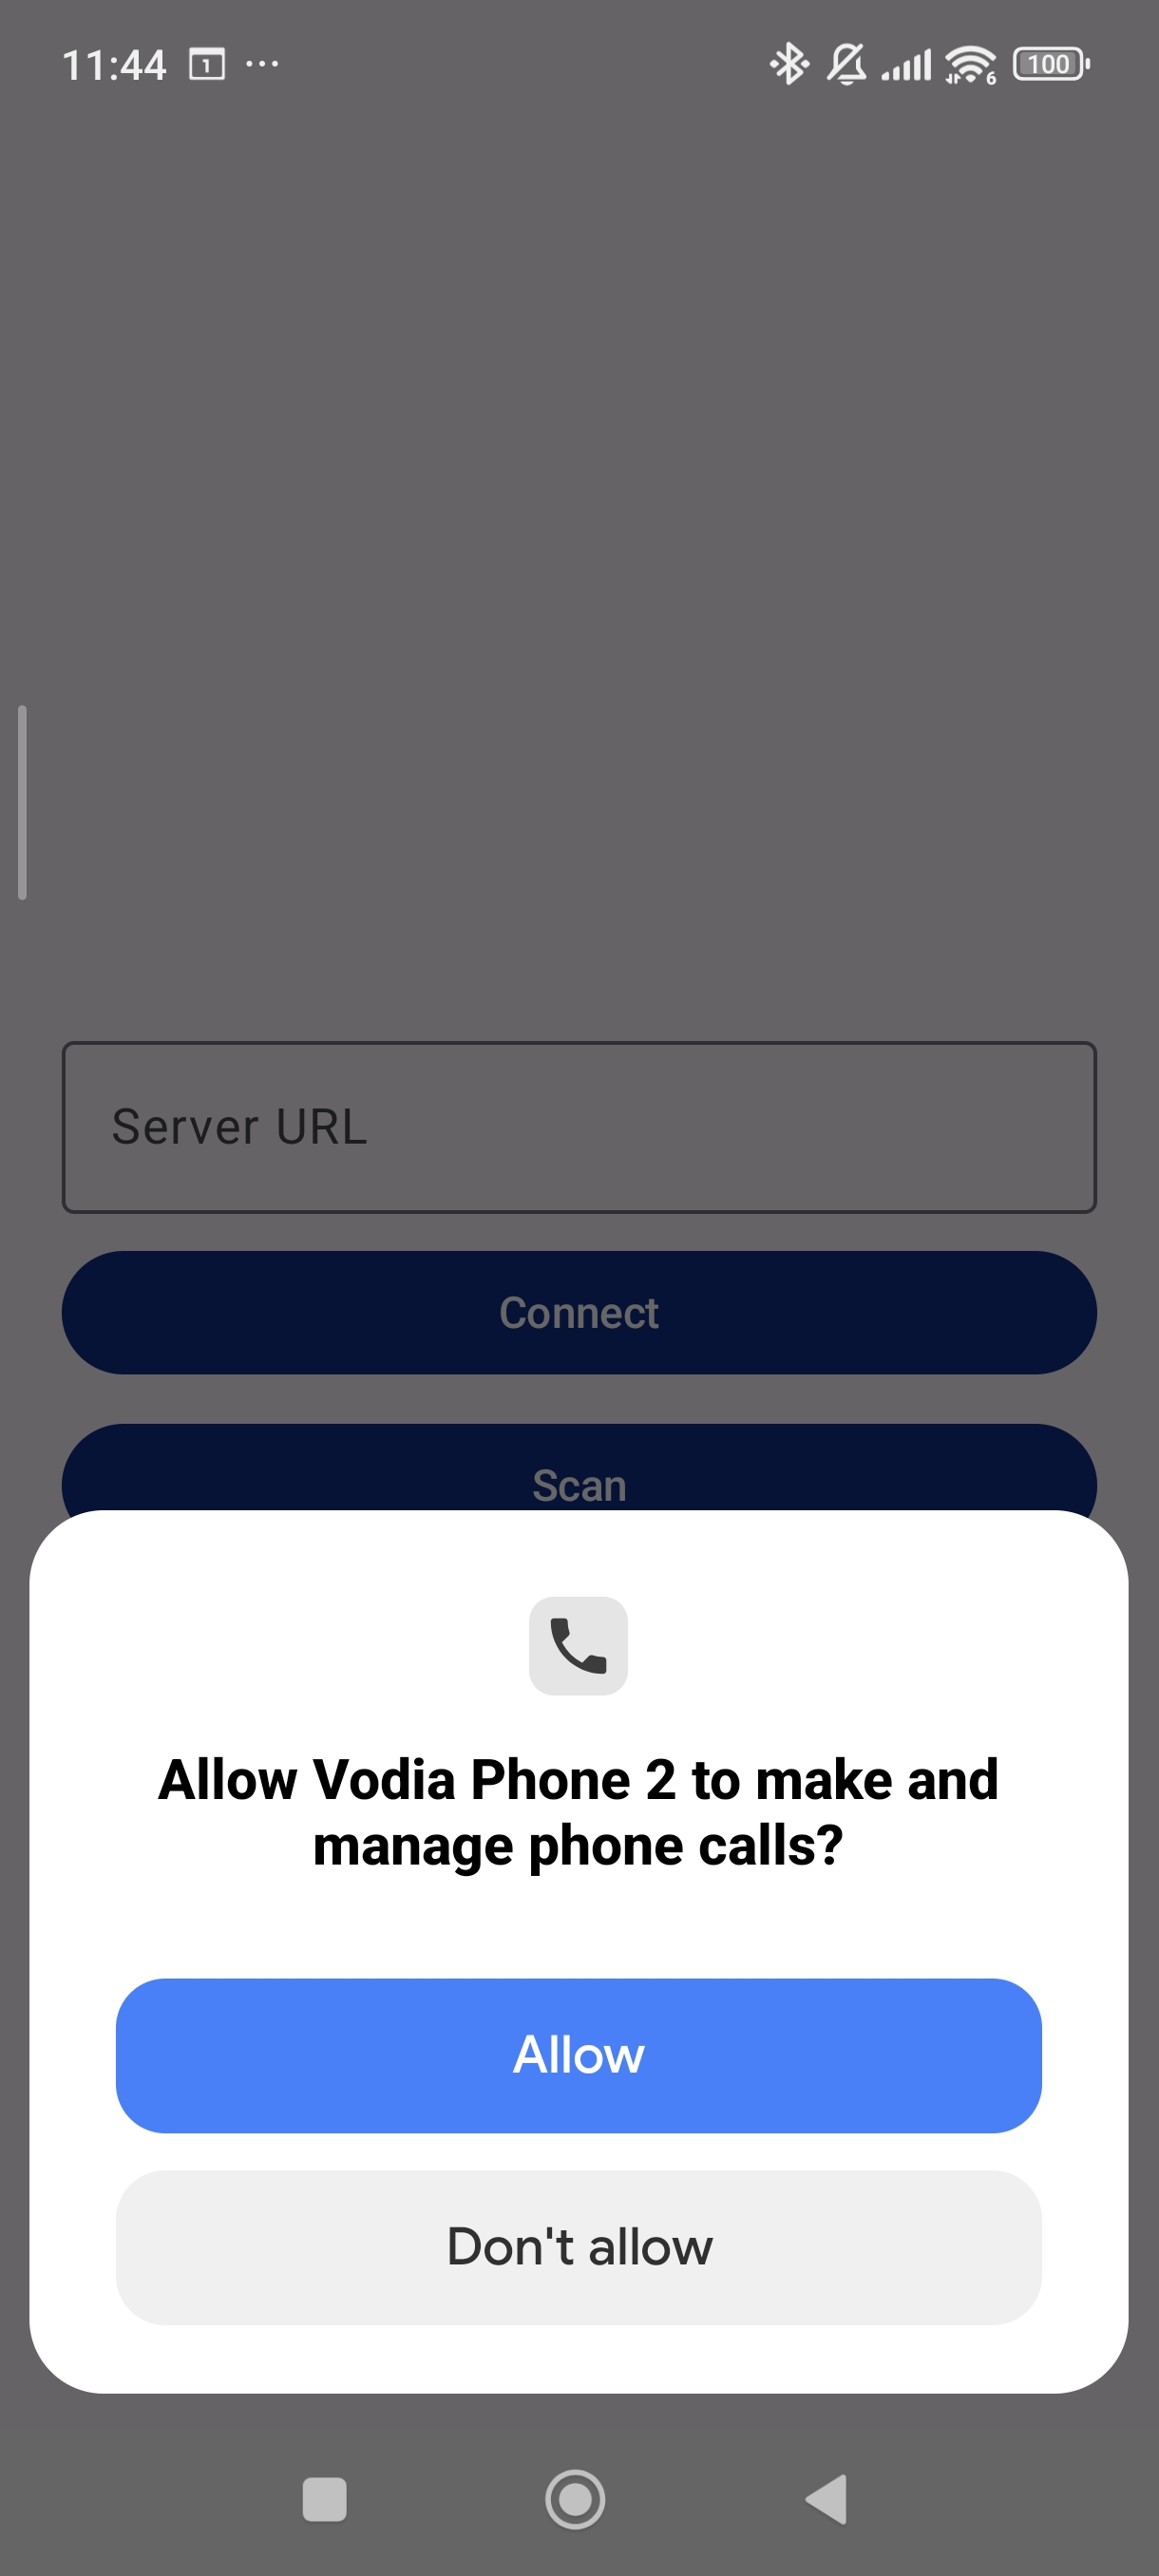
Calling Permission - This is critical as Vodia Phone 2 integrates with Android's Telecom Manager and makes use of the native dialer in the phone. This allows you to freely use Bluetooth features and Android Auto with the app. Once you enable the calling permission, hit the back button.
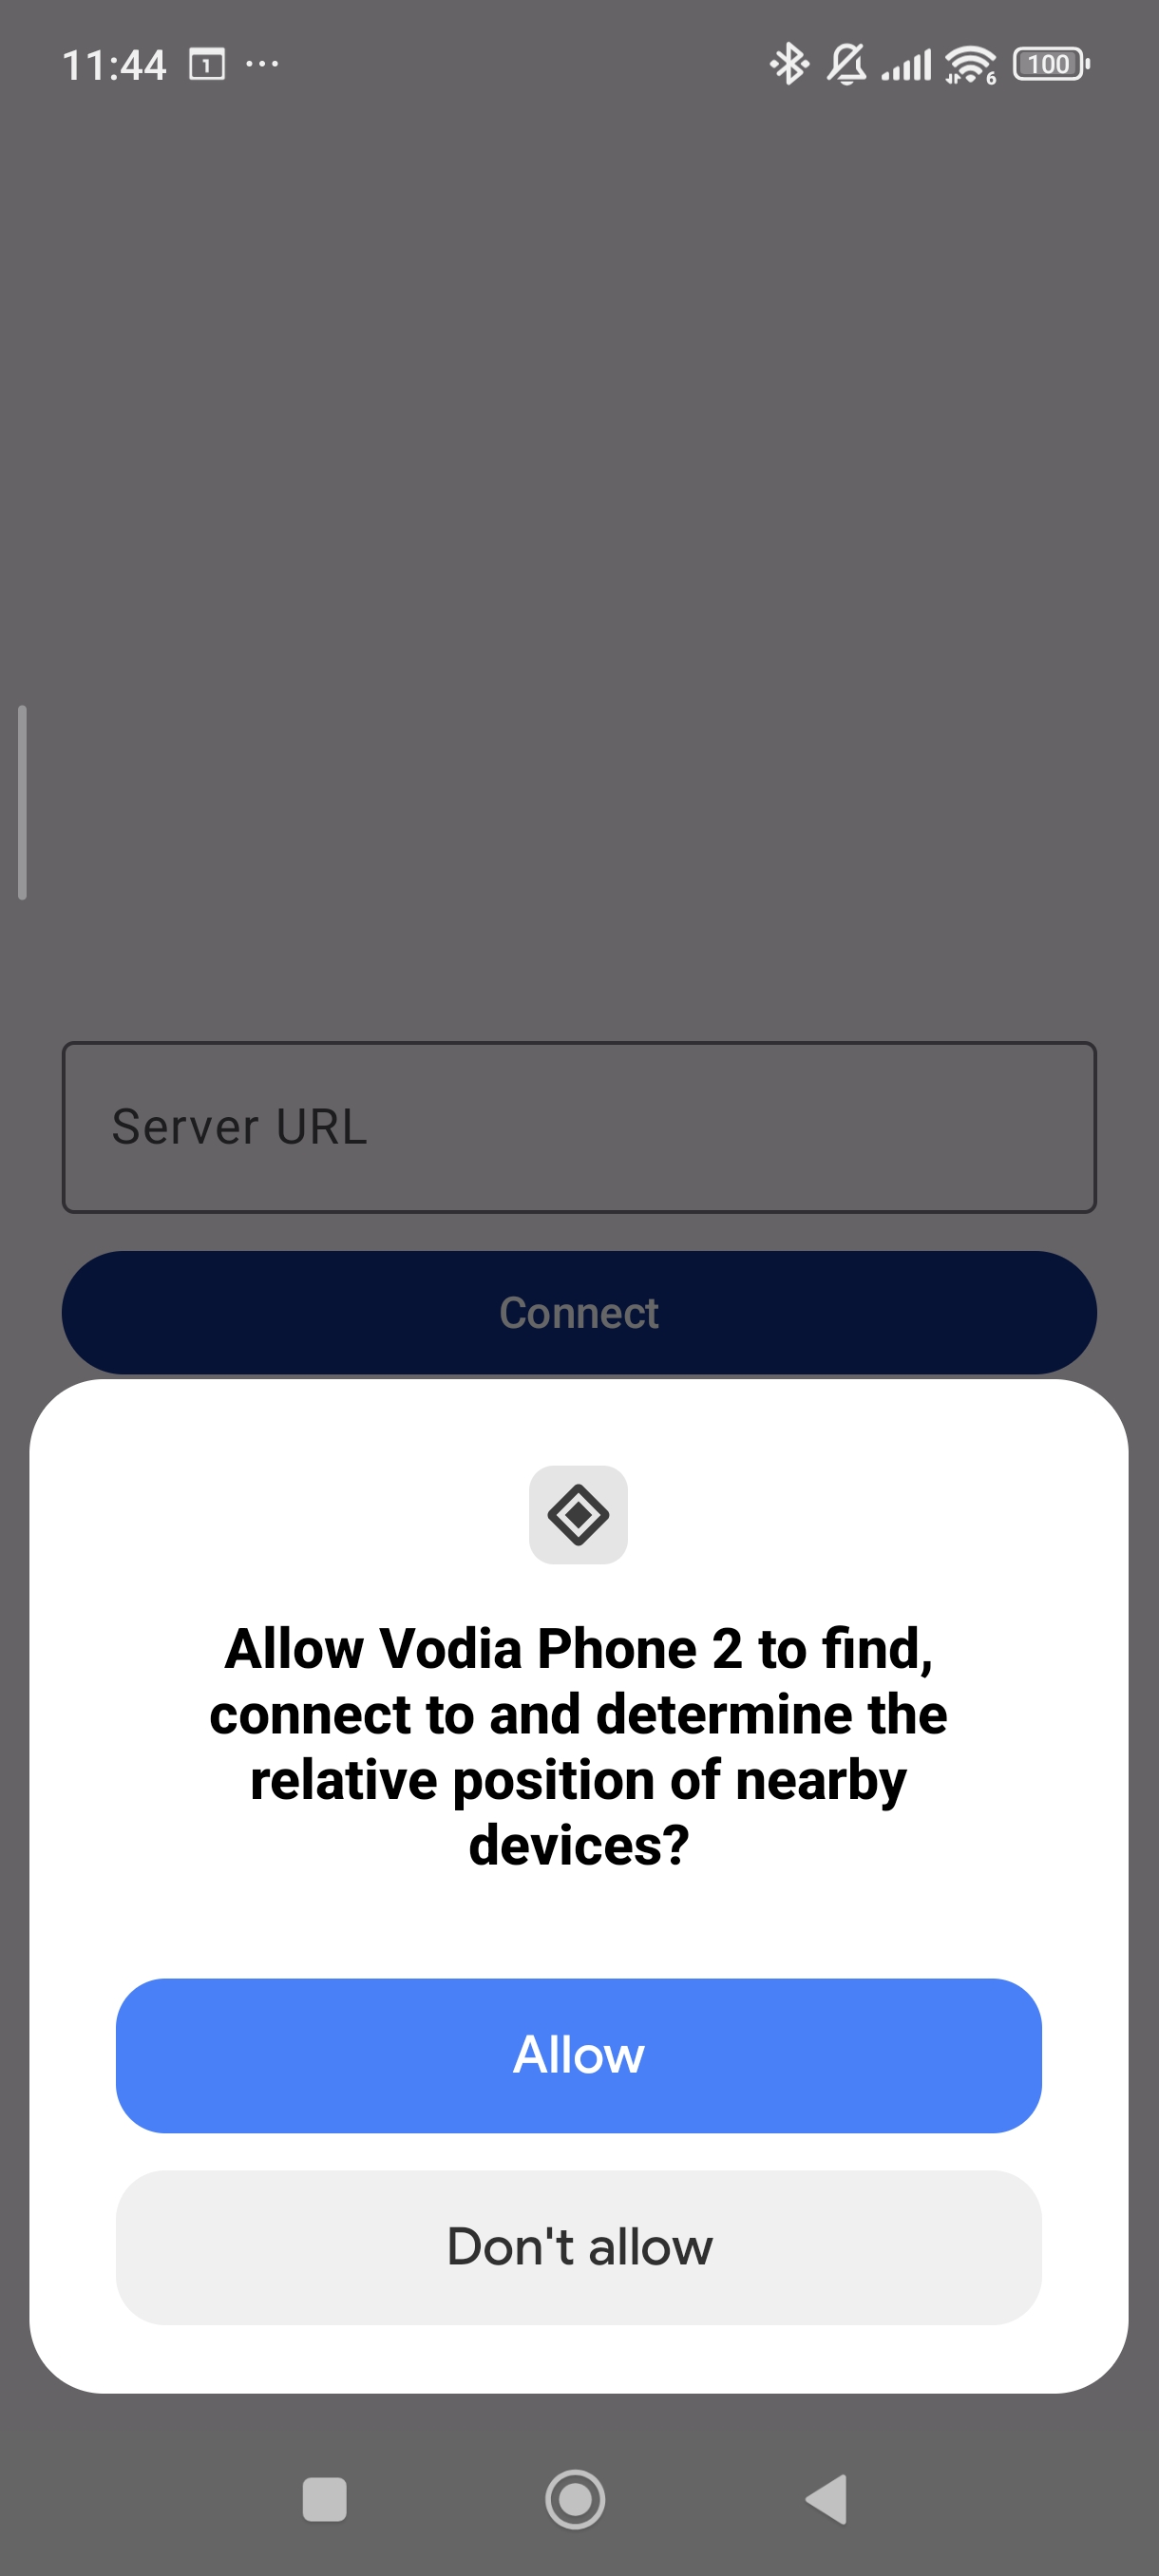
You will then be guided through turning on the following permissions:
- Allow Vodia Phone 2 to record audio
- Allow Vodia Phone 2 to find, connect to, and determine the relative position of nearby devices
- Allow Vodia Phone 2 to send you notifications
- Allow Vodia Phone 2 to make and manage phone calls

Logging In
In order to use the app, the user needs a 2D barcode that contains the username, domain, address of the PBX, and a token which is linked to the user's password for the account. The barcode can be obtained in several ways:
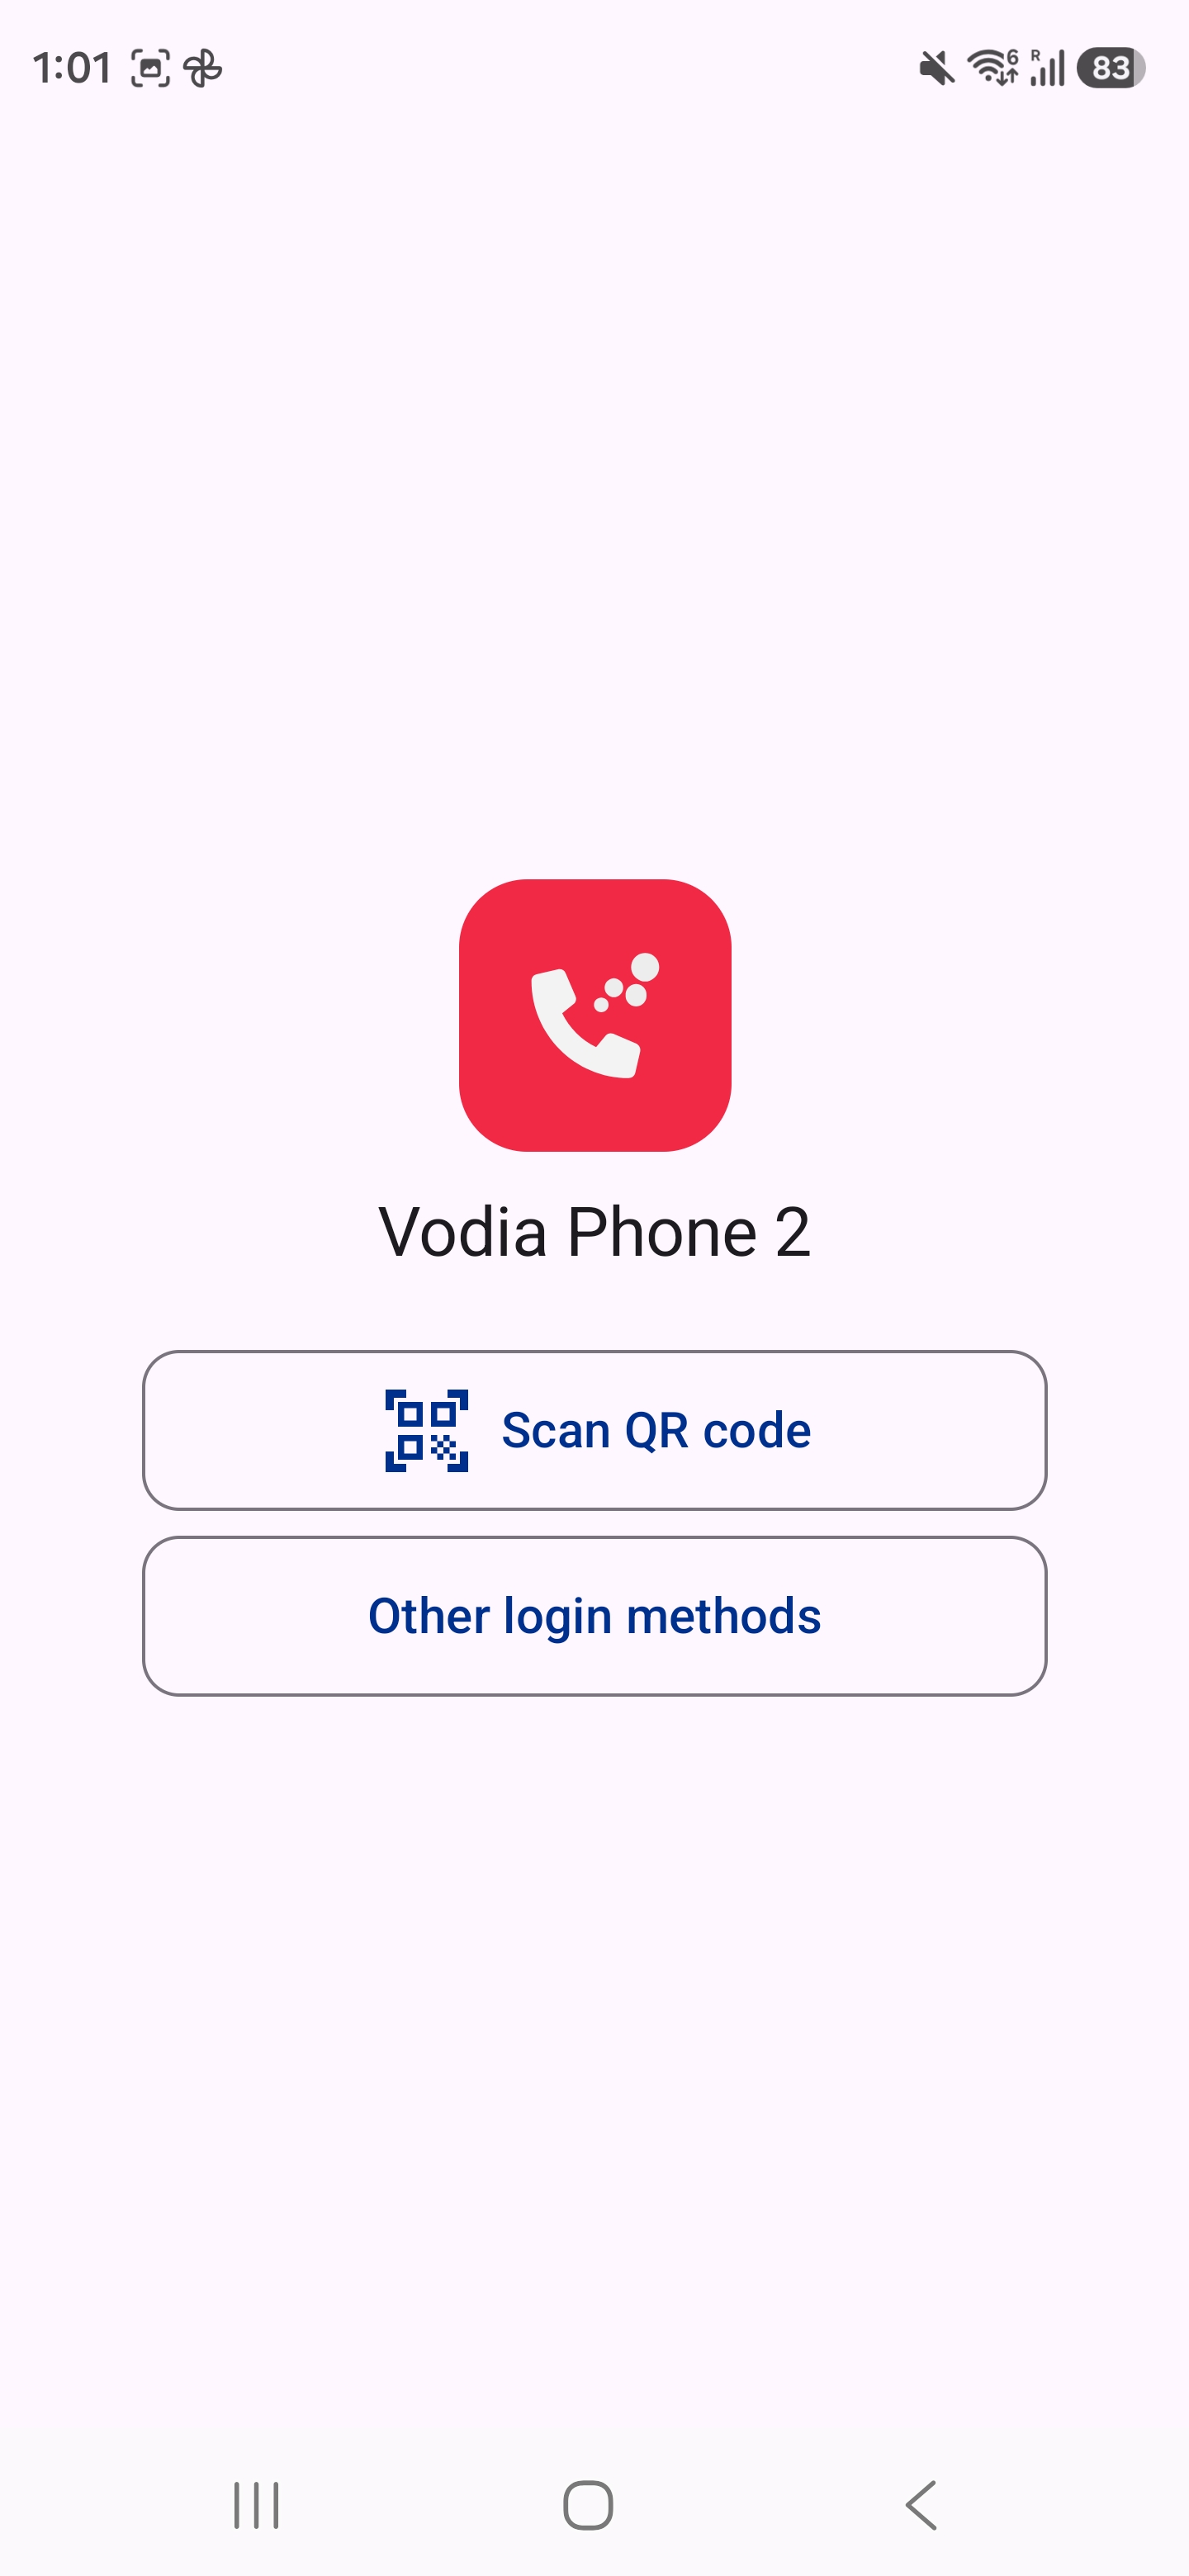
QR Code
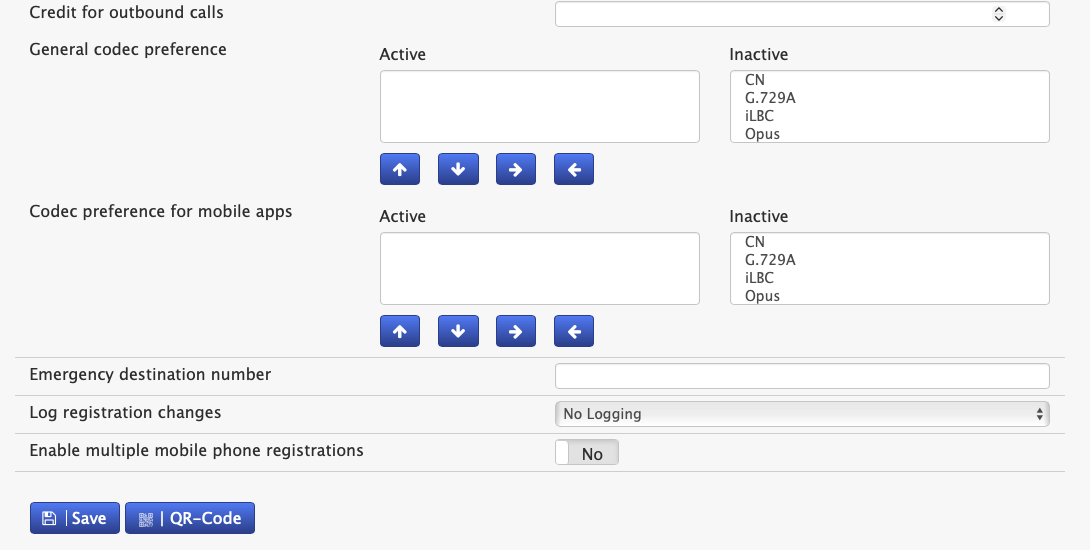
Admin Portal
In the domain view in the administrator web interface, under the Provisioning tab, there is a button called "QR-Code" which creates a pop-up with the code. If the user is in front of the screen, the camera can take a photo of the screen for pairing.
- Version 69
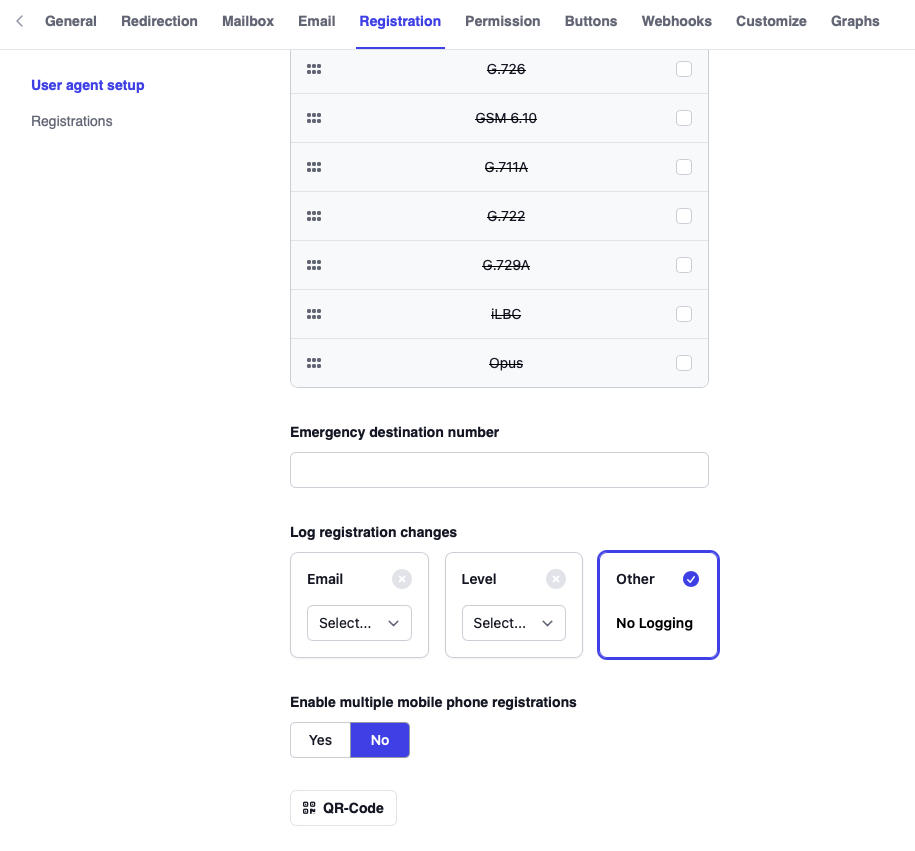
- Version 70
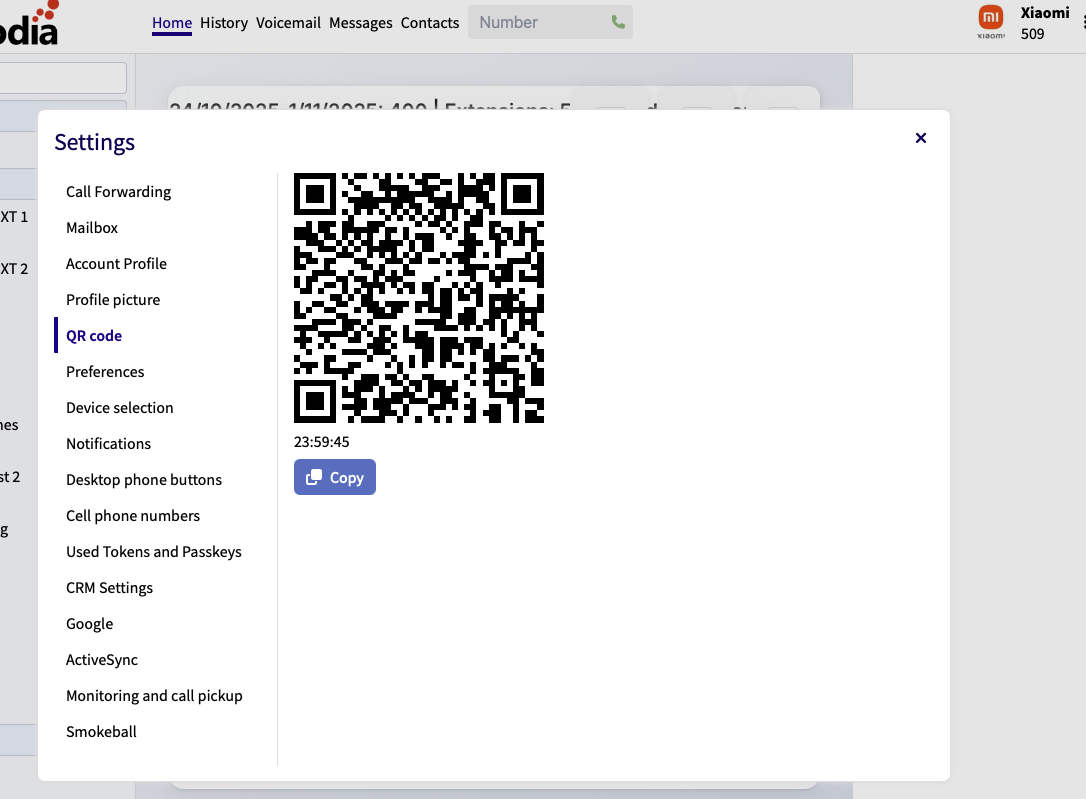
End User Portal
The same is possible from the user portal. The code is available from the user menu, which will show up after clicking on the user icon on the top right corner of the interface.
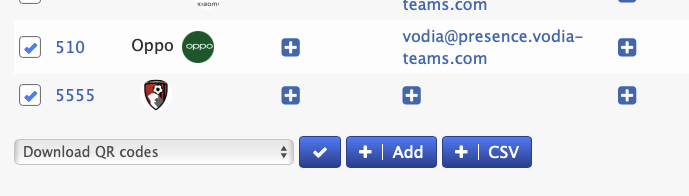
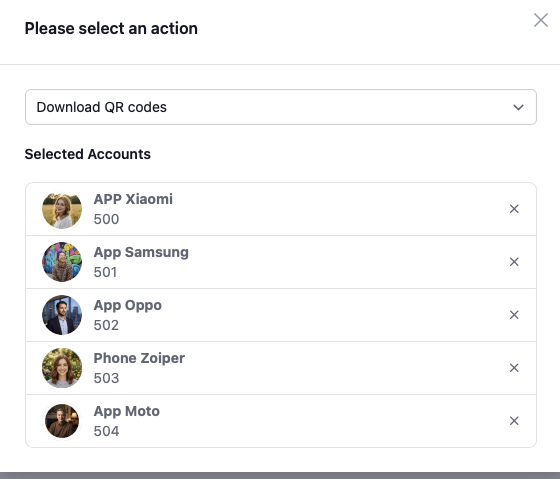
Bulk QR Code Generation
The administrator can generate a page that contains the codes for multiple domains. To do this:
- Switch into the domain administrator view
- Select "Download QR codes" in the list of extensions
This page is intended for print out, so that the paper can be given to the user.
- Version 69
- Version 70
QR Code via Email
The PBX can also send an email with the code to the user. However, this method must be enabled first in the system security settings:
- Navigate to Settings → Security → General
- Enable the setting "Include extension password and PIN in user welcome email"
This will include the QR code in the welcome email. You can also manually trigger welcome emails by:
- Going to the domain list of extensions
- Selecting the item "Send welcome email to selected accounts"
- Version 69
- Version 70


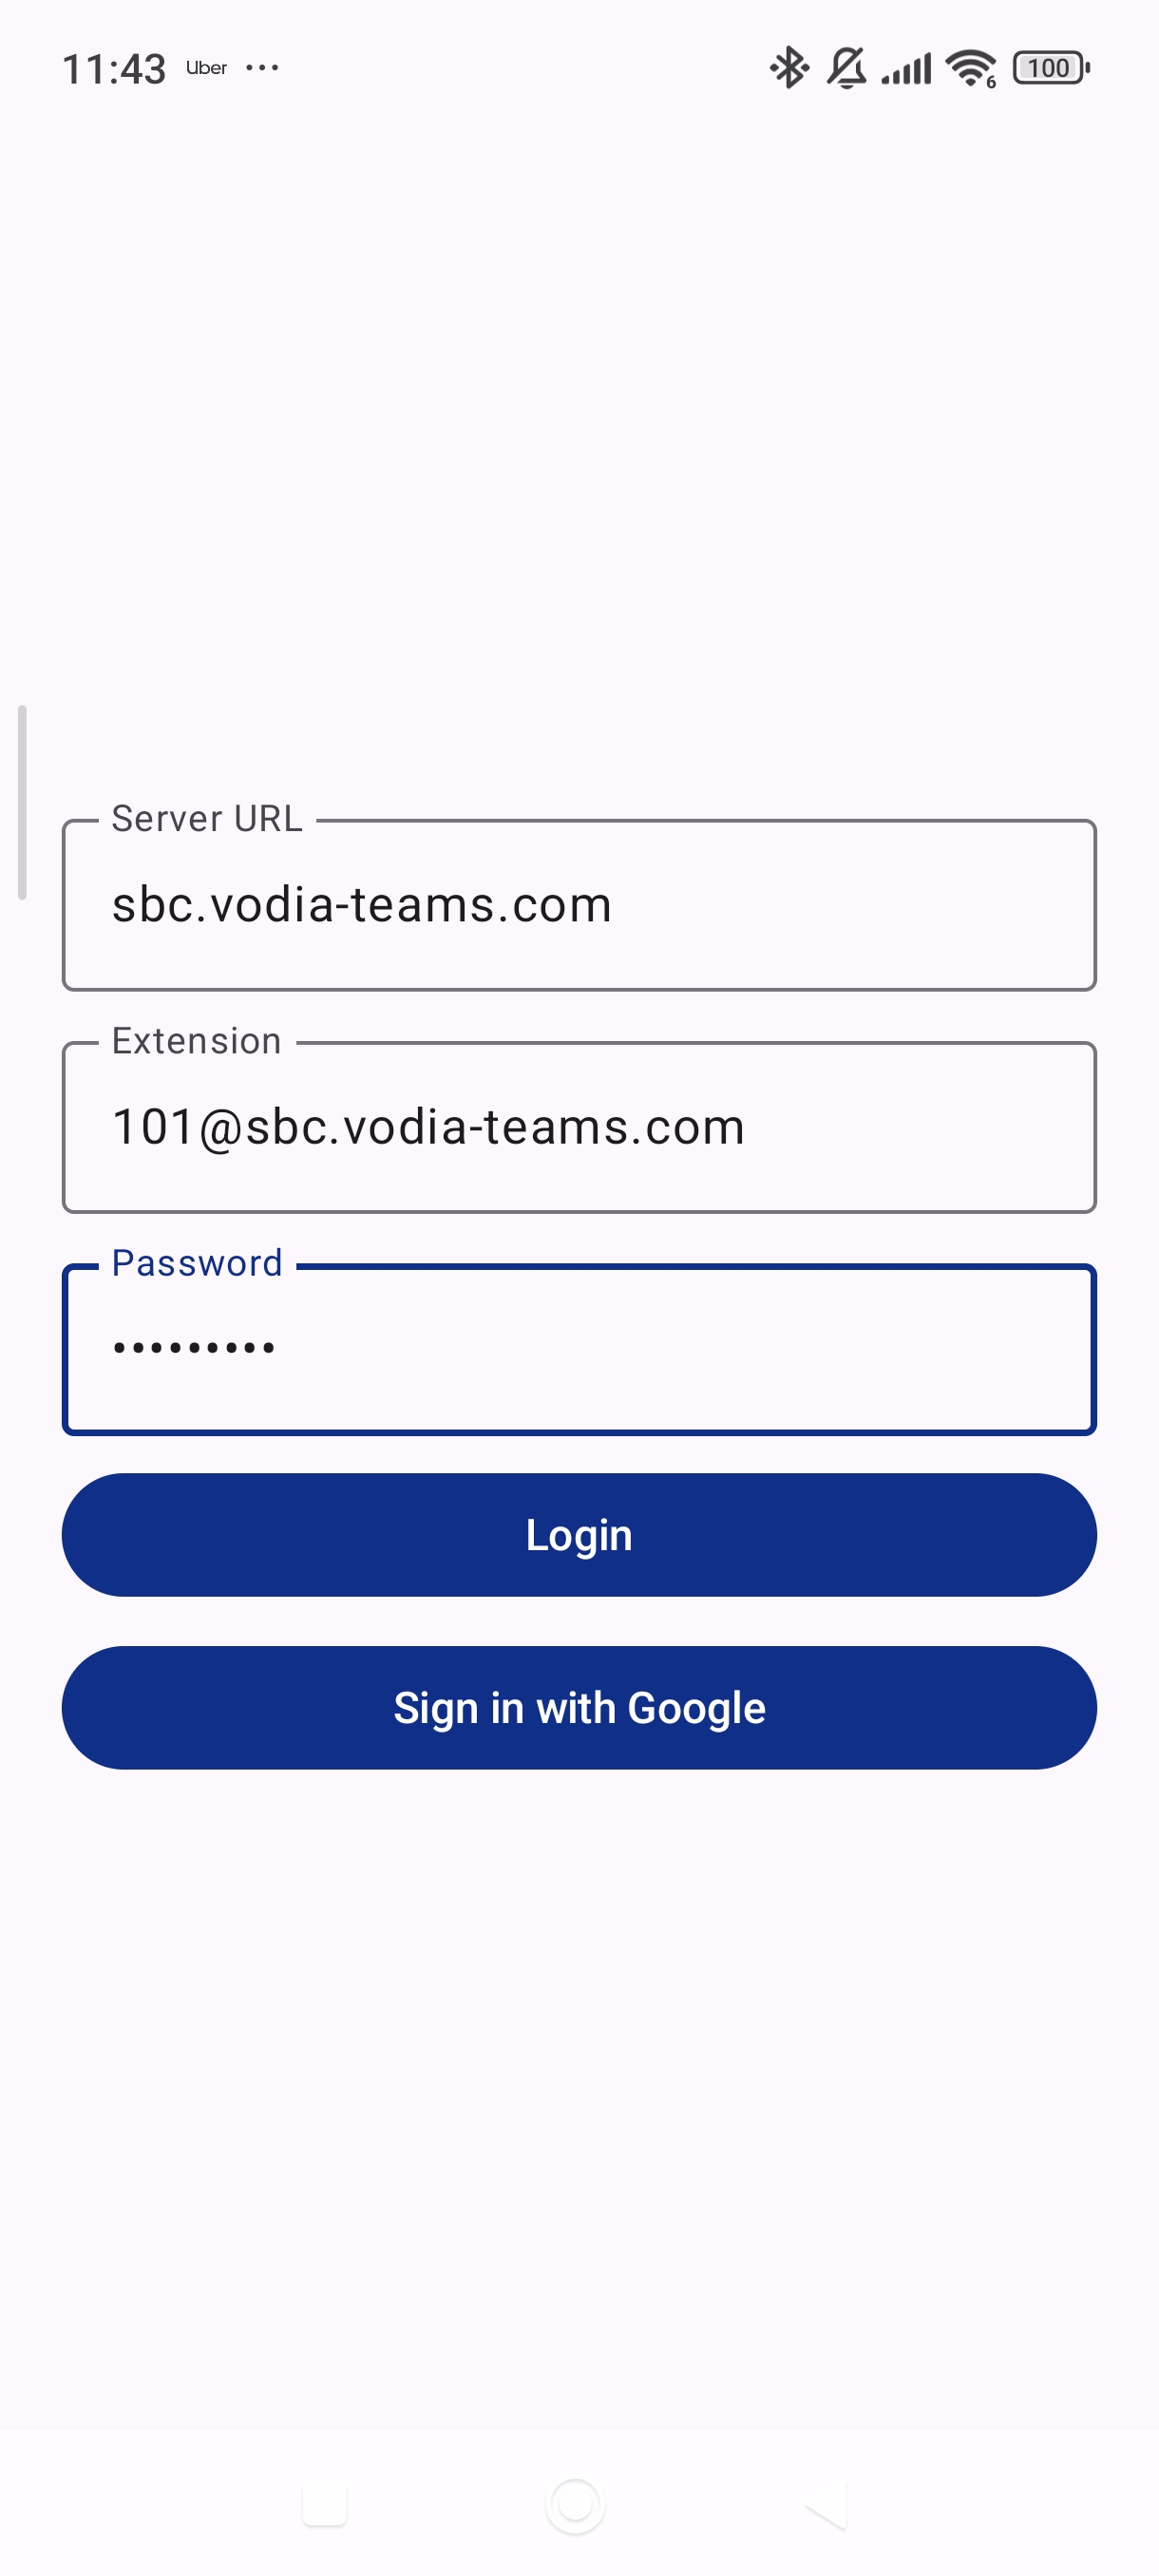
Manual Login (Not Recommended)
If QR code login is not available, you can manually log in:
- Enter the server name (e.g.,
sbc.vodia-teams.com) - On the next screen, enter the extension and SIP Password
- For extension, you will need the extension number @ tenant (e.g.,
101@sbc.vodia-teams.com)
- For extension, you will need the extension number @ tenant (e.g.,