Click to Call (WebRTC)
This feature makes it possible to make links within any web page to make WebRTC calls. So when someone clicks on that link a WebRTC call is established from within the browser itself to the given destination number through the PBX, and the user is able to talk to the destination using his browser and headset without leaving the page. This makes it a very useful feature to let people make calls and and talk on the browser from links on a web page.
Setting Up the Link
Setting up the link on a page for a WebRTC call is very simple as shown:
`<div style="cursor:pointer;" onclick="window.open('https://PBX_IP_OR_DOMAIN/makecall.htm?destnumber=1234567890', '', 'width=230, height=300, left=200, location=0');">John Smith</div>`
Of course, this is just an example. You can use different formatting and elements etc. The important part is that "window.open()" opens a link "http://PBX_IP_OR_DOMAIN/makecall.htm?destnumber=1234567890", where PBX_IP_OR_DOMAIN must be the IP or resolvable domain of the Vodia PBX that provides this feature, and the destnumber is the destination number to dial. Of course, you can also give the window your own width and height but the one given in the example is recommended, at least not smaller than this.
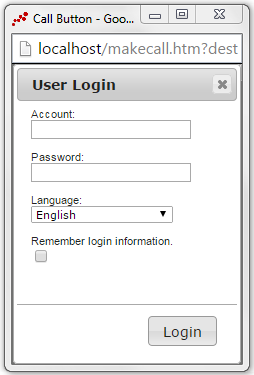
When you click on the link for the first time, a small new window will pop up asking for your Account and Password, as well as Language selection. Enter your credentials (Account is your extension or extension@domain in the PBX), and check/select the "Remember login information" checkbox so that it will not ask you for your credentials again for other calls (unless you press logout in the window at some time). Press login and you will be logged in and the first call will be connected. The login screen is shown below:
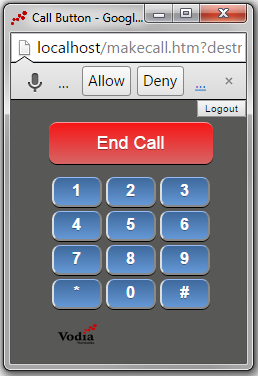
Now you can make calls with any links on the web pages. When you click on a link, a new window will pop up and a WebRTC call will be initiated. The browser will prompt you to allow permission to your mic (this is browser security). Allow the mic permission and the call will be connected and you can now talk with your headset from within the browser using WebRTC. To end the call, simply press thebutton and the call will be terminated, and the pop up window with disappear. If the other side hangs up, the call will also be terminated and the pop up window will disappear. The keypad is for sending DTMF's for IVR systems. The call windows with the mic permission prompt and after allowing the mic are shown below:

Note: But make sure your PBX's webpage is always on HTTPS and not on HTTP for this to work without having to login into your user portal everytime you want to make a call.
If you don't want the user to have to enter his/her credentials even once (and not again until the "duration" time is set to expire), then you can include them in the link itself as shown below.
For PBX version 69 and onwards:
<div style="cursor:pointer;" onclick="window.open('https://PBX_IP_OR_DOMAIN/makecall.htm?destnumber=1234567890&user=YOURUSERNAME@DOMAIN.COM&pass=MD5(password of user)', '', 'width=230, height=300, left=200, location=0');">John Smith</div>
For PBX versions below 69:
The "MD5HASH" below has to be calculated by taking md5 hash of the concatenation of the username@domain.com, password, destination number, current time in seconds and duration in seconds (since 1/1/1970), i.e. md5 (username@domain.com+password+dest+time+duration), all URL-encoded. The duration, which is in Seconds, can be for an hour, a day or an year, but that's highly not recommended, as your system can be taken for a toll. You can even optionally add the language selection in the link as "lang".
<div style="cursor:pointer;" onclick="window.open('https://PBX_IP_OR_DOMAIN/makecall.htm?destnumber=1234567890&user=YOURUSERNAME@DOMAIN.COM&pass=MD5HASH&time=current_time&duration=3600', '', 'width=230, height=300, left=200, location=0');">John Smith</div>