Azure Vodia Prepaid Offer
Azure Vodia Prepaid Offer
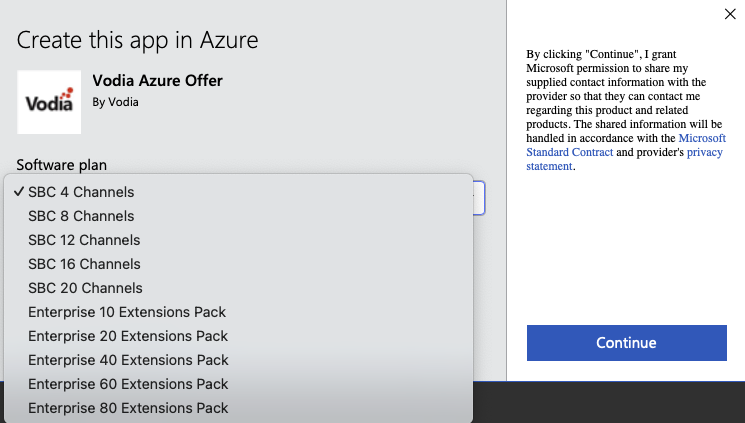
Find Vodia's Prepaid Azure offer here. This offer includes multiple plan options, and each PBX build comes with the appropriate license pre-installed.
Essential Prerequisites
- Verify you are the Azure Subscription owner or possess the required permissions

-
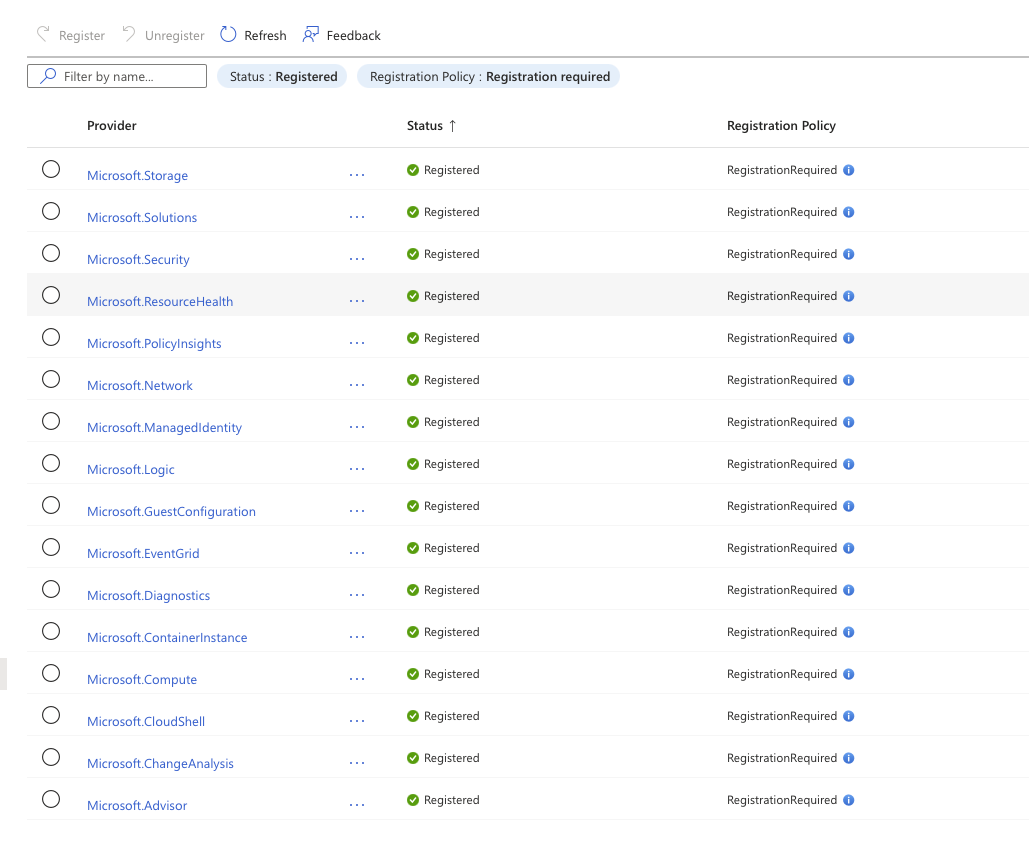
Ensure your Azure subscription has the necessary resource providers registered.
You will nee d the following resource providers registered:
Microsoft.Network
Microsoft.Compute
Microsoft.ManagedIdentity
Microsoft.Storage
Microsoft.Resources
Microsoft.Logic
Microsoft.Authorization
Deploy the Vodia Azure Prepaid offer
To deploy the Vodia Prepaid PBX on Azure, follow these steps:
Plan Selection: Choose an appropriate plan from the available options.
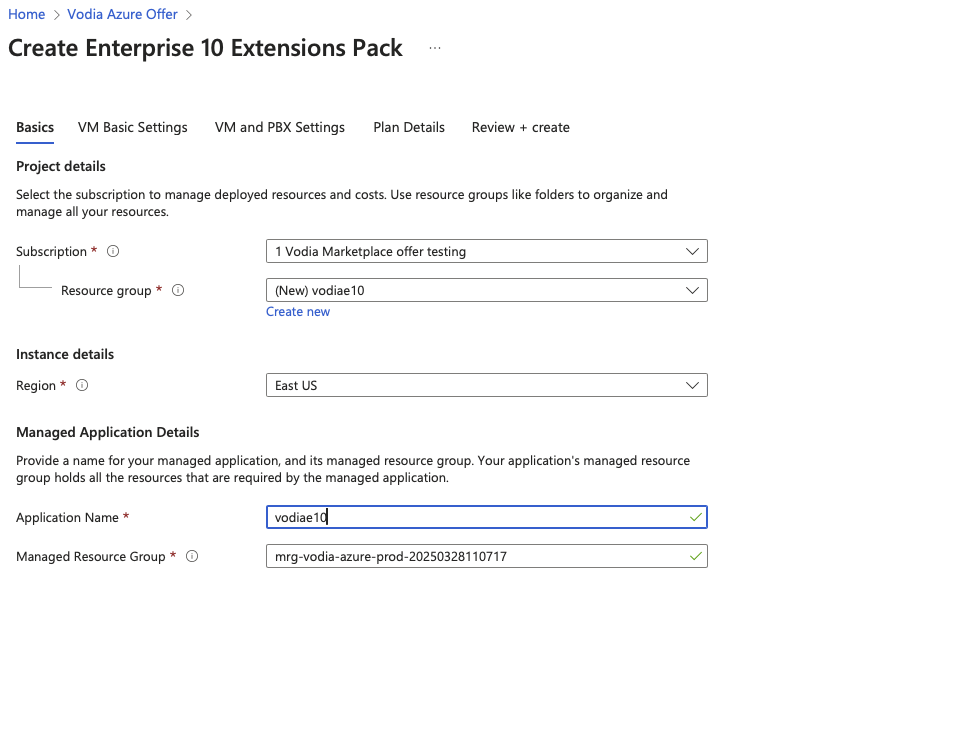
Basic Information: Provide basic information, and it's recommended to create a new resource group for this deployment.
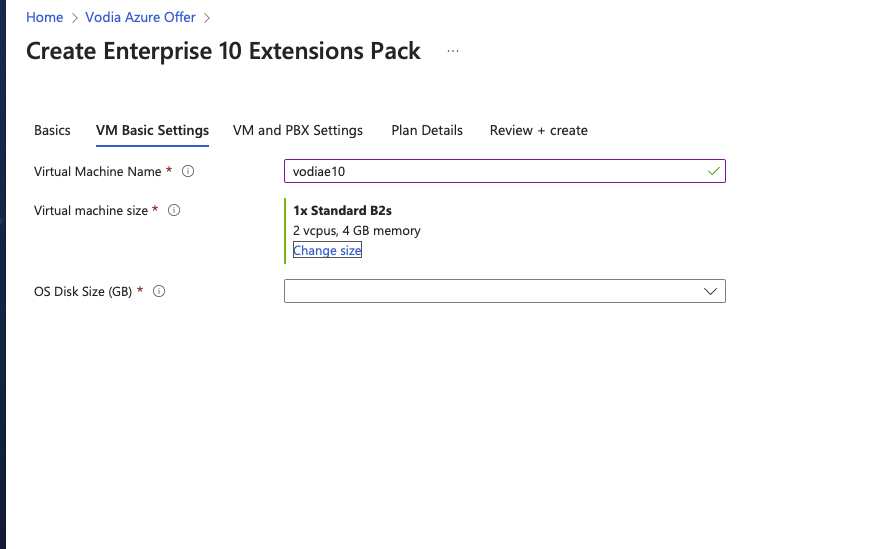
Virtual Machine (VM) Configuration: Configure the VM settings. You can adjust the VM size as needed.
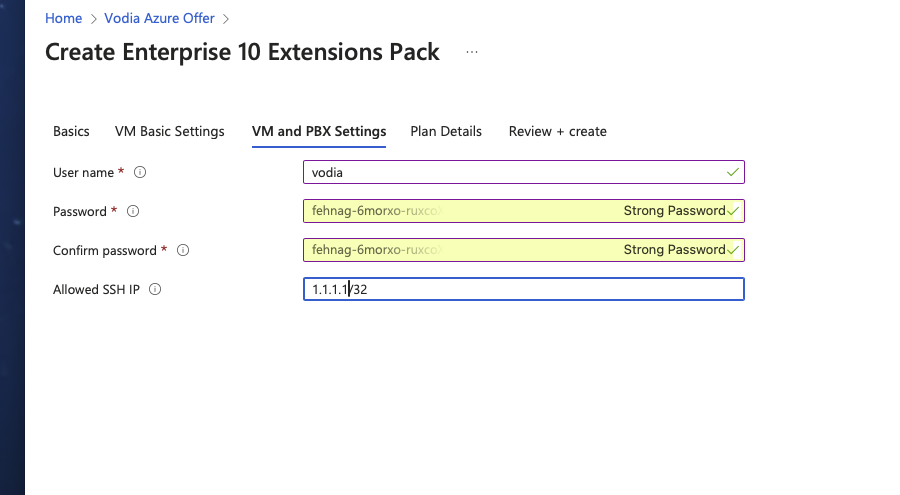
VM and PBX Security Settings:
- Configure security settings. Use a strong password as these credentials will be set for both SSH and PBX WEB login.
- Specify the IP address(es) allowed to SSH into the VM.
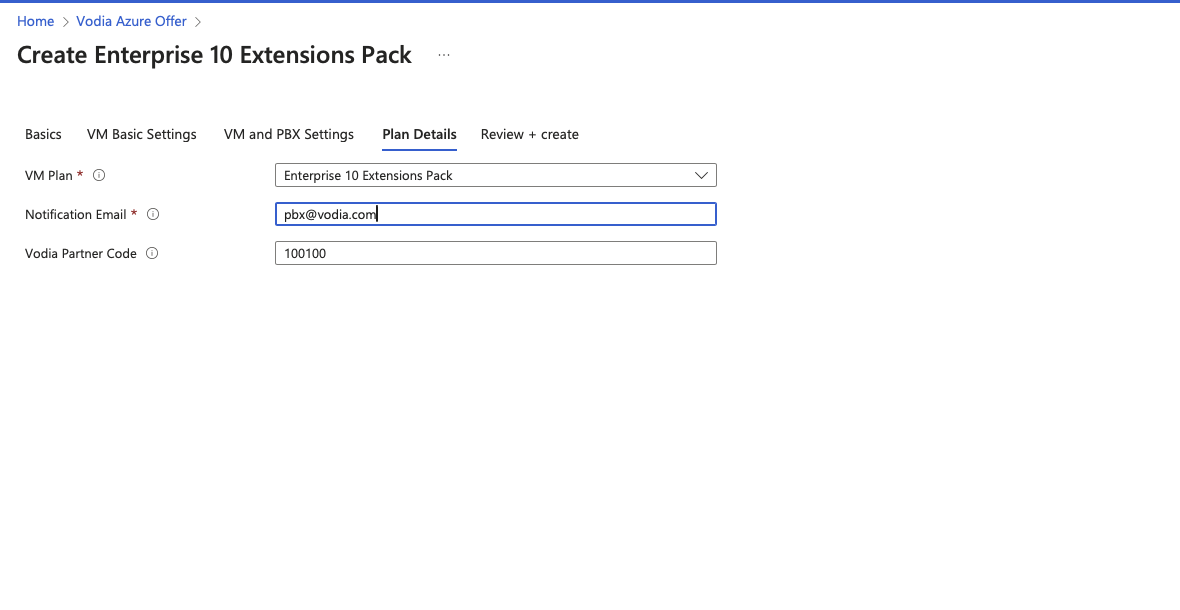
Plan Confirmation and Partner Code:
- Confirm the plan details, provide your email address, and enter your Vodia Partner code.
- If you do not have a partner code, you can use the default: 100100.
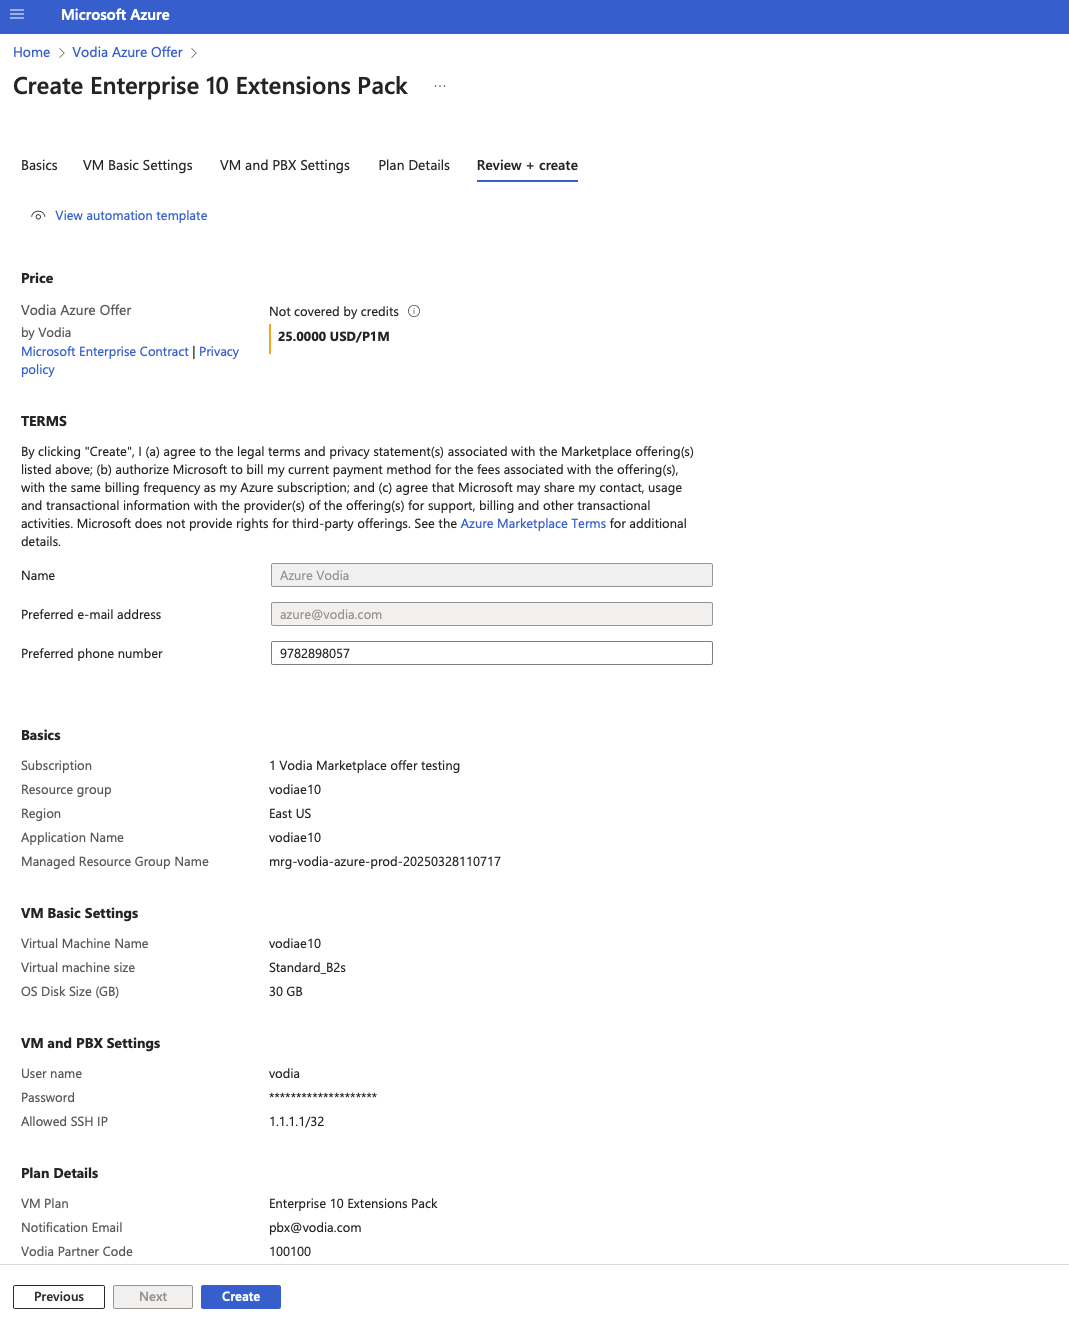
Review and Create:
- Review all settings.
- Azure will validate the configuration.
- Click the "Create" button to deploy the PBX.
Accessing the PBX:
Access the PBX Admin Web interface by entering http://ip_address in your browser. You will then be automatically redirected to the secure HTTPS URL, such as https://dgrebn.vodia-pbx.com. Use the credentials you set in the VM and PBX Security Settings step to log into the PBX Admin.