Keycloak OpenID Connect Integration for Vodia PBX
Vodia PBX's integration with Keycloak offers enterprise-grade identity and access management. This allows for secure single sign-on, but requires that Keycloak user emails are created to match the corresponding extension email addresses on the PBX.
Keycloak Configuration
On your Keycloak server, you will need to:
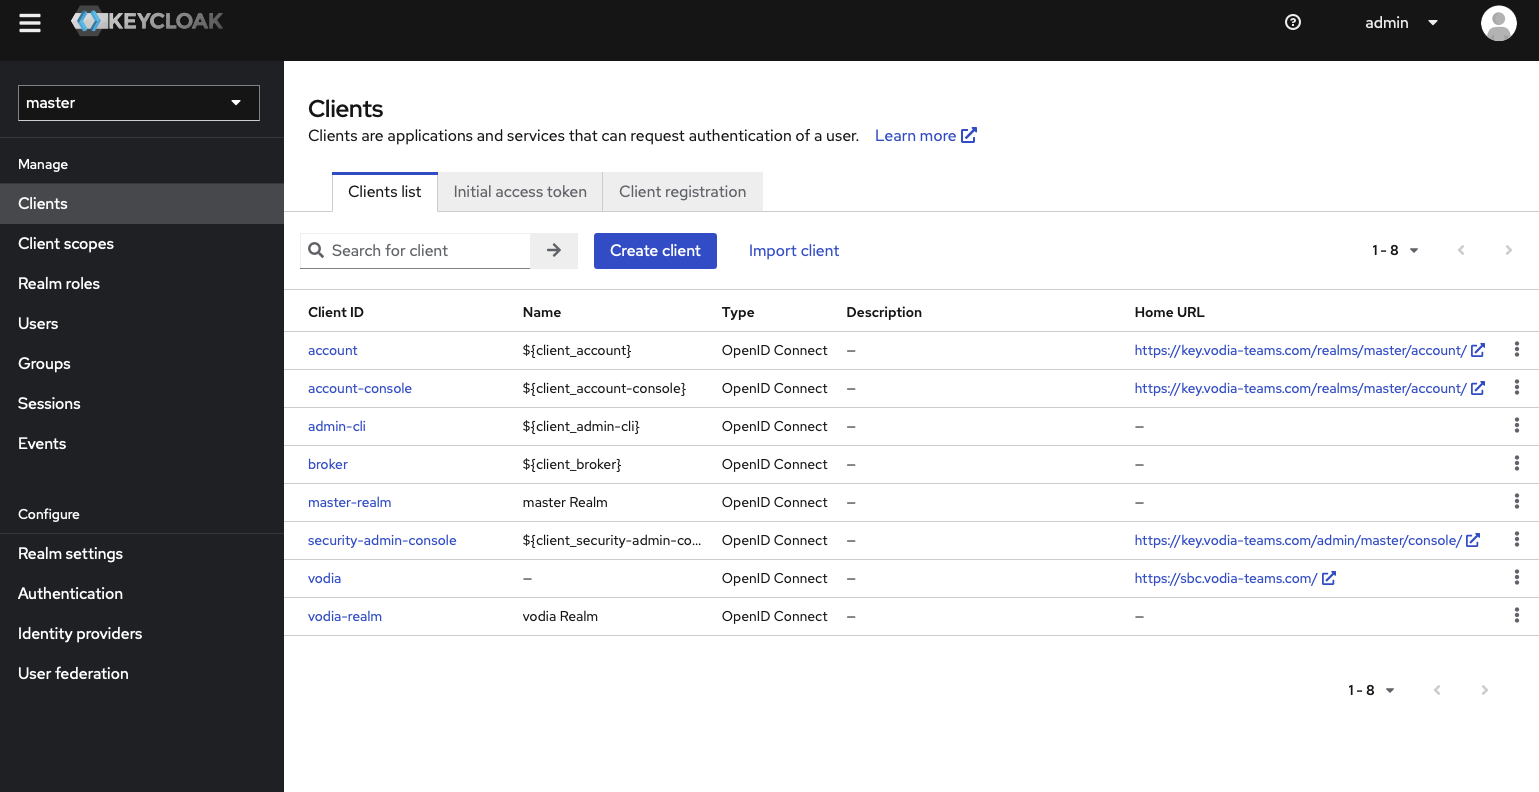
Create a Client
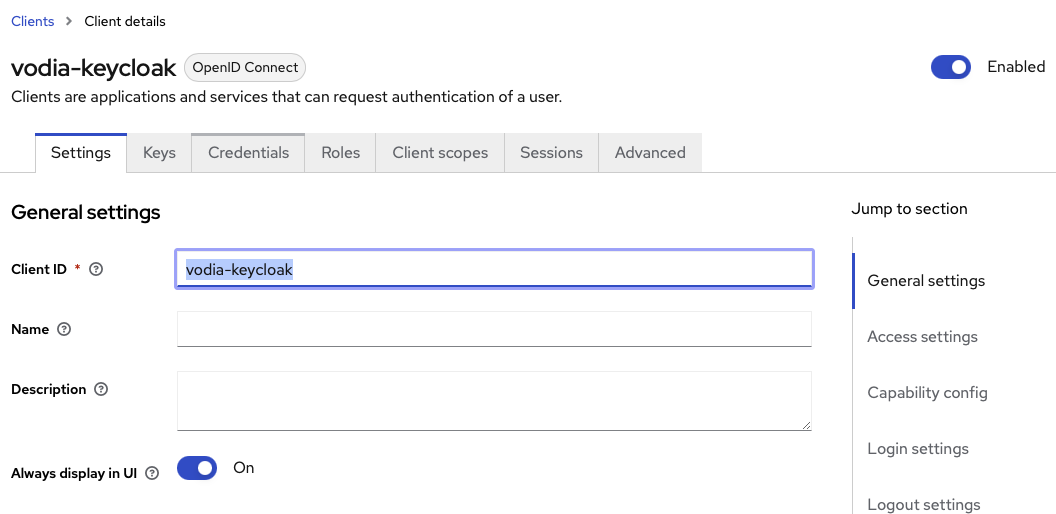
- Navigate to Clients → Create client
- Set the Client ID to match your application requirements (e.g.,
vodia-keycloak)
Configure Client Settings
Set the following in your client configuration:
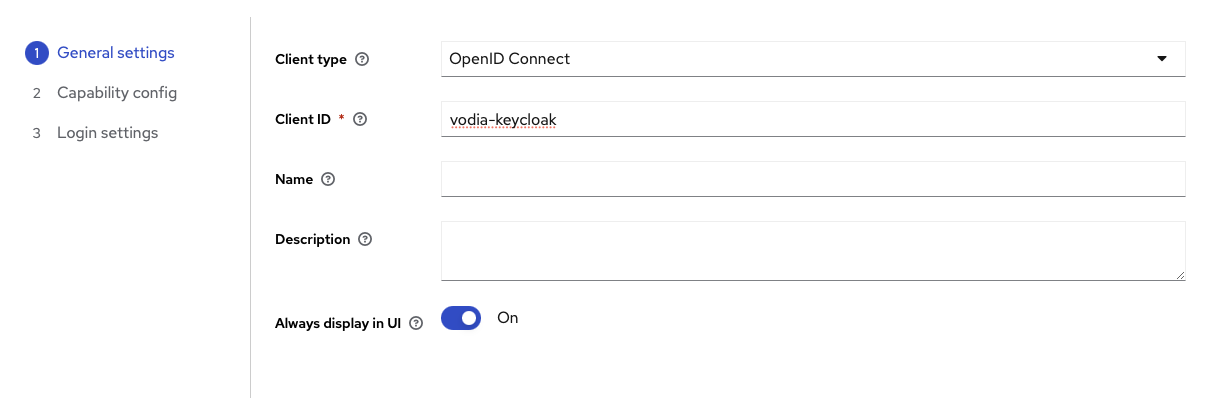
General Settings:
- Client type:
OpenID Connect - Client ID:
vodia-keycloak
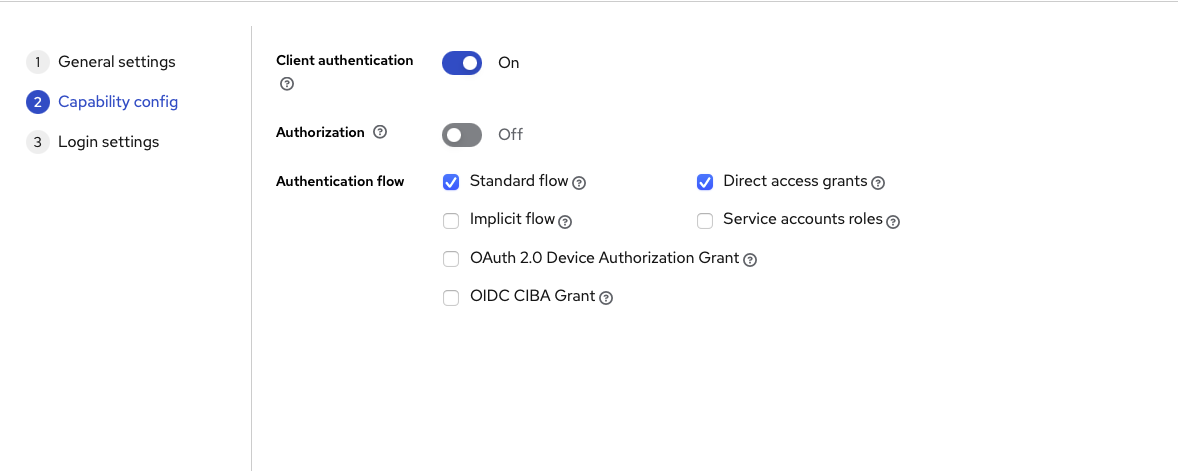
Capability config:
- Client authentication:
ON(enables client secrets) - Standard flow:
ON - Direct access grants:
ON
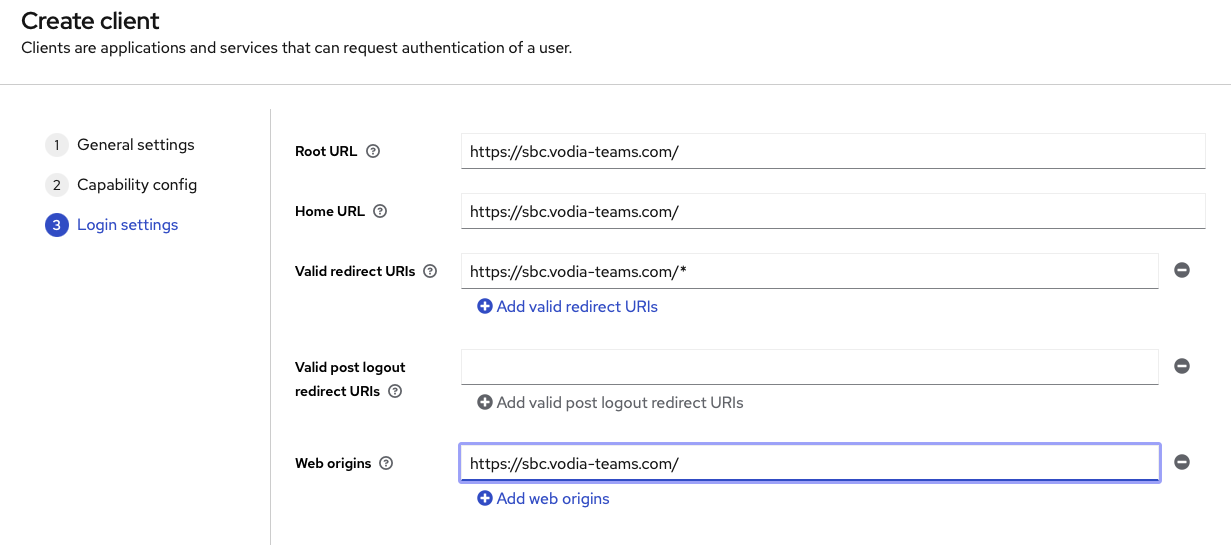
Login settings: (use your tenant's FQDN)
- Root URL:
https://tenant.vodia.com - Valid redirect URIs:
https:/tenant.vodia.com - Valid post logout redirect URIs:
https://tenant.vodia.com/* - Web origins:
https://tenant.vodia.com
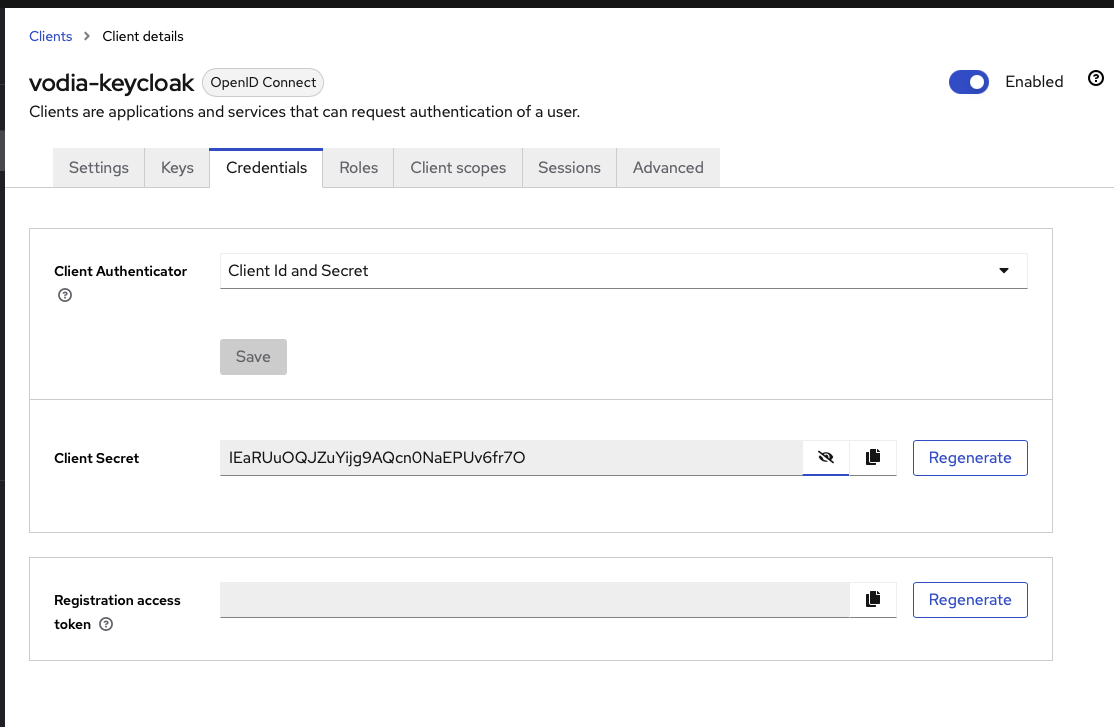
Get Client Credentials and client ID
- Go to the Credentials tab of your client
- Copy the Client secret value
Required Information
Make sure you have:
- The Keycloak server URL
- The client ID
- The client secret
Vodia PBX Configuration
On your Vodia PBX:
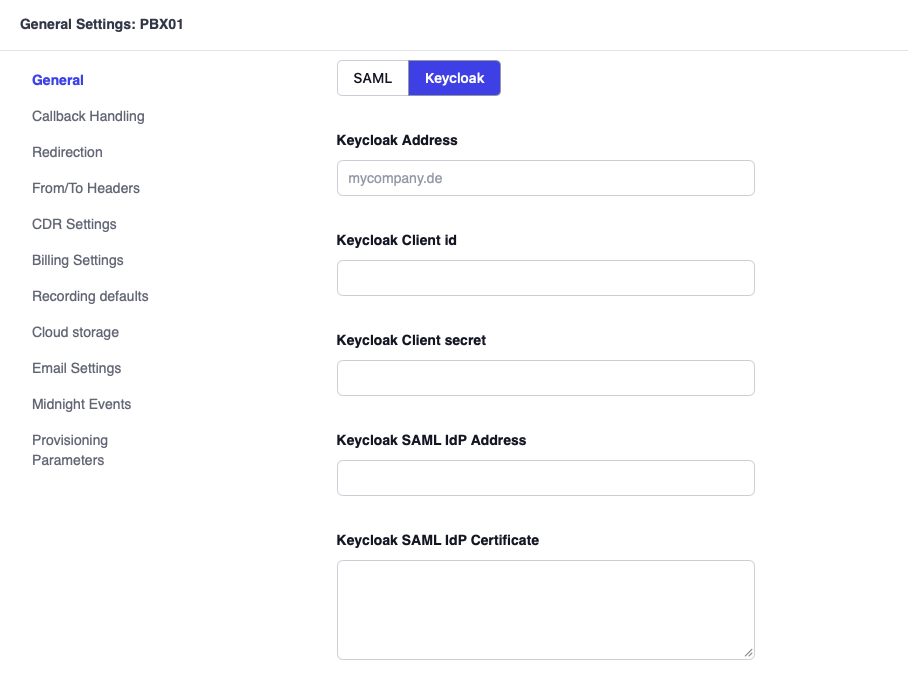
- Go to Tenant admin settings -> Single Sign On Login Settings
- Configure the Keycloak integration parameters
Example Configuration
{
  "keycloak_address": "key.vodia-teams.com",
  "keycloak_client_id": "vodia-keycloak",
  "keycloak_client_secret": "your-client-secret-from-keycloak"
}
Starting with version 70, keycloak_address, keycloak_client_id, and keycloak_client_secret have been implemented as separate fields
Configuration Details
- keycloak_address: Your Keycloak server
- keycloak_client_id: The Client ID you created in Keycloak
- keycloak_client_secret: The secret from the Credentials tab
User Management
Create Test Users
- In Keycloak admin console, go to Users → Add user
- Set the username (this should match the extension@tenant format for PBX access)
- Click Create
- Go to Credentials tab → Set password
- Set a password and turn off Temporary
When creating Keycloak users, verify that their email addresses are identical to the extension email addresses on the PBX.
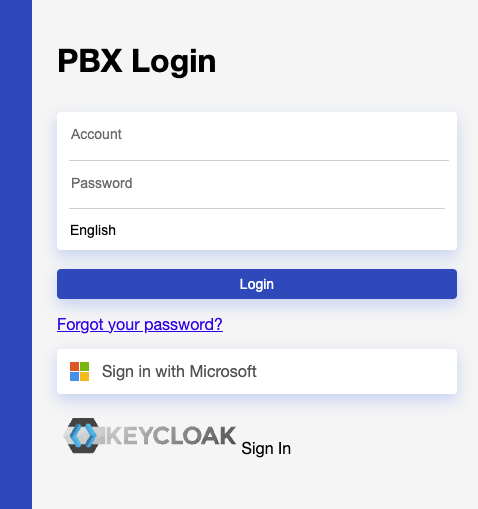
Result
You will then see a Keycloak login option when you navigate to the tenant web page.
Troubleshooting
Common Issues
"Client not found" error:
- Verify the client ID matches exactly
- Ensure you're in the correct realm
- Check that the client is enabled
Redirect URI mismatch:
- Verify the redirect URI in Keycloak matches your application's callback URL
- Ensure HTTPS is used in production
Authentication failures:
- Check user credentials
- Verify user is in the correct realm
- Ensure client authentication is properly configured